Alright, fellas, let’s talk steak. You know the feeling: you’ve got the crew over, the grill’s fired up, and you’re ready to deliver a culinary masterpiece. But then… disaster strikes. You pull off a hockey puck masquerading as a ribeye, or worse, a grey, flavorless slab that would make a cow weep. We’ve all been there, staring at our grill tools with a mix of regret and desperation. The good news? Mastering the perfect steak isn’t rocket science, but it is an art form. And like any art, it’s worth honing. Imagine walking into your next backyard gathering, the aroma of perfectly seared beef preceding you, a confident grin on your face as you present a steak that’s the envy of every man, woman, and discerning dog within earshot.
This isn’t just about feeding your friends; it’s about elevating your own experience, about demonstrating a command of the grill that speaks volumes about your attention to detail and your appreciation for the finer things in life. Because let’s face it, a truly great steak isn’t just food; it’s a statement. So, ditch the disappointment and let’s get you grilling like the modern gentleman you are. This guide is designed to transform your backyard barbecues from a gamble into a guaranteed win.
What Defines a Truly Exceptional Steak?
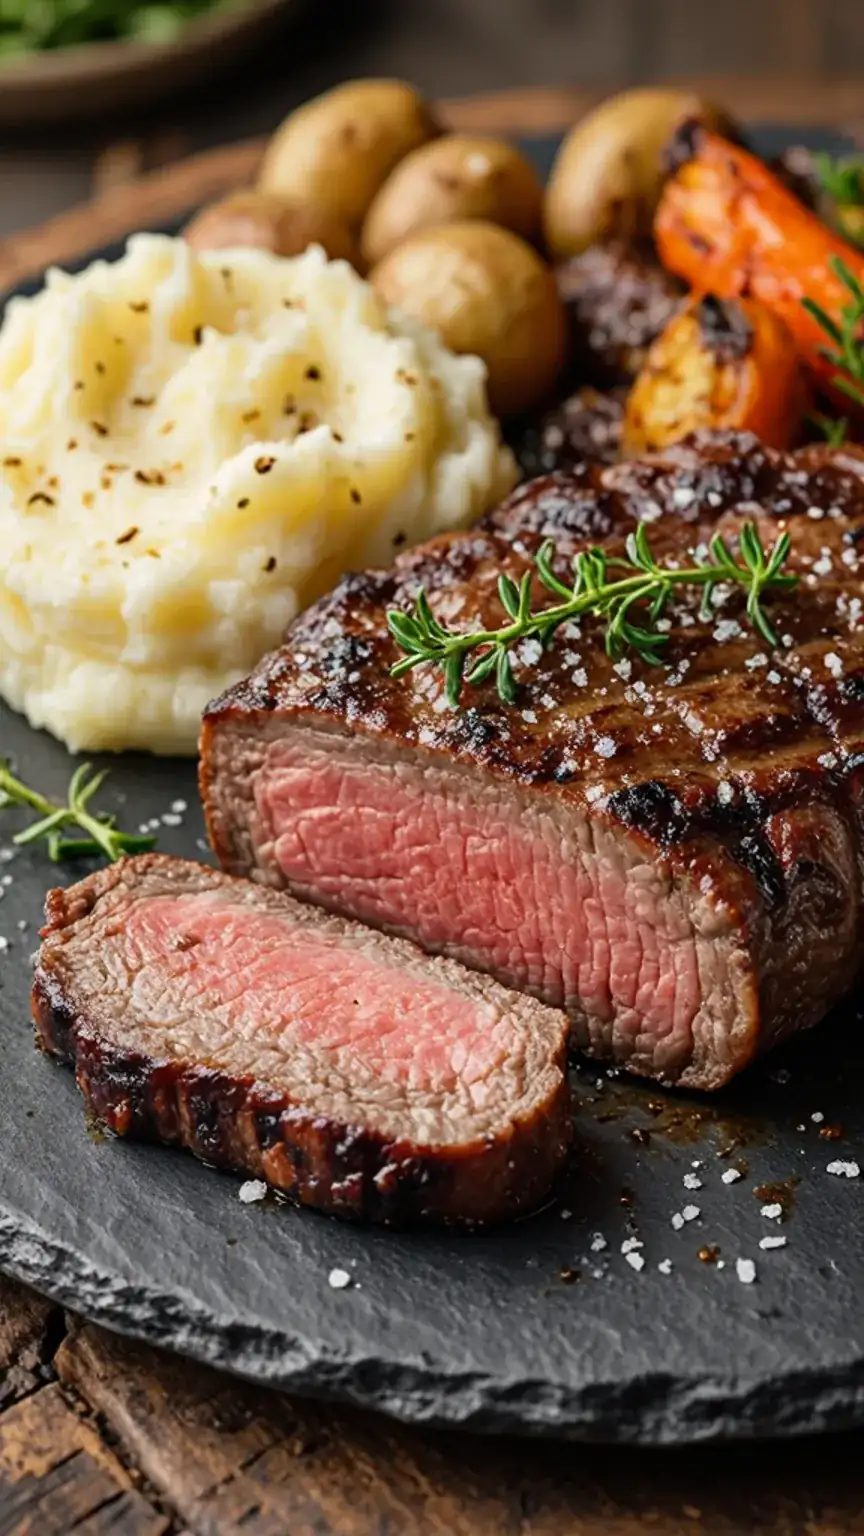
Before we get our hands dirty, let’s establish the benchmark. What separates a decent steak from a showstopper? For me, it boils down to three key elements: tenderness, flavor, and presentation. You’re aiming for that coveted sweet spot: a beautifully charred exterior that gives way to a succulent, juicy interior, cooked precisely to your preferred level of doneness. It’s about that satisfying bite, the rich, beefy aroma, and the visual appeal that makes you want to dive right in. It’s the culmination of careful selection, thoughtful preparation, and precise execution.
Step 1: The Foundation – Selecting Your Cut
The journey to steak nirvana begins at the butcher counter or the premium section of your grocery store. Your choice of cut is paramount. You need a steak that can withstand the intense heat of the grill and emerge gloriously tender and flavorful. My top recommendations for the modern gentleman are the ribeye and the strip loin (also known as New York strip). These cuts are celebrated for their generous marbling – those thin streaks of fat interspersed throughout the meat.
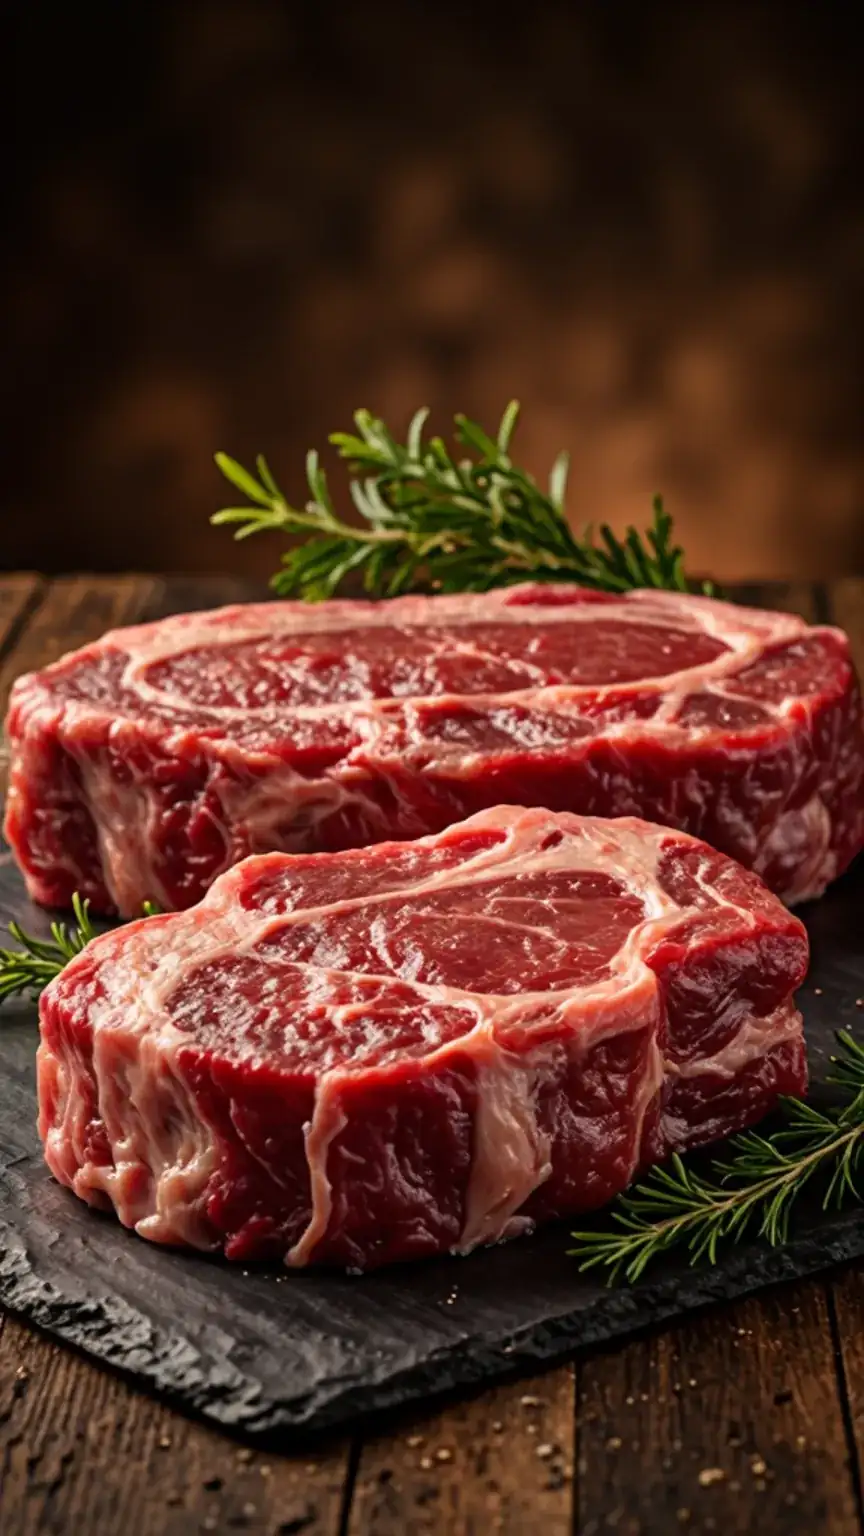
This marbling is your secret weapon. As the steak cooks, this fat renders, basting the meat from within. Consequently, it keeps the steak incredibly juicy and imbues it with a rich, beefy flavor that lesser cuts simply can’t achieve. Aim for steaks that are at least 1 to 1.5 inches thick. Thinner cuts cook too quickly, making it difficult to achieve a good sear without overcooking the interior. A thicker cut provides more margin for error and allows for that perfect contrast between the crust and the tender core.
Step 2: The Crucial Chill-Out – Room Temperature is Key
Here’s a step many aspiring grill masters tragically overlook, often to their steak’s detriment. Before your steak even thinks about hitting the grill, it needs to relax. Take it out of the refrigerator and let it sit on a plate at room temperature for a minimum of 30 minutes, and up to an hour for thicker cuts. Why is this so vital?
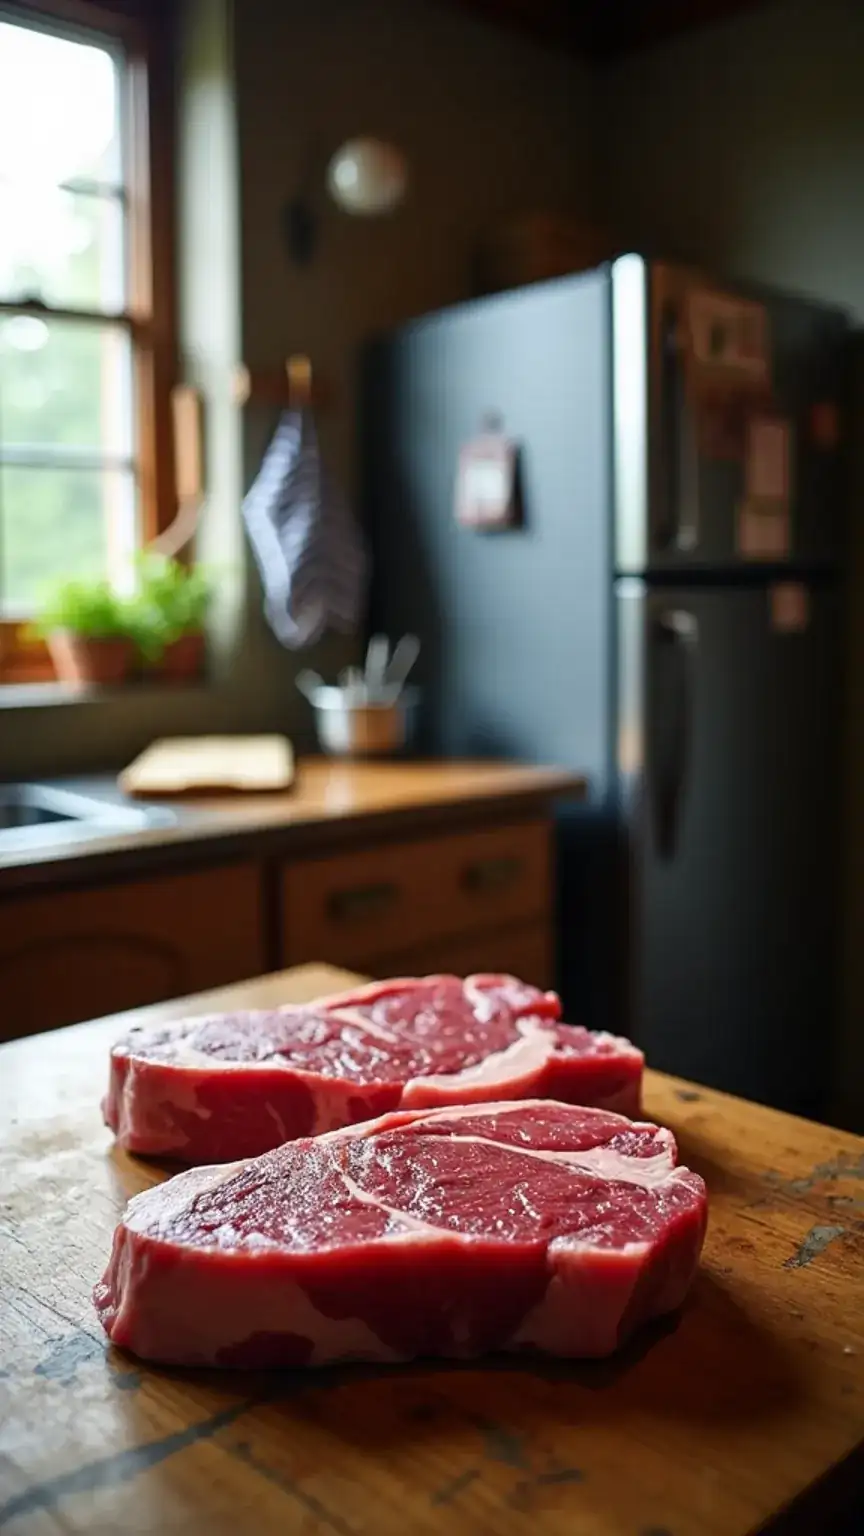
Allowing the steak to come to room temperature ensures that it cooks more evenly. A steak straight from the fridge is cold in the center. When you place this frigid core onto a hot grill, the outside will cook (and potentially overcook) long before the inside reaches your desired temperature. Consequently, you end up with a steak that’s either burnt on the edges and raw in the middle, or vice-versa. This simple step guarantees a more consistent and enjoyable cooking process.
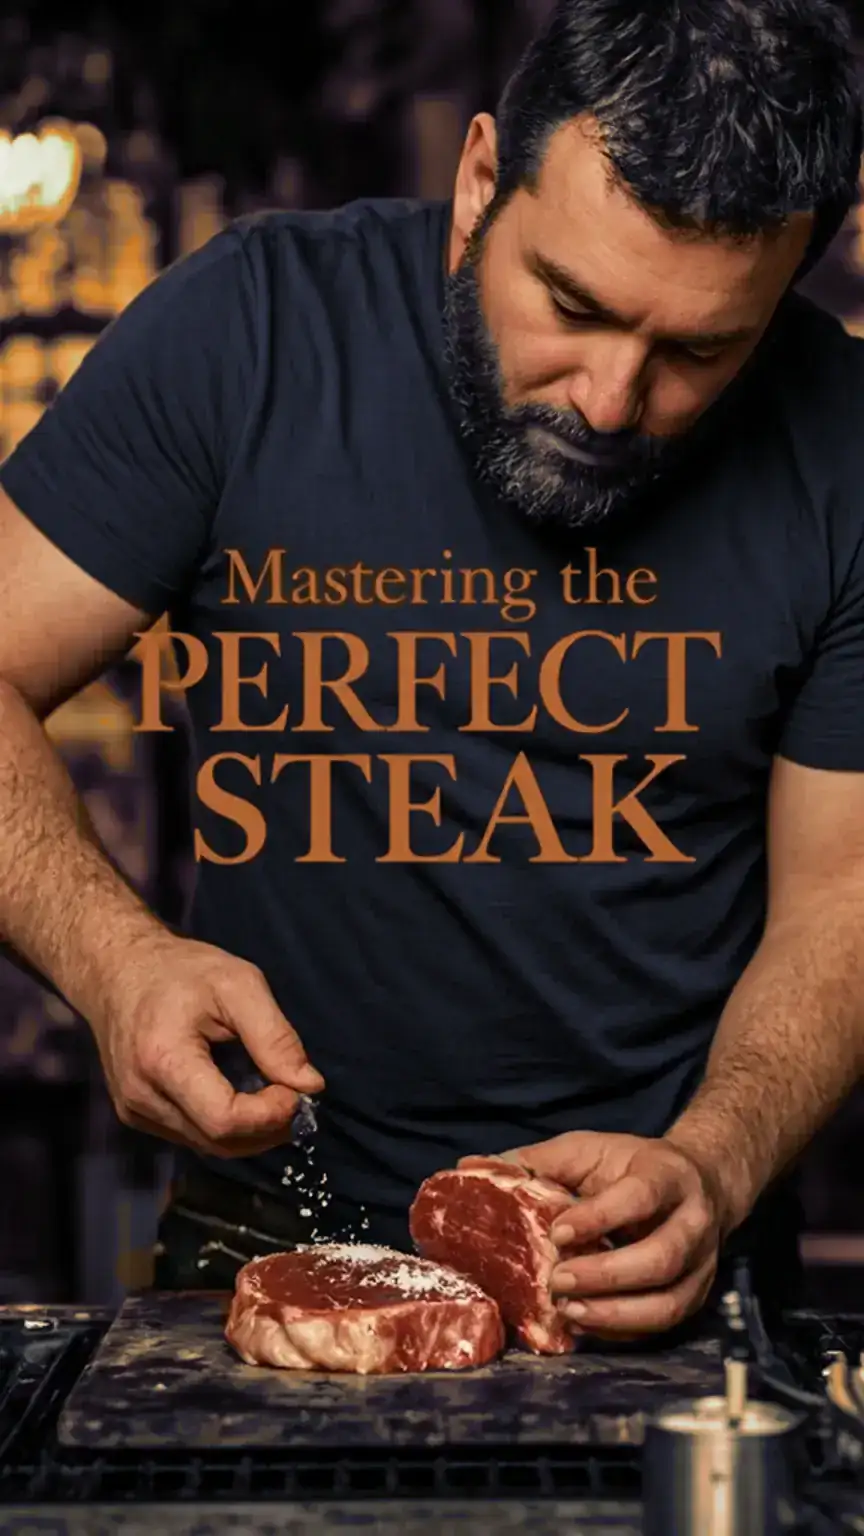
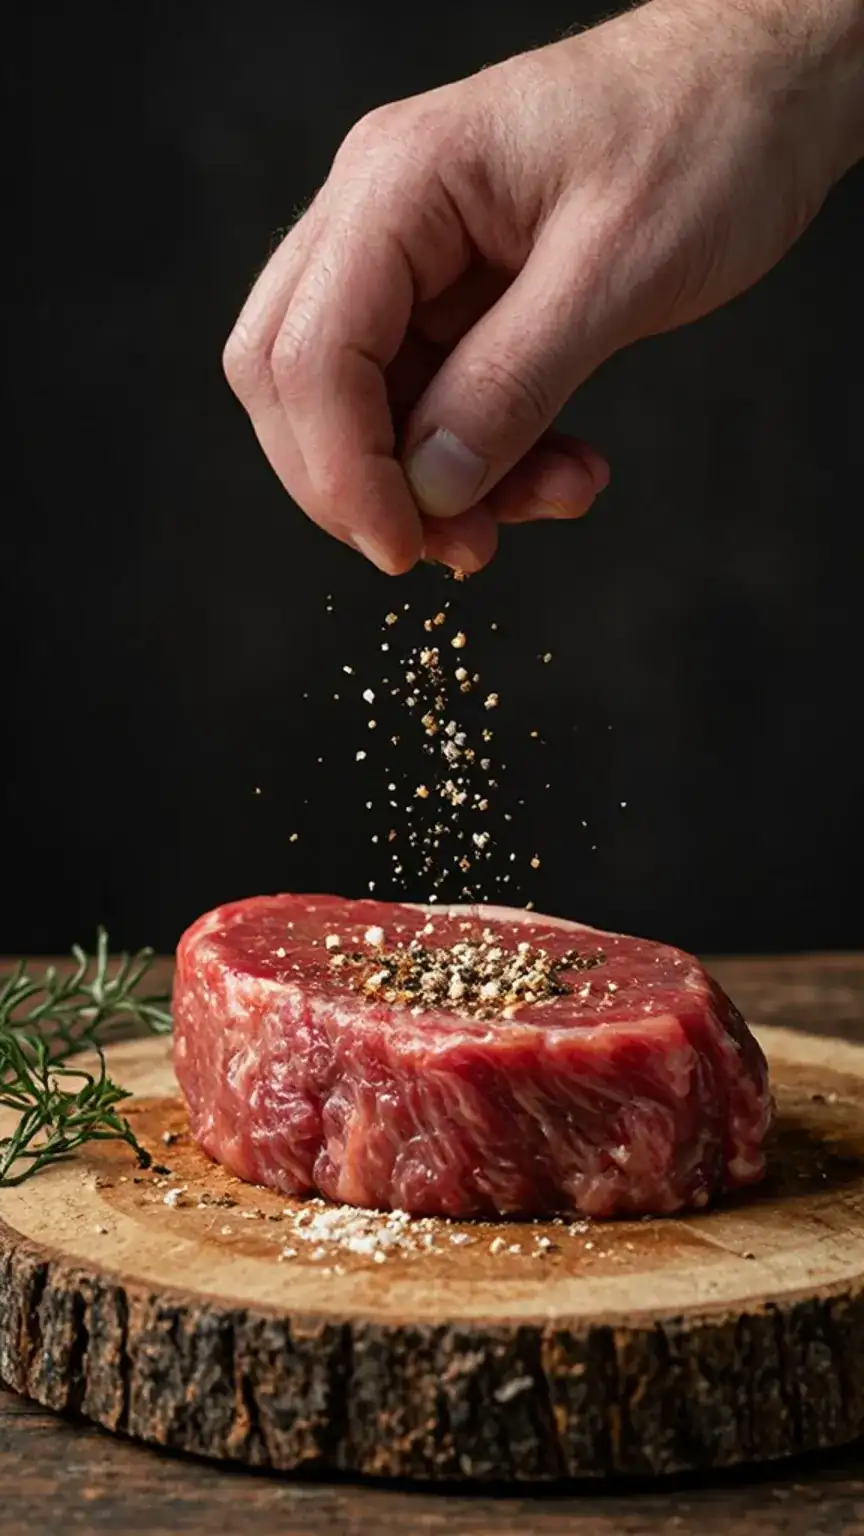
Step 3: The Art of Seasoning – Simplicity Reigns Supreme
When you’ve invested in a quality cut of beef, the seasoning should enhance, not overpower, its natural flavor. My go-to seasoning blend is elegantly simple: kosher salt, freshly cracked black pepper, and a whisper of garlic powder. Don’t be shy with the salt; it’s crucial for drawing out moisture and creating that beautiful crust. Apply it generously just before grilling.
However, don’t be afraid to experiment. For a touch of smoky depth, consider adding a pinch of smoked paprika. If you like a subtle kick, a dash of cayenne pepper or chili powder can add a pleasant warmth. Ladies, if the man in your life is embarking on this steak-grilling journey, this is where you can suggest a favorite spice blend. Just remember to let him take the lead on the grill itself!
Step 4: Igniting the Inferno – Mastering Grill Heat
Preheating your grill is non-negotiable. You want a screaming hot surface to achieve that perfect sear. For gas grills, aim for a temperature of around 400°F (medium-high heat). Before you even turn on the gas, give those grates a thorough cleaning with a good wire brush. This removes any lingering debris that could cause sticking or impart off-flavors.
If you’re a charcoal purist, ensure your coals are fully ignited and covered in a light grey ash. Spread them evenly across the grilling surface. Crucially, open the vents on your charcoal grill to allow for optimal airflow, which fuels the fire and maintains that high heat. A properly preheated grill is the bedrock of a successful steak.
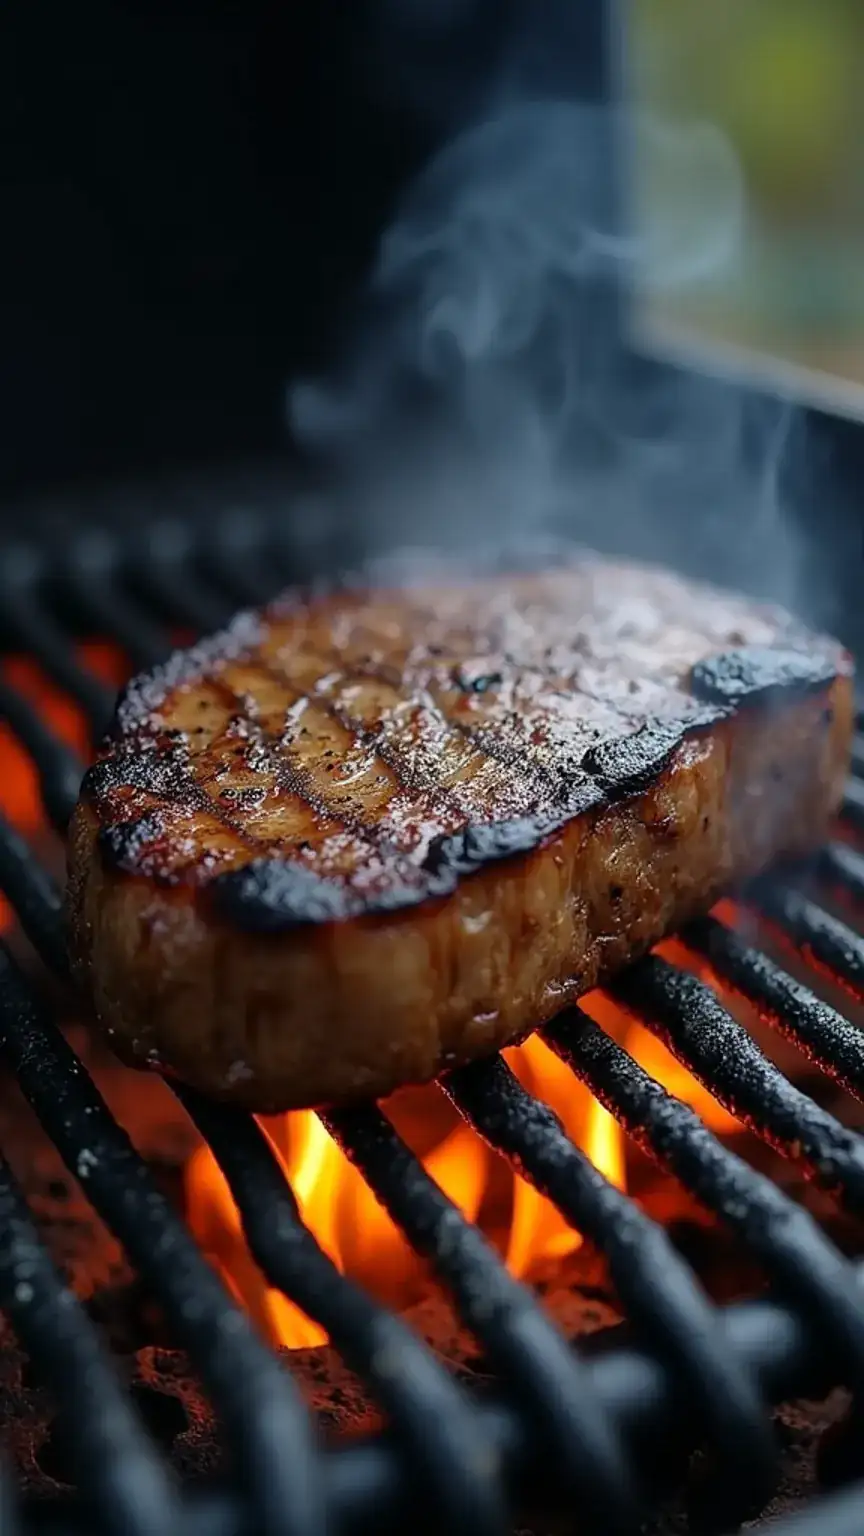
Step 5: The Sizzle and Sear – Building the Crust
Now for the moment of truth: placing that beautiful piece of beef onto the hot grill. Resist the urge to move it immediately. Let it sear undisturbed for 3-4 minutes per side, depending on its thickness. This is what creates that irresistible, flavorful crust – the Maillard reaction at its finest. You’re looking for a deep brown color and those characteristic grill marks.
When it’s time to flip, use tongs – never a fork. Piercing the steak with a fork releases those precious juices, leaving you with a drier, less flavorful result. A good char on the outside is essential, but it’s only half the battle. We need to finish it off correctly.
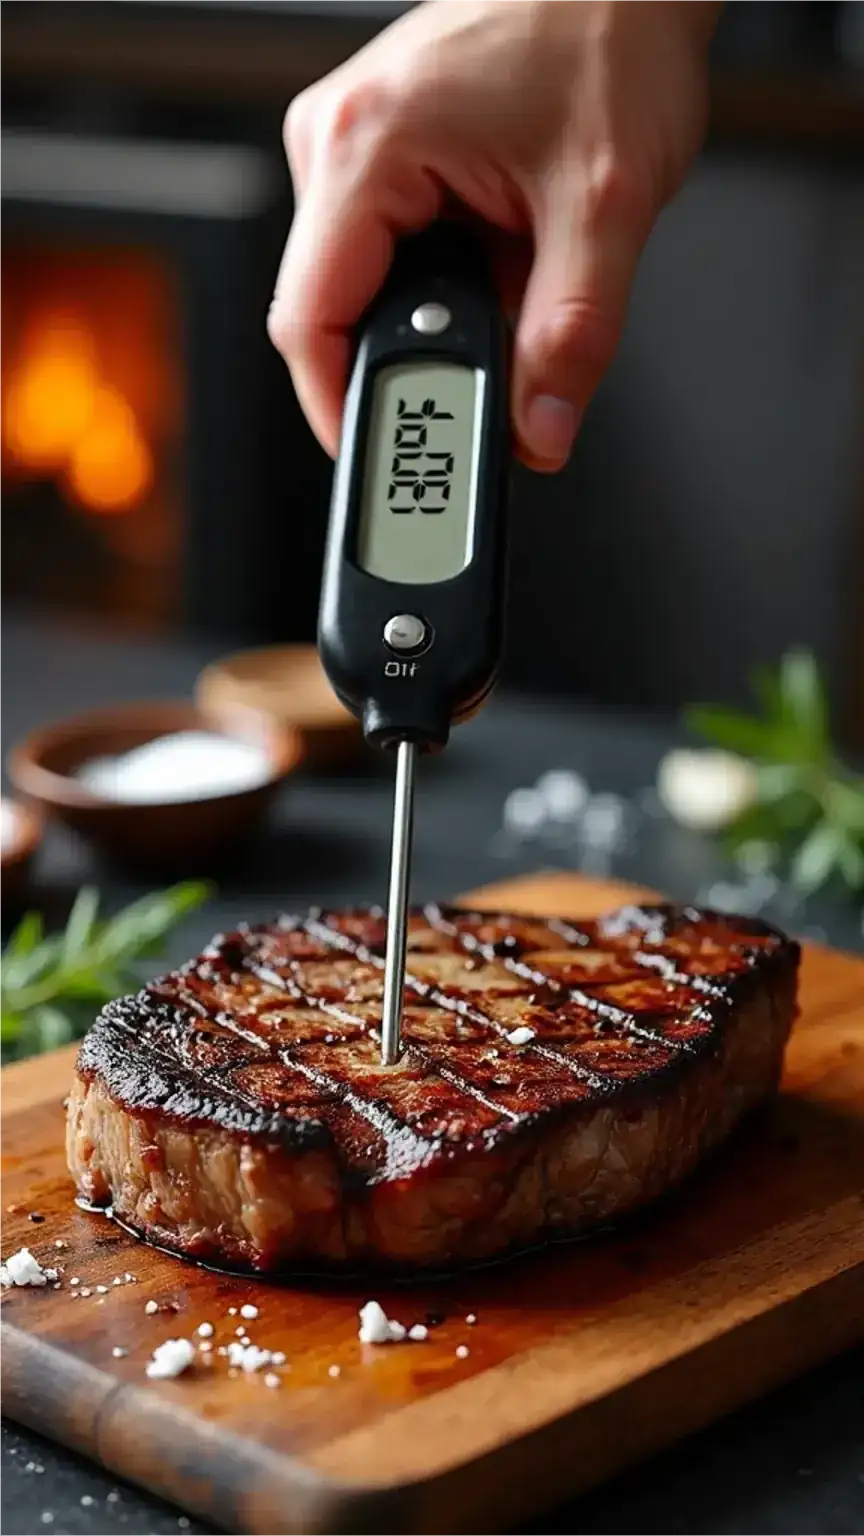
Step 6: The Gentle Finish – Achieving Perfect Doneness
After achieving that magnificent sear on both sides, it’s time to move your steak to a slightly cooler section of the grill. This is often referred to as the indirect heat zone. Here, you’ll allow the steak to finish cooking gently, bringing the interior up to your desired temperature without burning the exterior. This is where a meat thermometer becomes your most trusted ally.
Here are the target internal temperatures for different levels of doneness:
- Rare: 125-130°F (Cool red center)
- Medium-Rare: 130-135°F (Warm red center) – My personal favorite.
- Medium: 135-140°F (Warm pink center)
- Medium-Well: 140-145°F (Slightly pink center)
- Well-Done: 150-155°F (Little or no pink) – Proceed with caution, gentlemen.
Remember, the steak’s temperature will continue to rise by a few degrees as it rests. Therefore, pull it off the grill when it’s about 5 degrees shy of your target. This is a critical nuance for achieving perfection.
Step 7: The Essential Rest – Patience Pays Dividends
This might be the most crucial step in the entire process, and it’s the one most frequently skipped. Once your steak has reached its ideal internal temperature, remove it from the grill and place it on a clean cutting board or a warm plate. Tent it loosely with foil. Now, you must let it rest for at least 5-10 minutes.
Why the wait? When a steak cooks, the muscle fibers contract, pushing the juices towards the center. If you cut into it immediately, all those delicious juices will run out onto the plate, leaving you with a dry steak. Resting allows those fibers to relax and the juices to redistribute evenly throughout the meat. Consequently, every bite will be as succulent as the last. This simple act of patience transforms a good steak into a great steak.
Pro Tip: The Reverse Sear Method
For an even more foolproof approach, consider the reverse sear. This involves slow-roasting the steak in a cooler oven (around 225-275°F) until it’s about 10-15 degrees below your target temperature, then searing it on a screaming hot grill or cast-iron skillet for a final crust. This method ensures unparalleled edge-to-edge consistency. It’s a game-changer for thicker cuts and guarantees a perfectly cooked interior every time.
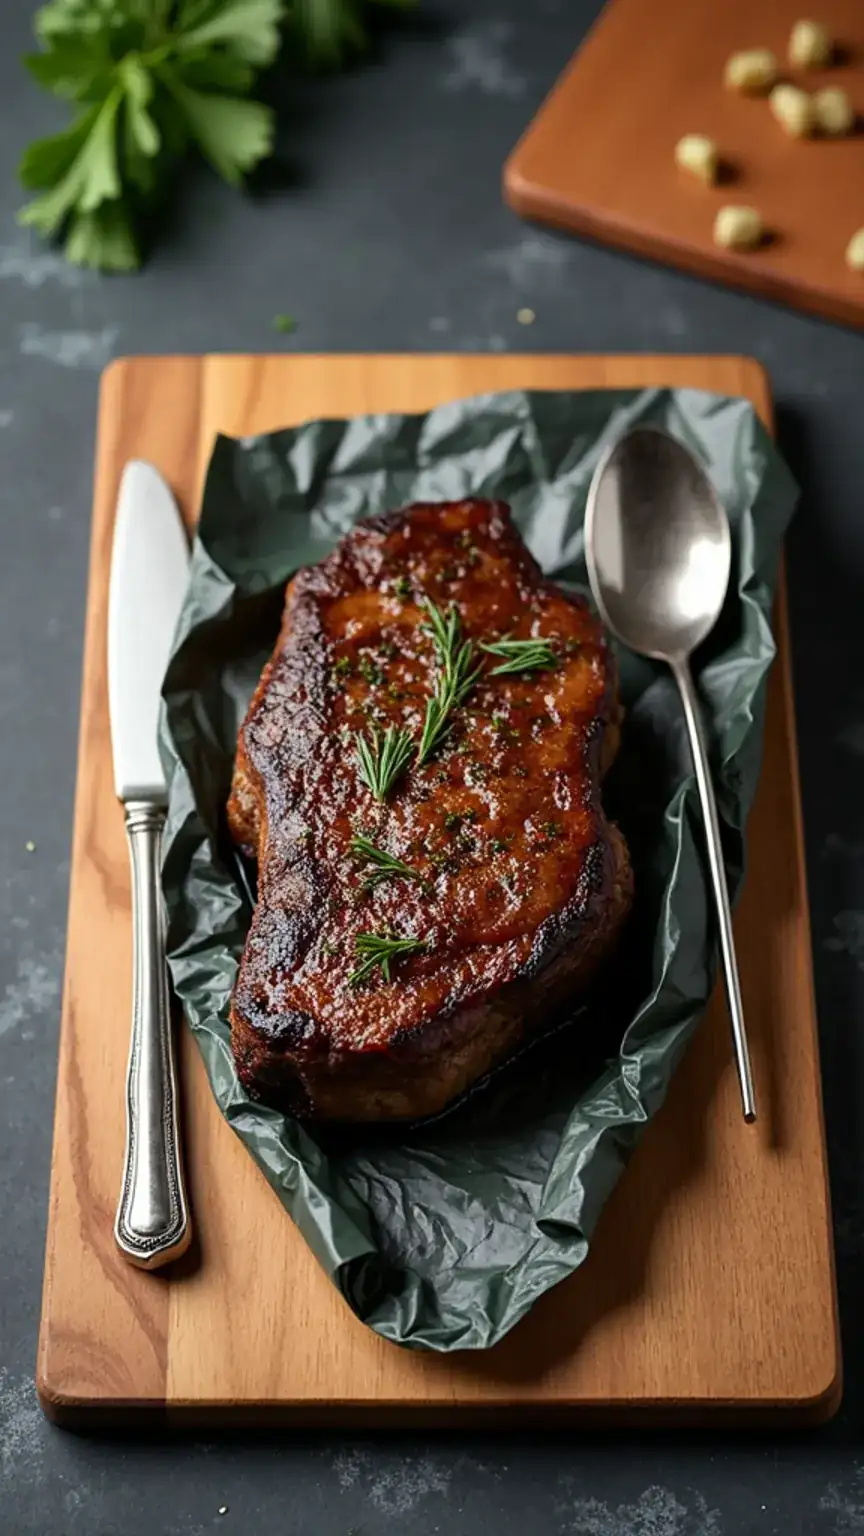
The Grand Finale – Presentation and Enjoyment
Your masterpiece is ready. Slice the steak against the grain. This breaks up the long muscle fibers, making the meat more tender and easier to chew. Serve it immediately with your favorite accompaniments. While I’m partial to classic garlic mashed potatoes and a side of roasted asparagus or broccolini, the possibilities are endless. A simple drizzle of melted butter or a dollop of compound butter can add another layer of indulgence.
Ladies, if your man is grilling this for a special occasion, a perfectly cooked steak paired with a thoughtful side dish is a powerful gesture. It shows effort, care, and a desire to impress. Consider a lovely salad or a delicate gratin to complement his efforts. And definitely have a bottle of his favorite red ready.
Elevate Your Grilling Game
Mastering the perfect steak is more than just a recipe; it’s about understanding the process, respecting the ingredients, and applying a little bit of finesse. It’s about building confidence in the kitchen (or rather, the backyard) and creating memorable experiences for yourself and those you care about. From selecting the right cut to that crucial resting period, each step plays a vital role in the final outcome.
This guide provides the roadmap. Now it’s time for you to hit the grill and make it happen. Don’t be afraid to put your own spin on the seasoning or side dishes – that’s part of the fun! Embrace the process, learn from each cook, and soon you’ll be grilling steaks that are not just good, but truly exceptional.
Ready to own your grilling image? Start with choosing a quality cut and mastering the rest – these two steps alone will elevate your steak game dramatically. Share your #SteakMastery or #GrillKing moments with us on Pinterest or your favorite socials!
For your convenience, we’ve linked quality meat thermometers and kosher salt (affiliate links that help support our work) matching these tips. Happy grilling!