Hey guys! Mercer Wexley here. You know, as a guy who’s been around the block a few times, I’ve learned that tackling home projects can feel like navigating a minefield. Painting a room, in particular, often conjures images of drips, uneven lines, and a general sense of DIY dread. But here’s a secret: achieving a pro-level finish isn’t about innate talent; it’s about knowing the right moves. Imagine walking into a room that feels refreshed, vibrant, and utterly you, all thanks to your own hands. It’s not just about a new coat of paint; it’s about a renewed sense of accomplishment.
Let’s face it, your “casual Friday” tee shouldn’t double as a painting smock, and that half-used can of beige paint from 2008 isn’t exactly inspiring. We’re going to change that. This guide is designed to equip you with the straightforward, actionable steps to transform your space, turning what might seem like a chore into a satisfying victory. Think of this as your personal masterclass in turning a drab wall into a statement piece.
The Foundation: Gathering Your Arsenal
Before you even think about dipping a brush, we need to ensure you have the right gear. Cutting corners here is like trying to build a great watch without the tiny gears – it just won’t work. Quality tools make all the difference, turning a potentially frustrating experience into a smooth, efficient process.
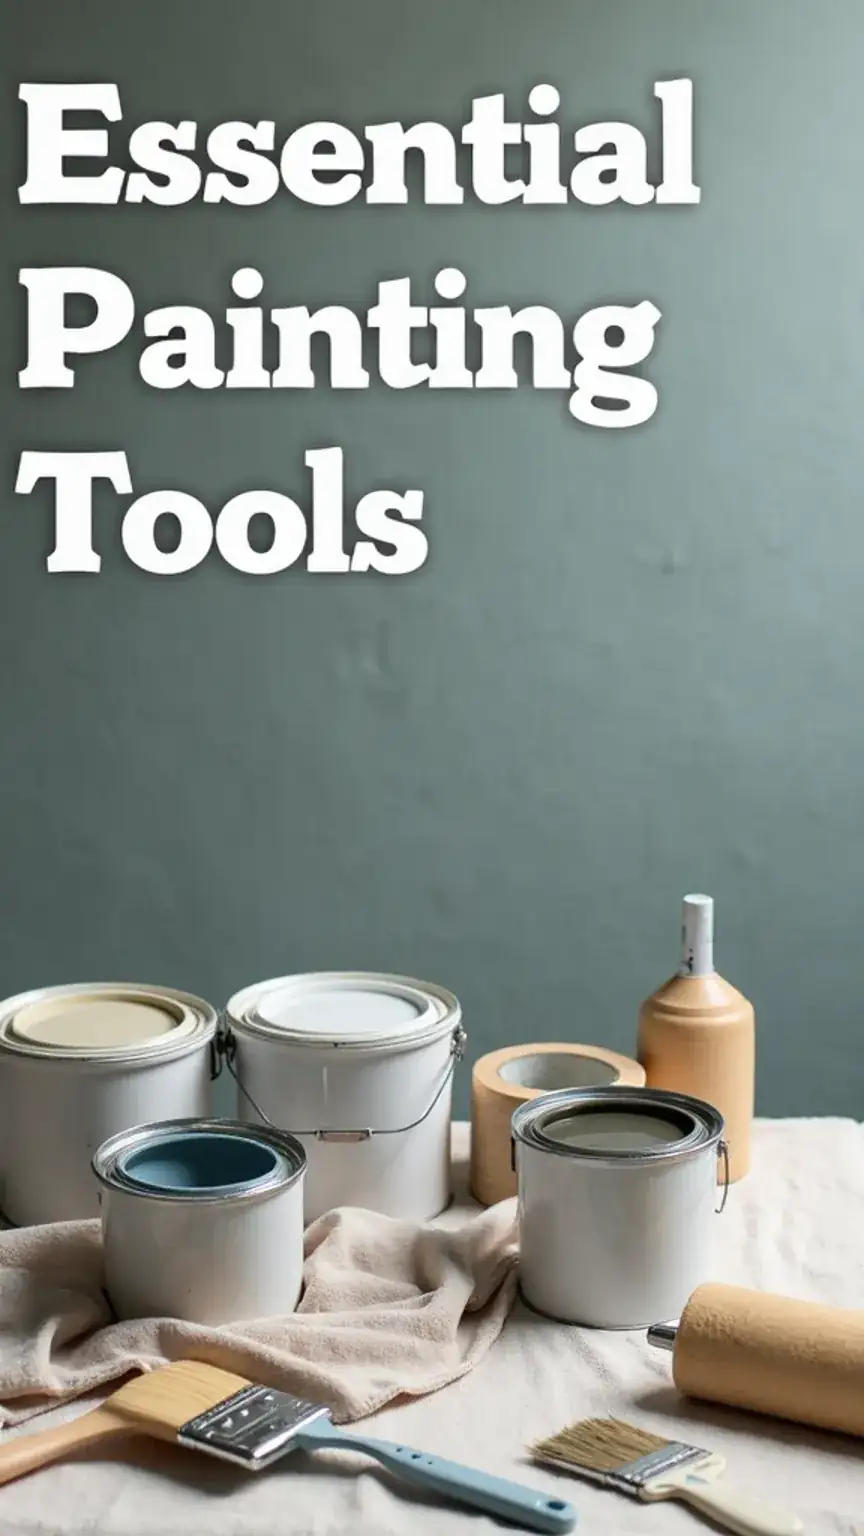
Here’s your essential toolkit for painting like a seasoned pro:
- High-Quality Paint: This is non-negotiable. Opt for a reputable brand known for good coverage and durability. The sheen—matte, eggshell, satin, semi-gloss—will depend on the room and your preference. For most walls, eggshell or satin offers a nice balance of cleanability and subtle sheen. You can find excellent options at Home Depot, but don’t hesitate to explore specialized paint stores for expert advice.
- Paintbrushes: You’ll need a few. A good angled brush (around 2-3 inches) is crucial for “cutting in” edges and corners. Smaller artist brushes are handy for tiny touch-ups.
- Rollers: A standard 9-inch roller with a medium nap (around 1/2 inch) is perfect for most walls. Consider a smaller roller for cutting in or tight spaces.
- Paint Tray and Liners: Liners make cleanup a breeze – a true lifesaver.
- Drop Cloths: While old sheets work in a pinch, proper canvas or plastic drop cloths offer superior protection. You want to protect your floors and any furniture you couldn’t move.
- Painter’s Tape: Essential for crisp, clean lines along trim, ceilings, and fixtures. Look for high-quality blue or green painter’s tape designed for sharp lines.
- Sandpaper: Medium-grit (100-150) for smoothing imperfections and fine-grit (220) for a super-smooth finish before priming or painting.
- Primer: While sometimes optional, primer is a game-changer, especially when painting over dark colors, glossy surfaces, or stains. It ensures even color absorption and better paint adhesion.
Step 1: The Art of Preparation—Don’t Skip This!
This is where the magic truly begins, even before the paint touches the wall. Proper preparation is the bedrock of a professional finish, and honestly, it’s the most critical step. Think of it as setting the stage for a flawless performance.
First, you need to clear the room as much as possible. If you have furniture, move it to the center of the room and cover it completely with drop cloths. Remove curtains, blinds, and any wall decor. This ensures unobstructed access to every inch of your walls.
Next, address the details. Unscrew and remove outlet covers and switch plates. This prevents paint from getting on them and allows for a cleaner line when painting. Furthermore, cover any vents or air registers with painter’s tape and paper to prevent paint dust from entering your HVAC system. This simple step saves a lot of hassle later.
Step 2: Taping for Precision
Achieving those sharp, clean lines where walls meet trim, ceilings, or other painted surfaces is all about meticulous taping. This is not the time to rush; take your time and aim for precision. A well-taped room is a painter’s best friend.
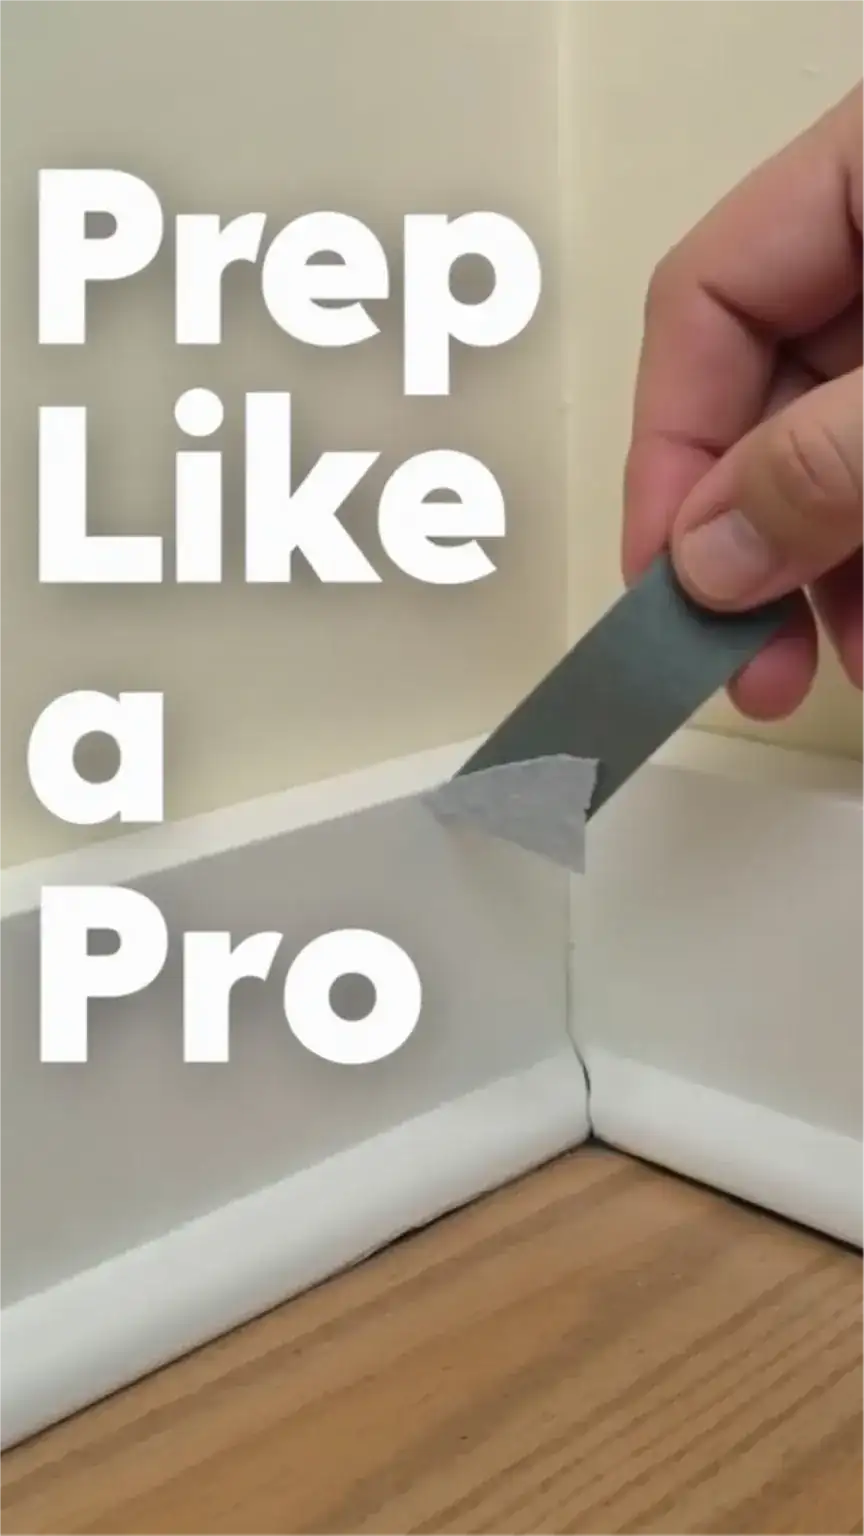
Apply painter’s tape along the edges of baseboards, door frames, window frames, and the ceiling line. Ensure the tape is pressed down firmly with no air bubbles or lifting edges. For an extra sharp line, you can lightly run a putty knife or a credit card along the edge of the tape. This creates a seal that paint is less likely to seep under.
Remember, the goal is a seamless transition between colors or surfaces. This attention to detail is what elevates a DIY paint job from “okay” to “wow.”
Step 3: Wall Surface Perfection
Before any paint hits the wall, you need a smooth, clean canvas. This step is vital for paint adhesion and the overall look of your finished walls. Rough patches or dirt can lead to an uneven finish and premature peeling.
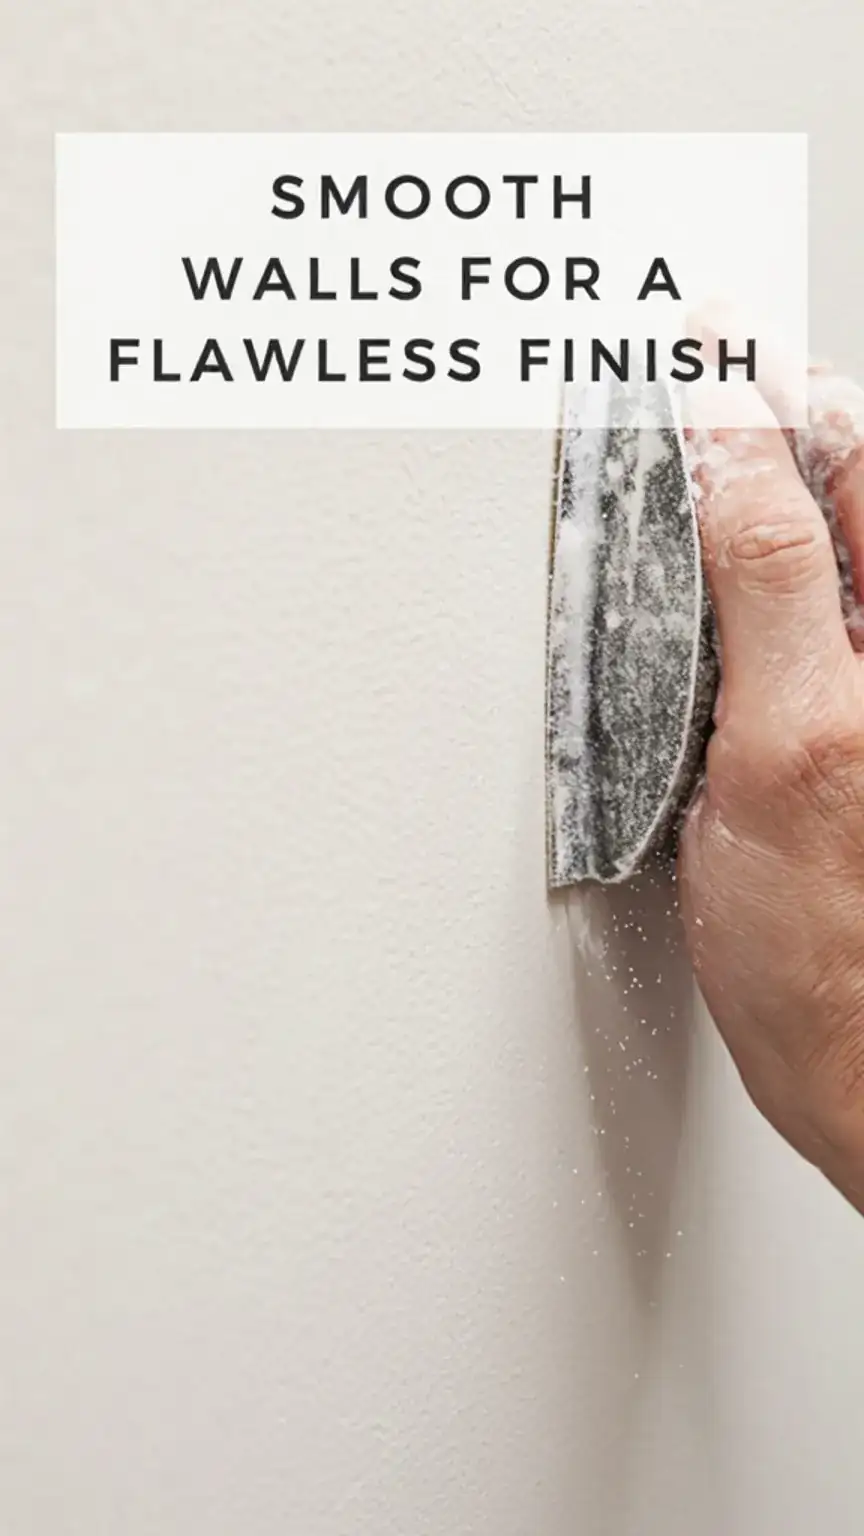
Start by lightly sanding any rough spots, bumps, or old peeling paint. Use medium-grit sandpaper for this. After sanding, wipe down the walls thoroughly with a damp cloth or a sponge. A mild soap solution can be used for stubborn grime or grease, but be sure to rinse the walls with a clean, damp cloth afterward. Allow the walls to dry completely before proceeding.
This cleaning and smoothing process ensures that your new paint will adhere properly and look its best.
Step 4: The Primer Power-Up (Optional, But Recommended)
Primer acts as a bridge between your old wall surface and your new paint color. While some might skip this step to save time, it’s often the secret weapon for a truly professional result. Primer helps with paint adhesion, covers stains, and ensures a more uniform color.
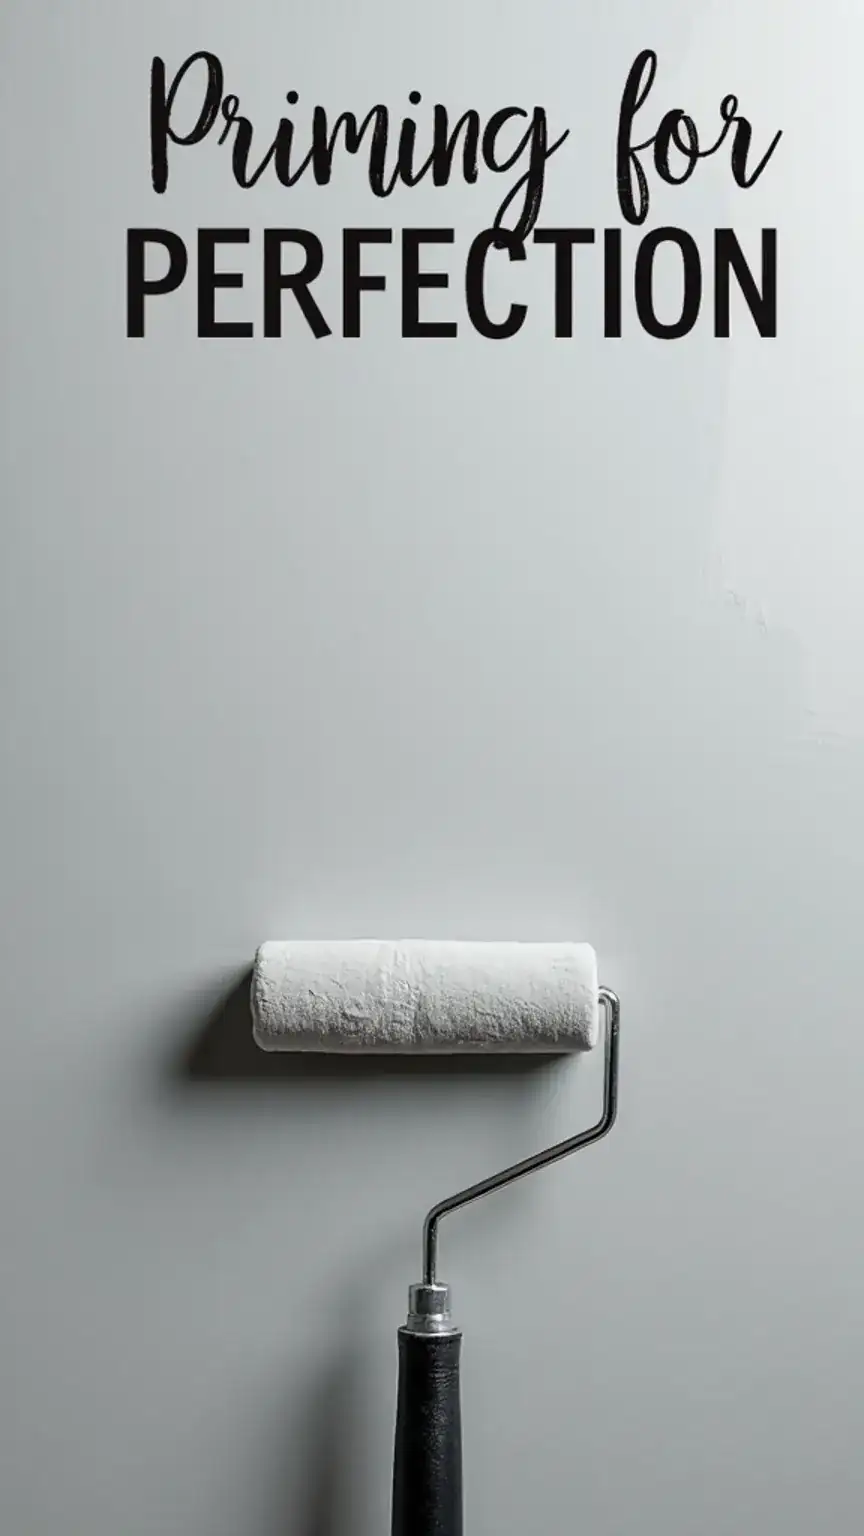
If you’re painting over a dark color with a lighter one, or if your walls have significant stains or glossy paint, priming is a must. Apply a thin, even coat of primer using a roller for large areas and an angled brush for edges. Follow the manufacturer’s instructions regarding drying time. Typically, one coat is sufficient, but for drastic color changes, two coats might be necessary.
This step guarantees that your topcoat will look exactly as intended, without the underlying color showing through.
Step 5: The Main Event—Applying the Paint
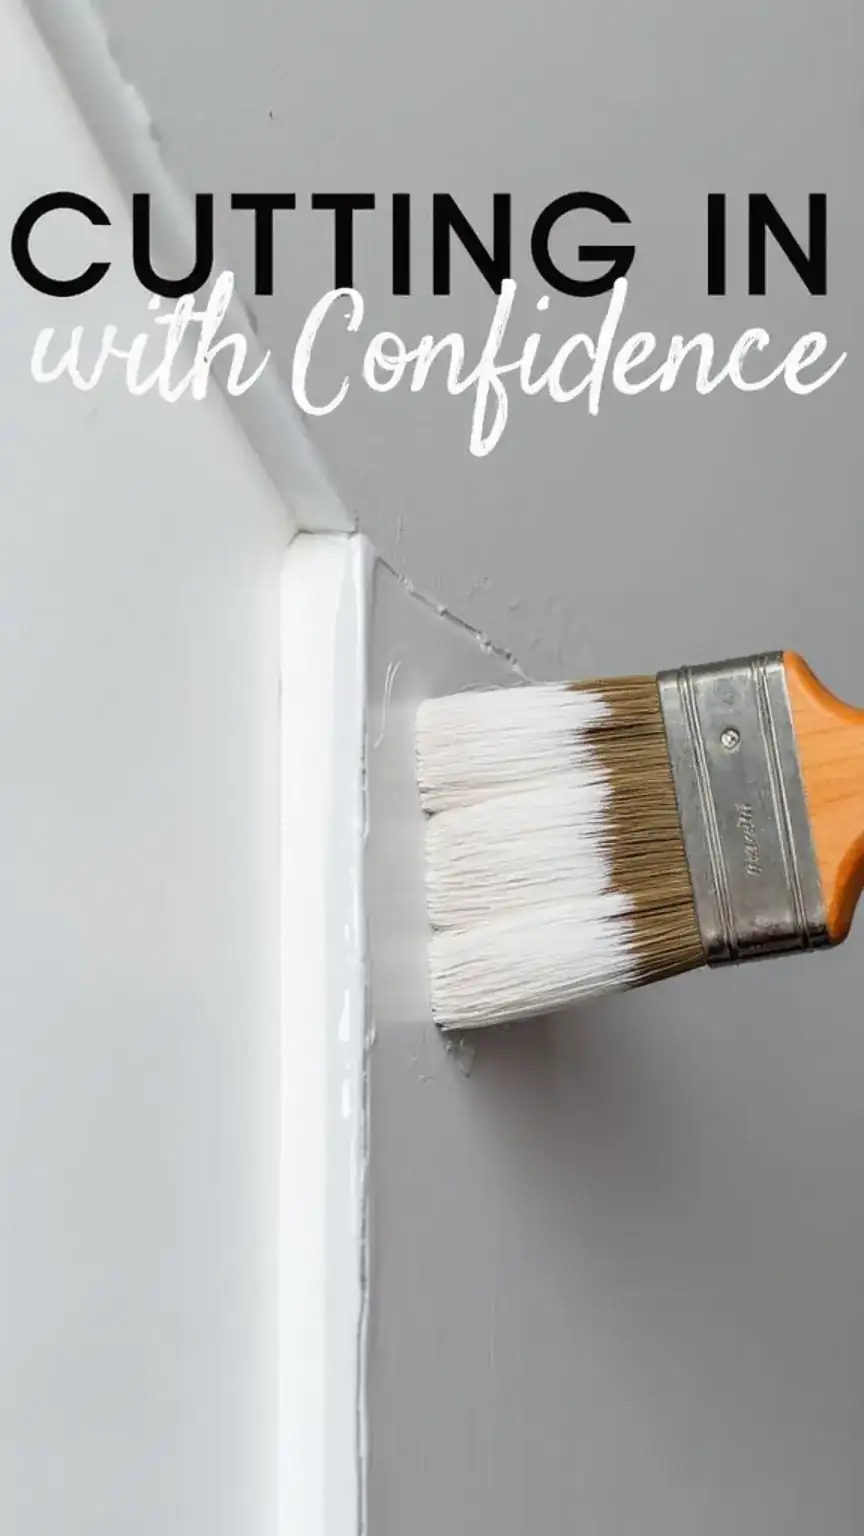
Now for the moment you’ve been waiting for! This is where your chosen color comes to life on the walls. The technique here is key to achieving an even, consistent finish without visible roller marks or brush strokes.
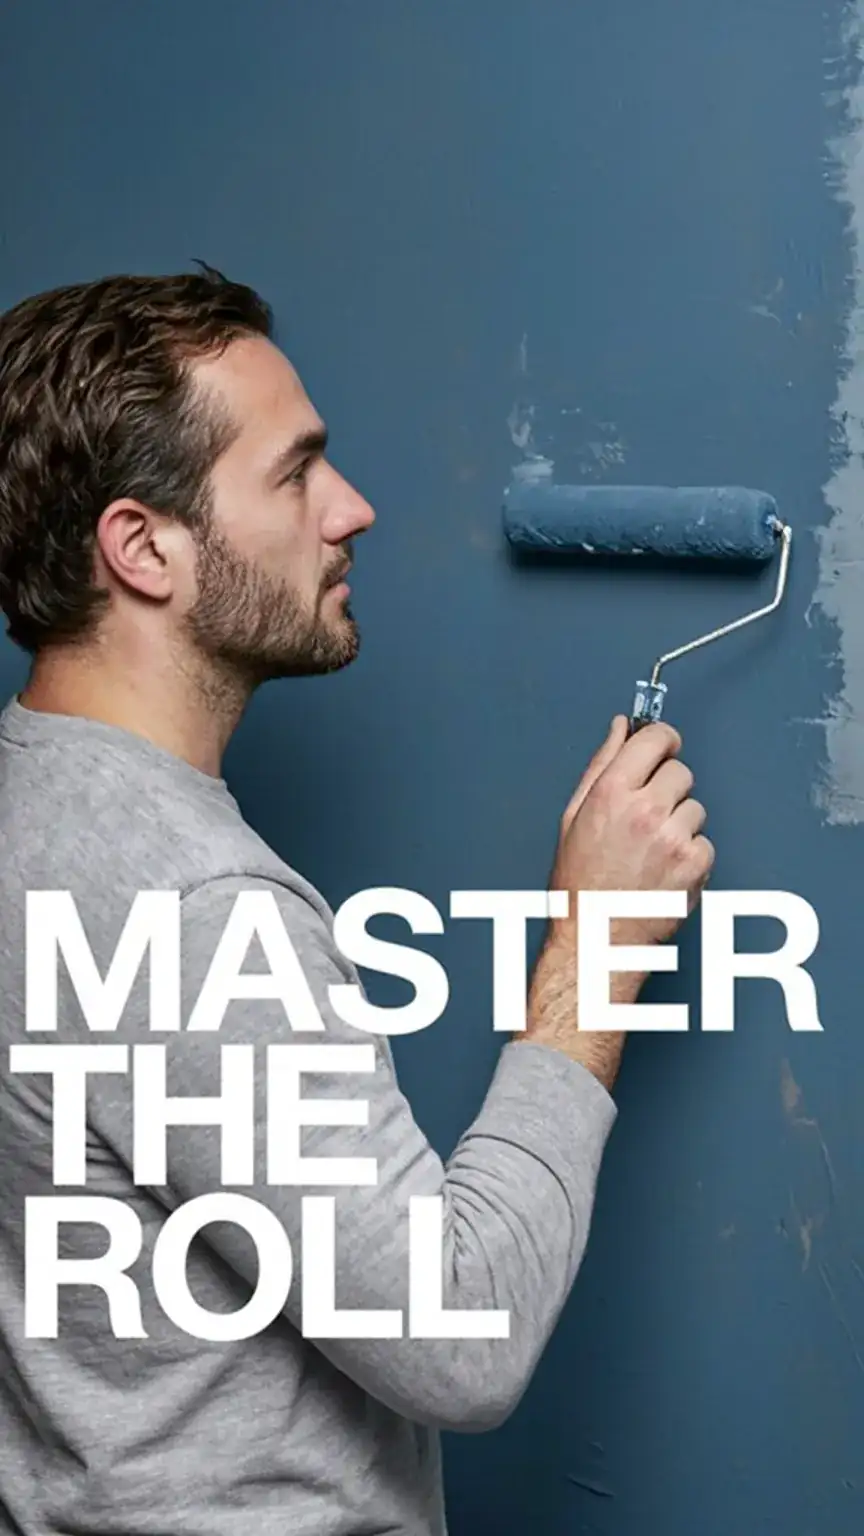
Start by “cutting in” the edges and corners. Use your angled brush to paint a strip about 2-3 inches wide along the taped edges, around fixtures, and in corners. This creates a border for your roller. Then, load your roller with paint, ensuring it’s not overloaded (roll off excess on the tray grid).
Begin rolling in a “W” or “M” pattern on the wall. Work in sections, overlapping each stroke slightly to avoid dry spots. Always maintain a “wet edge,” meaning you paint into the previously painted, still-wet section. This prevents lap marks. Apply your first coat evenly, and allow it to dry completely according to the paint manufacturer’s instructions. This usually takes a few hours.
Then, apply a second coat using the same technique. A second coat is almost always necessary for full, opaque coverage, especially with lighter colors or certain paint finishes.
Step 6: The Reveal—Removing Tape and Cleanup
The paint is dry, the room looks transformed, but the job isn’t quite finished. The removal of painter’s tape and the subsequent cleanup are the final steps to a truly polished outcome. This is where you see the fruits of your labor, and a little care here makes a big difference.
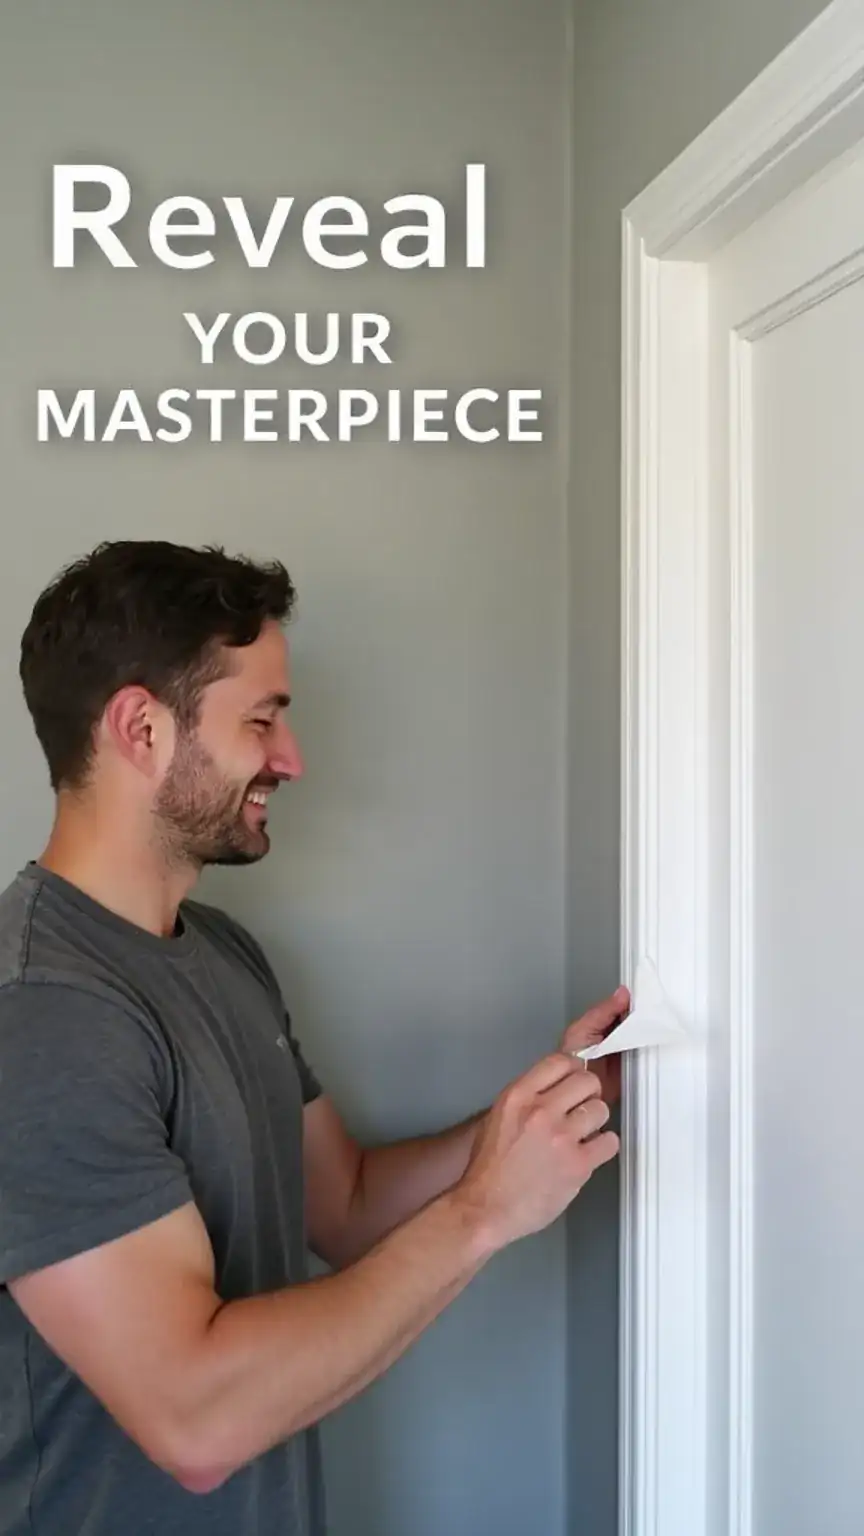
Wait until the paint is dry to the touch, but not completely cured (usually within 24 hours), to remove the tape. Pull the tape off slowly and at a 45-degree angle. If you wait too long, the paint can adhere to the tape, potentially peeling off with it. If you notice any minor paint bleeds, gently scrape them away with a utility knife or touch them up with a small brush.
Clean your brushes and rollers immediately with soap and water. This not only makes them reusable but also prevents paint from hardening, ruining your tools. Wipe down any accidental drips or splatters on floors or furniture.
Step 7: The Grand Finale—Final Touches
With the main painting complete, it’s time for the finishing touches that seal the deal. This is about returning the room to its functional state and appreciating your accomplishment.
Carefully replace the outlet covers and switch plates you removed earlier. Make sure they are clean and free of any paint smudges. Now, step back and admire your work. You’ve transformed your space with your own two hands, achieving a professional finish that adds value and personality to your home. It’s a rewarding feeling, and you absolutely earned it.
Tag a buddy who needs a home refresh! You can show them this guide as proof that anyone can paint like a pro.
Conclusion: Your New Canvas Awaits
Painting a room might seem like a daunting task, but as you’ve seen, with the right preparation and a methodical approach, you can achieve results that rival any professional. Remember the key steps: thorough preparation, precise taping, smooth surface prep, quality primer (if needed), careful application, and meticulous cleanup. Each stage contributes to that final, polished look.
Your future self, enjoying the refreshed space, will thank you for the effort. This isn’t just about a new color; it’s about taking pride in your home and empowering yourself with new skills.
Ready to own your space? Start with clearing the room and gathering your tools, and share your #HomeRefresh or #DIYProPaint on Pinterest or your favorite socials!