Let’s be honest, fellas. A man’s home is his castle, right? But what happens when that castle starts resembling a dragon’s hoard, overflowing with… well, stuff? We’re talking about that ever-growing pile of gym gear, the stack of unread books threatening to topple, and the tools that seem to multiply in the garage. It’s a common pain point, and frankly, it can chip away at your sense of order and peace. Imagine walking into your space, not with a sigh of exasperation, but with a quiet confidence that everything has its place. That’s the power of smart shelving and storage solutions.
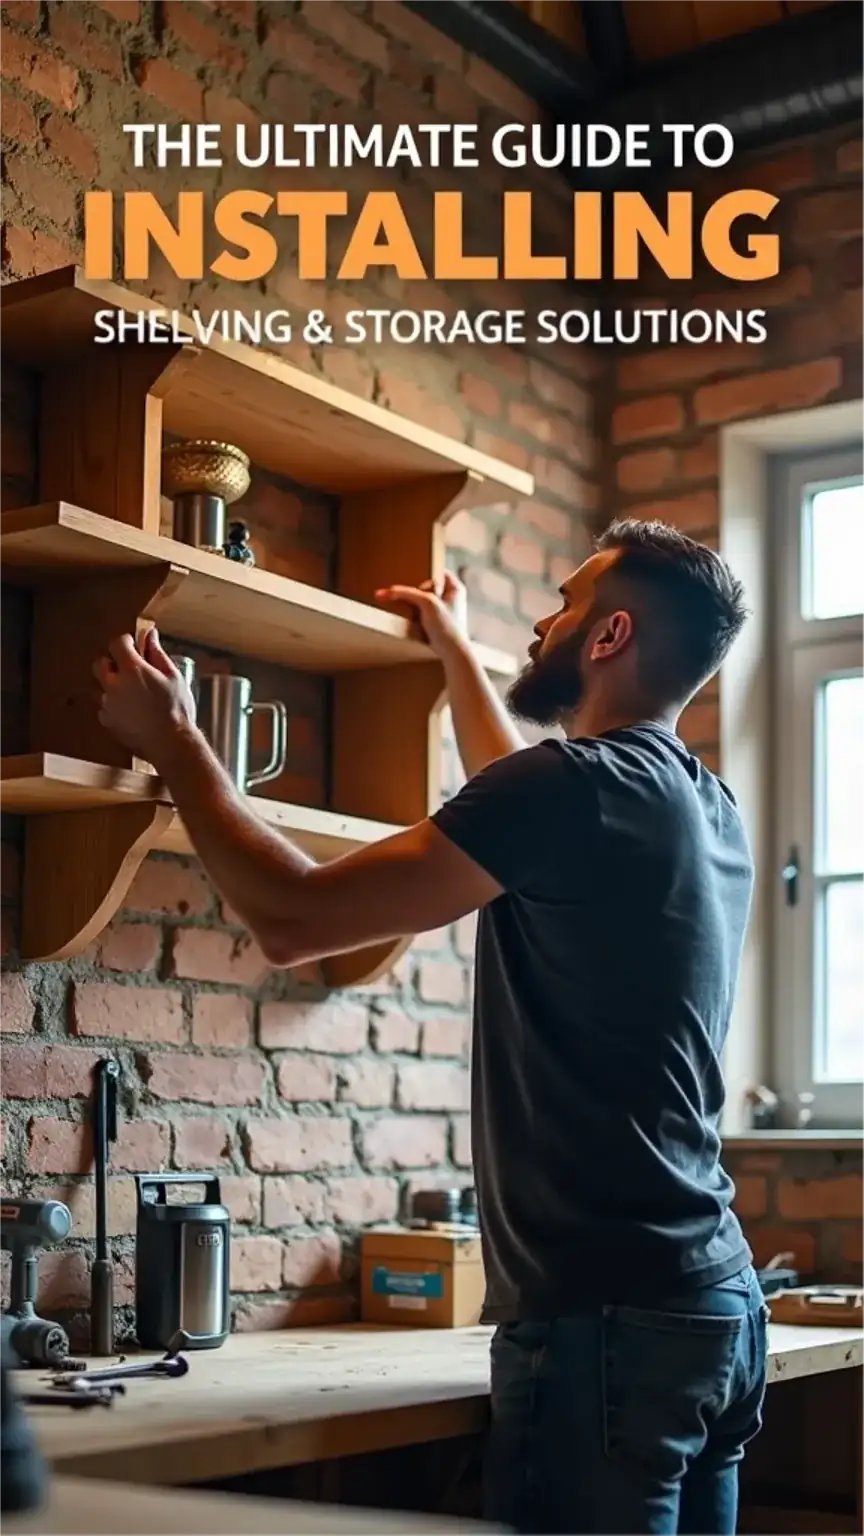
Conquer the Chaos: Your Ultimate Guide to Installing Shelving and Storage Solutions
As a former automotive marketing director who’s now navigating the finer points of life, style, and substance, I’ve learned a thing or two about creating a polished environment. This isn’t just about tidiness; it’s about reclaiming your space and, by extension, your sanity. We’re going beyond just slapping some planks on the wall. This is about strategic organization that reflects a man in control, a man who values efficiency and a touch of effortless style. So, whether you’re a seasoned DIYer or looking to conquer your first home project, this guide is your blueprint to a more organized domain.
Step 1: Plan Your Shelving and Storage Needs – The Blueprint for Order
Before you even think about picking up a drill, the most crucial step is to become a detective in your own home. What exactly is cluttering your life? Take a candid inventory. Are you drowning in books? Is your workshop a labyrinth of tools? Or perhaps your entryway resembles a mudroom explosion after a single rainy day. Make a detailed list of the items you need to store. Don’t just say “clothes”; specify “winter coats,” “summer shirts,” “extra blankets.”
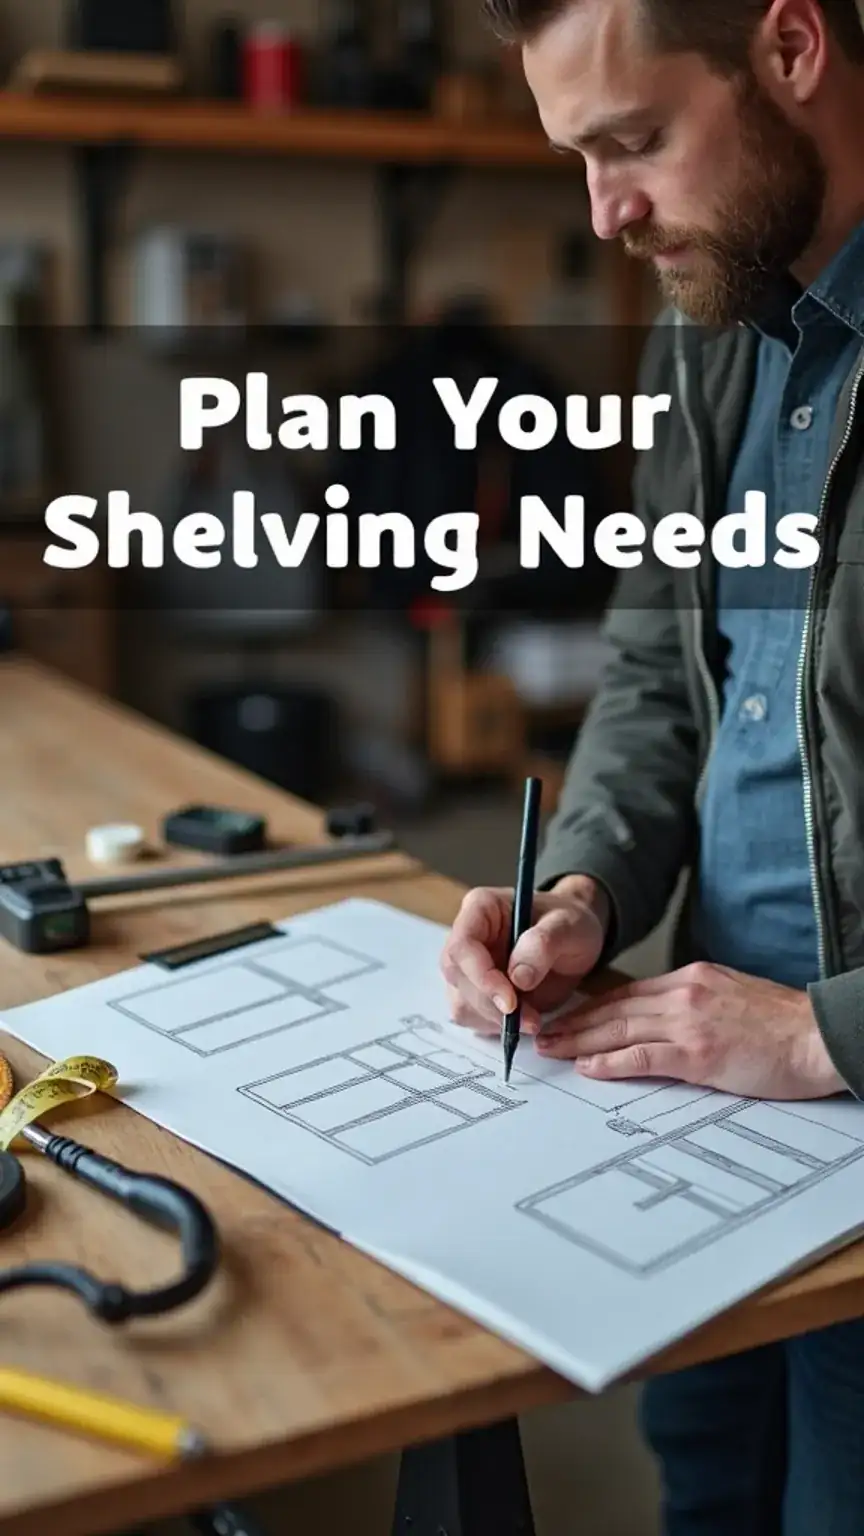
Furthermore, accurately assess the available space. Measure the dimensions of the walls, closets, or any area designated for your new storage. Consider the height, width, and depth required for your items. For example, tall items need taller shelves, while smaller trinkets might benefit from compartmentalized storage. This meticulous planning prevents impulse buys and ensures your solutions are truly functional, not just aesthetically pleasing. It’s like tuning up a classic car; every component needs to be just right.
Step 2: Choose the Right Shelving and Storage Solutions – Material Matters
Now that you know what you need to store and where, it’s time to select the right tools for the job. The world of shelving and storage is vast, offering everything from sleek, minimalist floating shelves to robust, industrial-style units. Consider the materials available. Wood, for instance, offers a classic, warm feel and can be painted or stained to match your décor. Metal shelving, on the other hand, often lends itself to a more modern or industrial aesthetic and is incredibly durable.
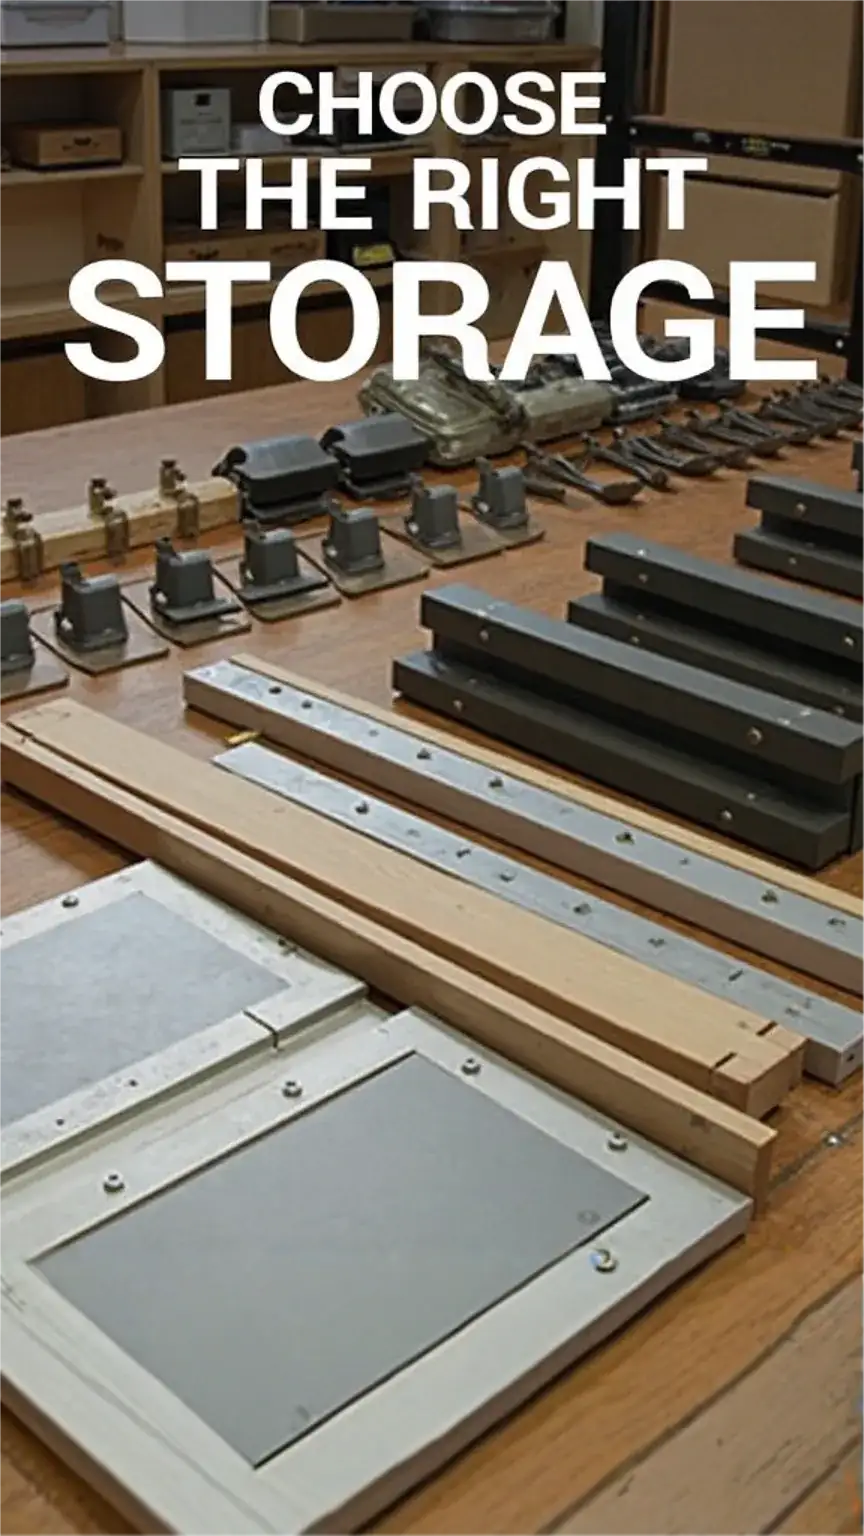
Think about the style and functionality. Do you need open shelving to display your prized collection of vinyl records, or enclosed cabinets to hide everyday clutter? Perhaps a combination is best. You can opt for DIY shelving solutions, which offer immense satisfaction and customization. Alternatively, pre-made units can be a fantastic time-saver. Consider modular systems that allow for future expansion. For a touch of masculine elegance, think about incorporating elements like leather accents or dark wood finishes.
Step 3: Measure and Mark the Installation Area – Precision is Key
This is where the rubber meets the road, or rather, where the level meets the wall. Accurate measurement and marking are non-negotiable for a professional-looking finish. Use a high-quality measuring tape to determine the exact placement of your shelves or storage units. Mark the intended spots lightly with a pencil. Crucially, use a spirit level to ensure your markings are perfectly straight. A crooked shelf is not only an eyesore but can also compromise the structural integrity of your storage.
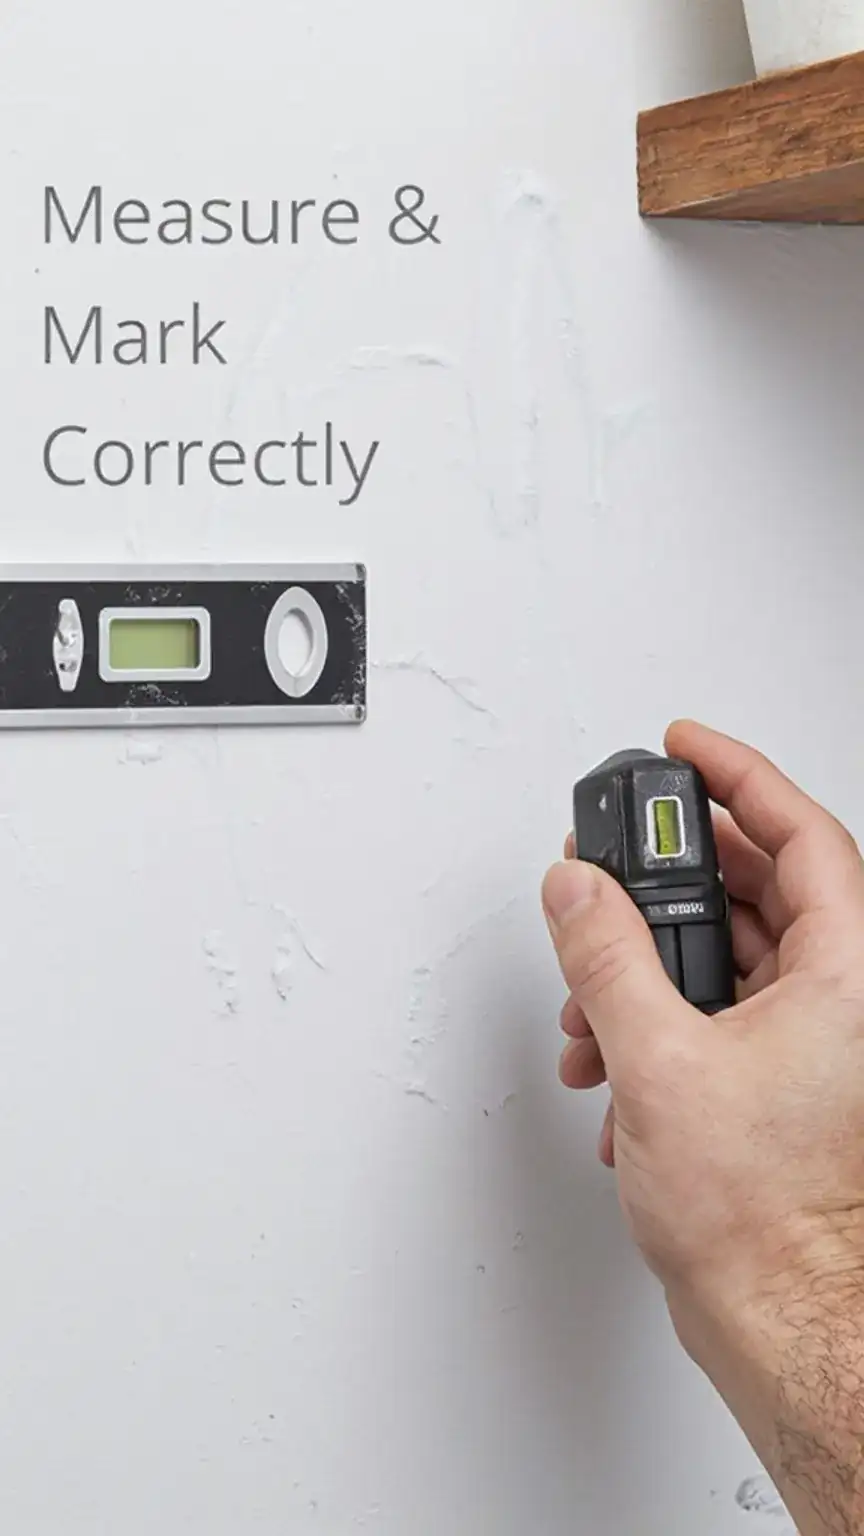
Furthermore, locating wall studs is paramount for secure installation, especially for heavier items. Invest in a reliable stud finder. These handy devices detect the solid wood framing behind your drywall, providing the necessary support. Mark the stud locations clearly. Failing to anchor shelves into studs can lead to sagging, instability, and potentially dangerous situations. Remember, a little extra time spent on this step saves a lot of headaches down the line. It’s the equivalent of double-checking your alignment before a crucial golf swing.
Step 4: Install the Shelving and Storage Solutions – Building Your Fortress of Order
With your measurements precise and your studs located, it’s time for the satisfying part: installation. If you’re working with a kit, meticulously follow the manufacturer’s instructions. These are usually designed for straightforward assembly. For custom builds or attaching shelves directly to the wall, you’ll likely be using screws. Select screws that are appropriate for the weight the shelf will bear and the type of wall material. Again, use your level to confirm the shelf is straight as you secure it.

When attaching brackets or shelves to the wall, aim for the marked stud locations. Predrilling pilot holes can make driving screws easier and prevent wood from splitting, especially in softer woods. If you’re installing shelves in a situation where studs aren’t perfectly aligned with your desired placement, use heavy-duty drywall anchors designed for significant weight. It’s always better to over-secure than under-secure. Take your time, double-check your work, and ensure each piece is firmly in place. Your future self, enjoying the organized space, will definitely thank you.
Step 5: Add the Finishing Touches – The Details That Define
The bulk of the work is done, but the final touches elevate your newly installed shelving from functional to fantastic. This might involve adding decorative trim or molding to cover any small gaps between the shelves and the wall, creating a seamless, built-in look. Consider the type of hardware you’ll use if your storage includes doors or drawers. Drawer pulls, cabinet handles, or even unique knobs can add a significant aesthetic upgrade and improve usability.

Think about how you’ll organize the items on the shelves. Utilize drawer dividers, small bins, or stylish baskets to group similar items. This not only keeps things tidy but also makes finding what you need a breeze. For a truly polished presentation, consider how you arrange your belongings. Grouping books by size or color, or displaying a few carefully chosen decorative items, can transform utilitarian shelves into a showcase. It’s the equivalent of a perfectly tied Windsor knot – it shows attention to detail.
Elevate Your Space: Beyond the Basics
Ladies, if the man in your life is nodding along to this guide, consider it a subtle hint that he’s ready for an upgrade! Having a well-organized home isn’t just about aesthetics; it’s a reflection of a man who has his life in order. For instance, imagine him effortlessly finding that specific document for work, or presenting a perfectly curated selection of his favorite whiskey bottles. It speaks volumes about his character.
Consider the impact of smart storage on different areas of the home. In the living room, floating shelves can elegantly display art or photos, while a stylish media console can hide unsightly cables. For the garage or workshop, heavy-duty shelving units are essential for keeping tools and equipment organized and accessible. Even the entryway can be transformed with a well-placed coat rack and a shoe bench with built-in storage. These aren’t just shelves; they are power-ups for your daily life.

Pro Tips for the Discerning Homeowner
- Consider adjustable shelving: This offers flexibility as your storage needs evolve over time.
- Think about lighting: Adding subtle LED strip lighting under shelves can create a sophisticated ambiance and improve visibility.
- Maximize vertical space: Don’t forget about the often-underutilized space near the ceiling. Tall, narrow shelving units can provide significant storage without taking up much floor space.
- DIY vs. Pre-made: For simple open shelves, DIY is often cost-effective. For more complex systems like built-in wardrobes or specialized units, pre-made options might be more practical.
- Weight considerations: Always know the weight capacity of your shelves and fasteners. Overloading can lead to disaster.
- Aesthetics matter: Choose finishes and styles that complement your existing décor. Dark woods, brushed metal, or even painted finishes can all contribute to a cohesive look.
This meticulous approach to home organization is akin to refining your personal brand. Just as a sharp suit and polished shoes project confidence, a well-organized living space signals a man who is intentional and in control. It’s about creating an environment that supports your lifestyle, rather than hindering it.
Conclusion: Embrace the Order, Reclaim Your Space
Installing shelving and storage solutions might seem like a significant undertaking, but as we’ve outlined, it’s a manageable process when broken down into logical steps. You’ve planned, you’ve chosen, you’ve measured, and you’ve built. The result? A home that feels more spacious, more functional, and undeniably more peaceful. This isn’t just about decluttering; it’s about creating a more intentional and enjoyable living environment.
Ready to transform your space and conquer the chaos? Start by implementing Step 1: Plan Your Shelving and Storage Needs this weekend. Take stock, make that list, and envision the calm that awaits. Share your progress and your newly organized spaces using #MyOrganizedHaven on social media – we’d love to see what you create!
Explore more DIY home improvement tips and tricks on our blog to continue elevating your living space.