
Grill Maintenance 101: Why You Need to Clean Your Grill
As a guy who’s been there, I know how easy it is to neglect your grill. Between the burgers, hot dogs, and steaks, it’s easy to forget about the importance of maintaining your grill. But trust me, it’s crucial. Not only will it extend the life of your grill, but it’ll also ensure your food tastes better. And let’s be real, who doesn’t want to impress their friends and family with a perfectly cooked meal?
The Unseen Benefits of a Pristine Grill
Your grill is a breeding ground for bacteria and, frankly, a potential hangout for pests. Regularly cleaning it isn’t just about aesthetics; it’s about safeguarding your health. Furthermore, a well-maintained grill ensures your culinary creations shine. Imagine pulling off perfectly seared steaks, not just charred remnants. Similarly, clean grates mean no lingering flavors from yesterday’s barbecue impacting today’s delicate fish.
Why Clean Your Grill?
Your grill is a breeding ground for bacteria, and if you don’t clean it regularly, you’re putting your health at risk. Plus, a dirty grill is a breeding ground for pests, and no one wants to deal with that. Moreover, food particles left on the grates can ignite, creating flare-ups that ruin your food and potentially damage your grill. Therefore, consistent cleaning is paramount.
Mastering Grill Maintenance: A Step-by-Step Approach
Let’s get down to business. Cleaning your grill doesn’t have to be a Herculean task. With the right approach, it becomes a satisfying ritual that pays dividends in taste and longevity. Think of it as an investment in future backyard victories.
Step 1: The Crucial Cool-Down
Before you even think about grabbing a brush, ensure your grill is completely off and has cooled down. This is a non-negotiable safety step. Accidental burns are a quick way to turn a fun grilling session into a trip to the emergency room. Allow ample time for the metal to cool.
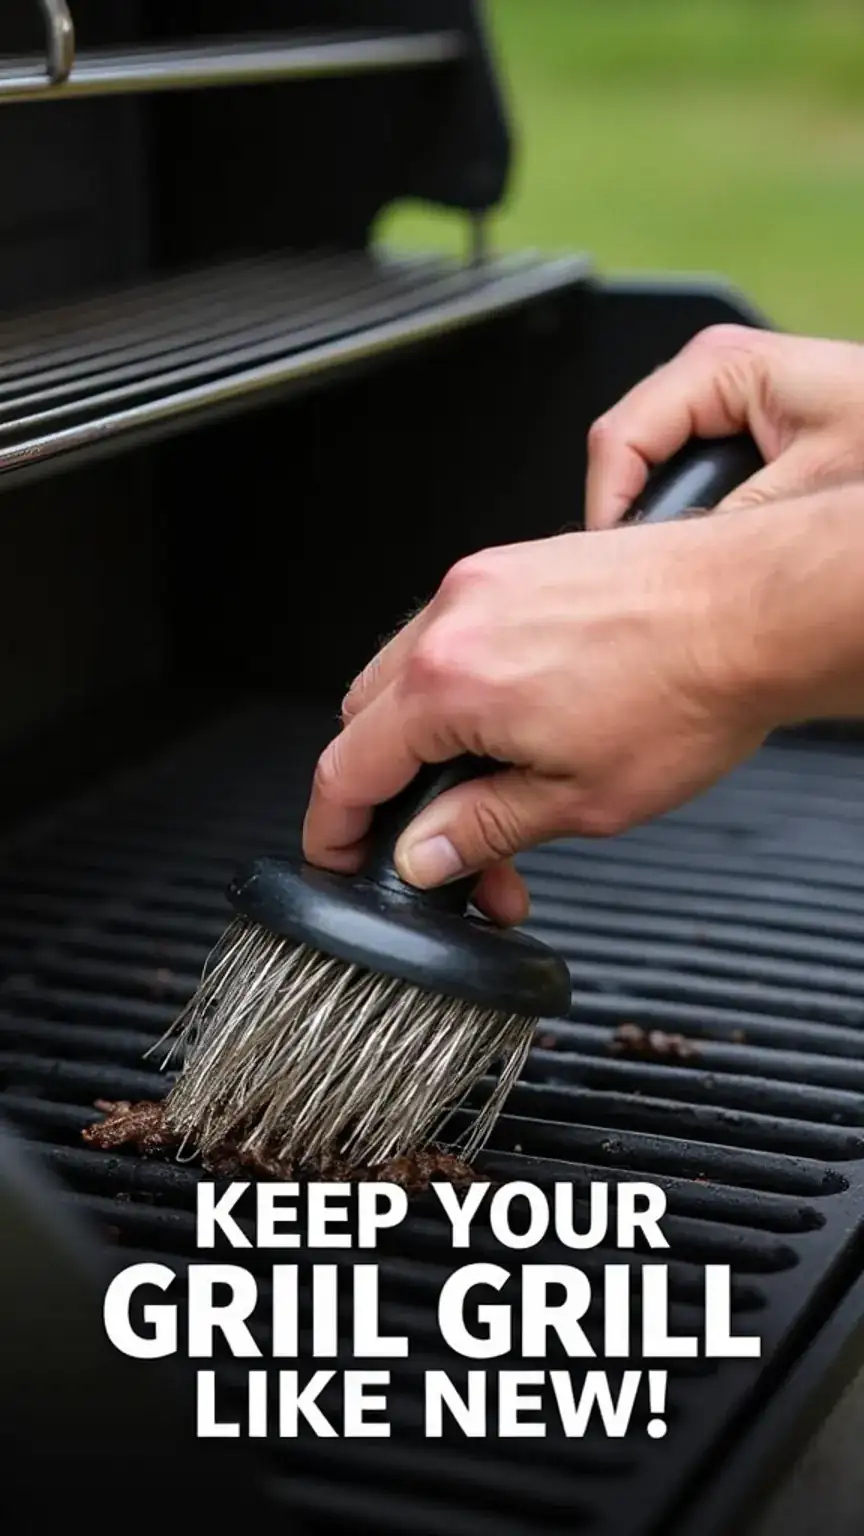
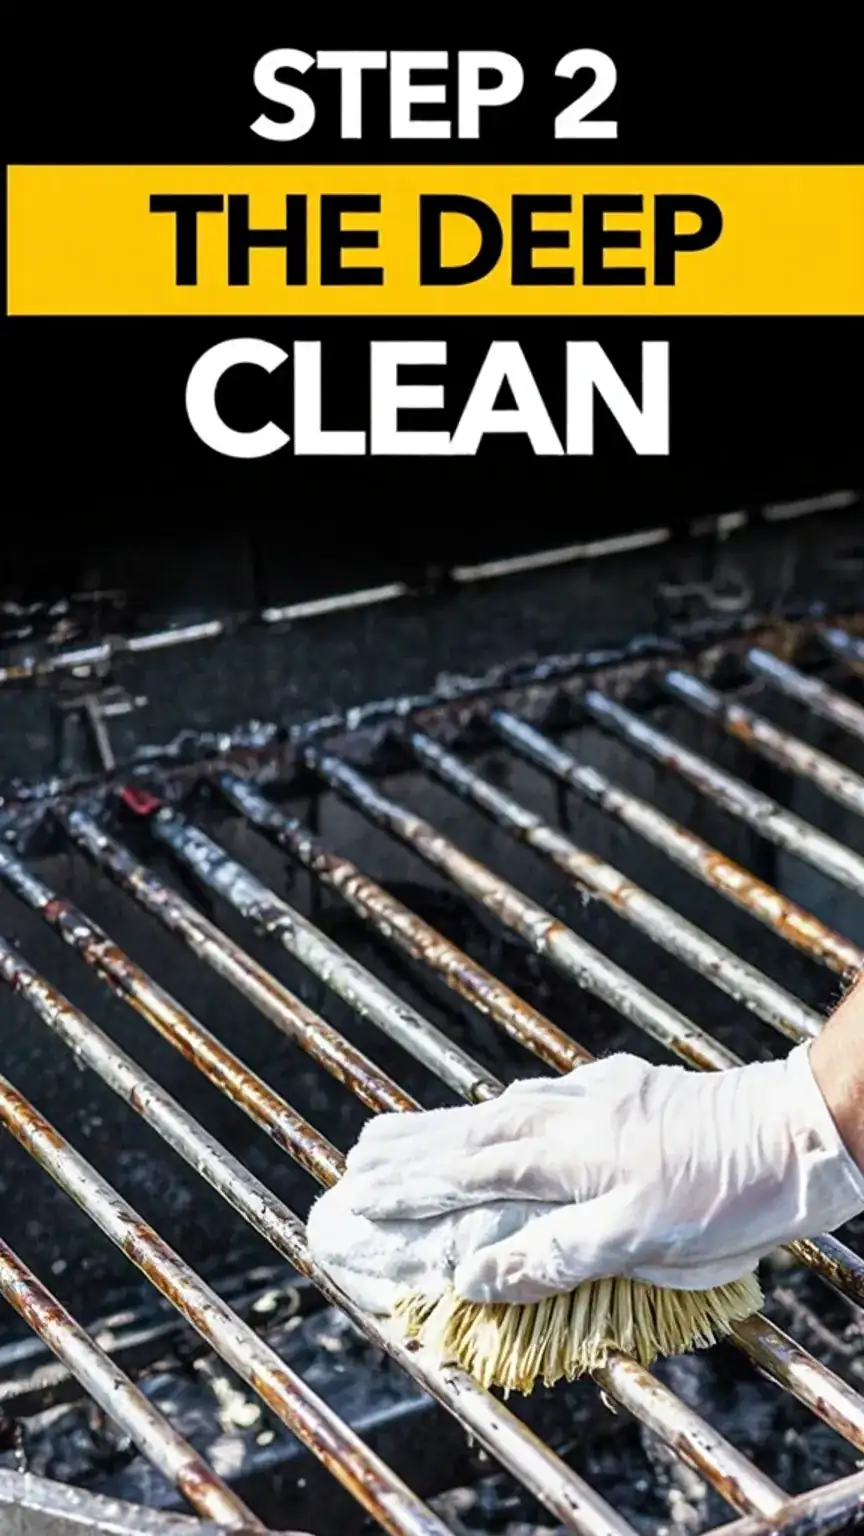
Step 2: Detach and De-Gunk the Grates
Once cool, the first order of business is removing the grates. These are typically the dirtiest parts. Grab a sturdy wire brush – ideally one with brass bristles for most grill surfaces, but check your manual – and get to work. Scrub away all charred food bits and grease. For those particularly stubborn spots, a good soak might be in order.
After brushing, wipe down the grill body itself with a damp cloth. This removes loose debris and prepares it for the next stage. Don’t forget the inside of the lid; grease can accumulate there too.
Step 3: Craft Your Cleaning Concoction
You don’t need industrial-strength chemicals. Often, simple household items work wonders. A fantastic, effective cleaning solution can be made with readily available ingredients. This mixture tackles grease and grime without being overly harsh.
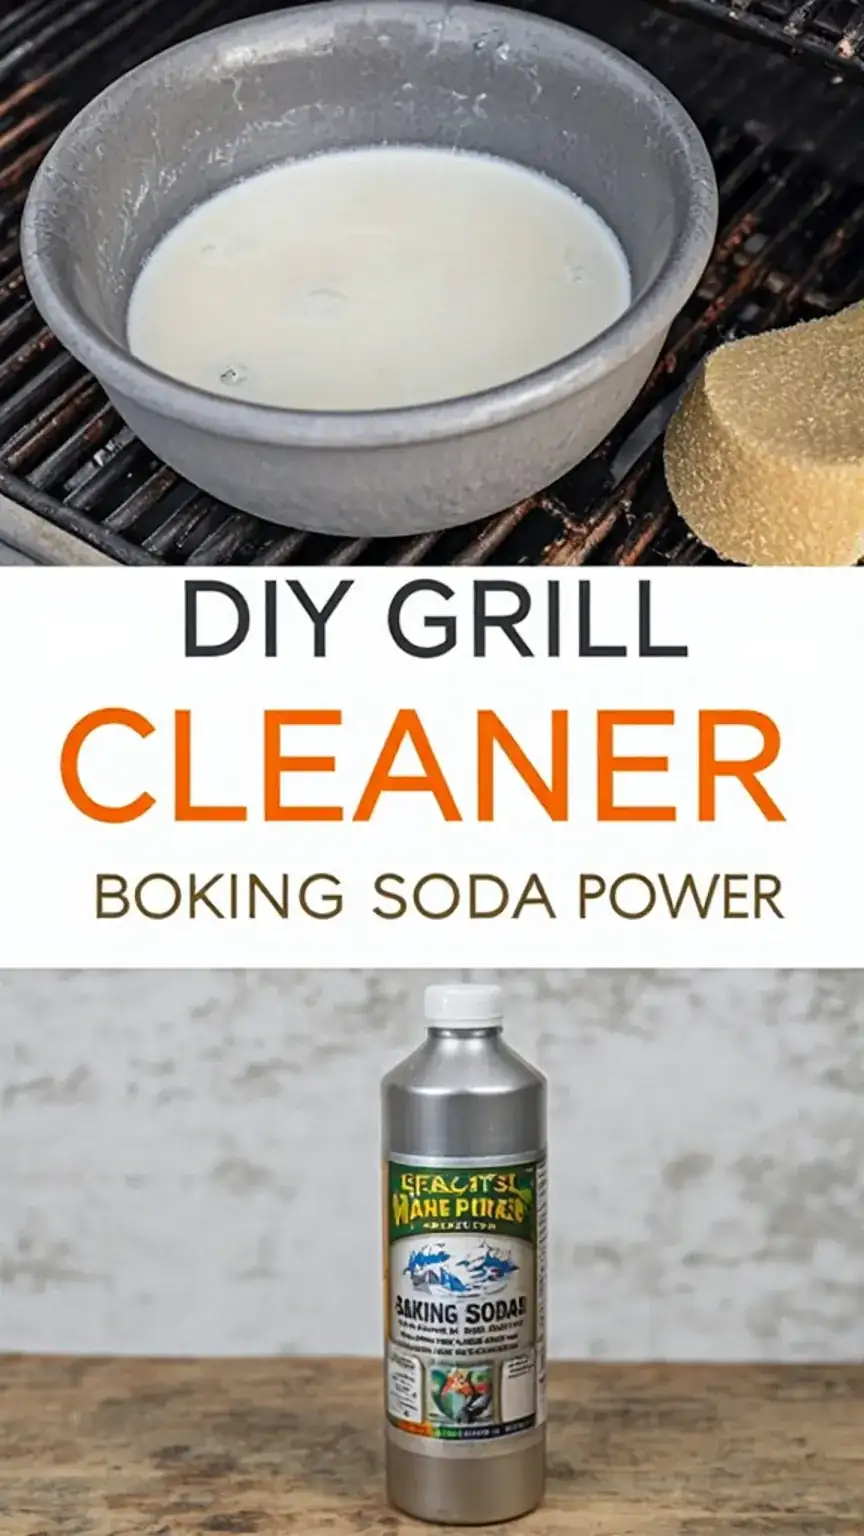
In a large bowl, mix 1 cup of baking soda, 1 cup of water, and 1 tablespoon of white vinegar. Baking soda is a mild abrasive that helps lift grease. Water dilutes the mixture, and vinegar acts as a degreaser. This natural blend is surprisingly powerful.
Step 4: Apply Generously
Now, it’s time to deploy your cleaning solution. Use a sponge or a dedicated grill brush to apply the mixture liberally to all surfaces of the grill. Ensure you cover the grates, the interior walls, and even the floor of the grill. Everywhere grease and grime might be hiding, your solution should go.
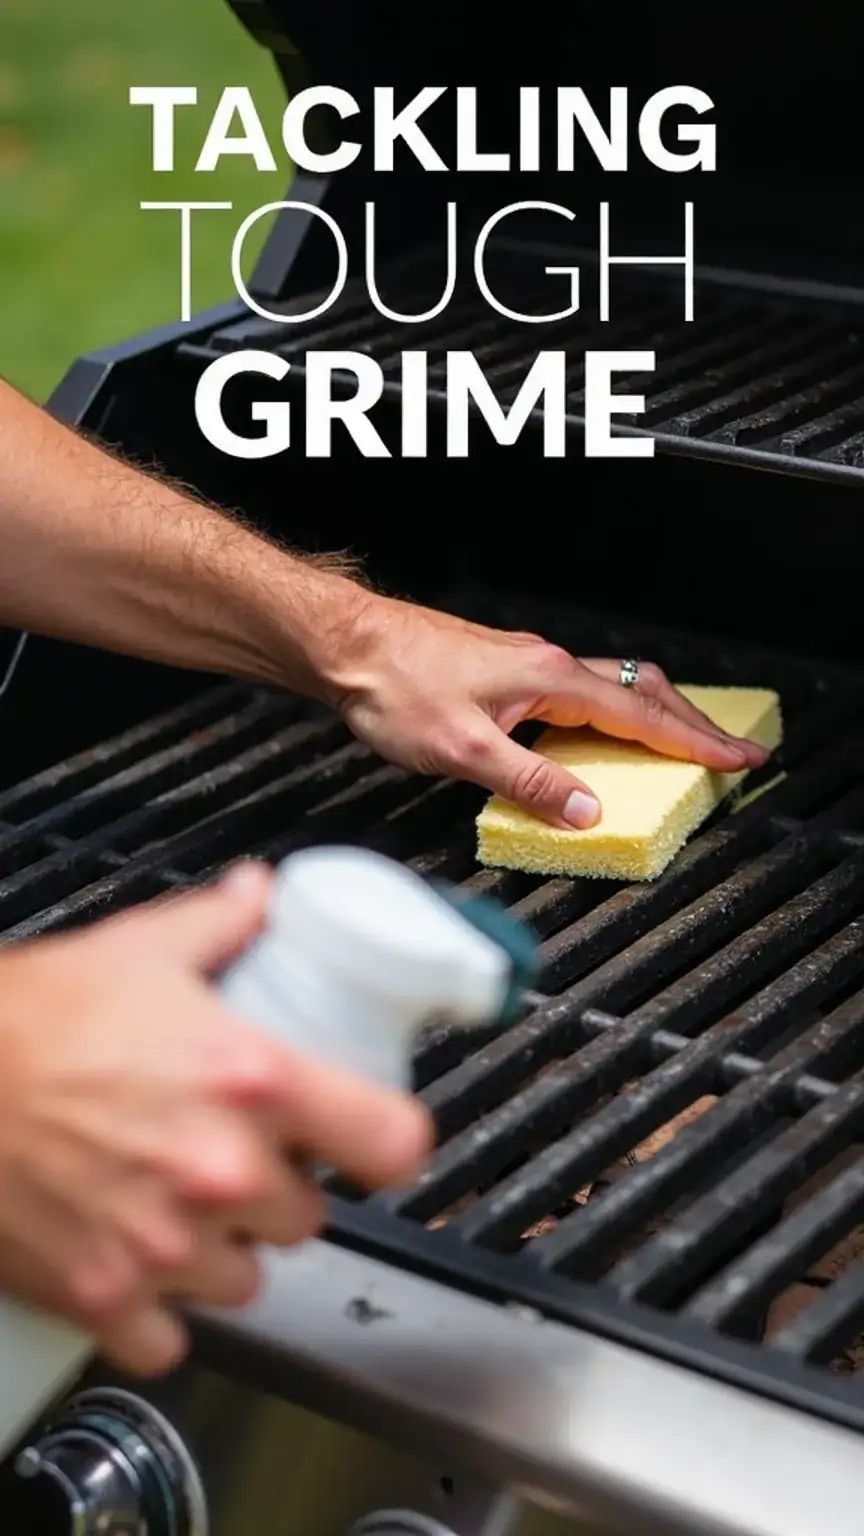
For stainless steel grills, always wipe with the grain to avoid scratching. Similarly, be mindful of any painted surfaces. A gentle, consistent application is key.
Step 5: Patience is a Virtue (and a Cleaning Strategy)
Allow the cleaning solution to work its magic for at least 30 minutes. This dwell time is crucial for the baking soda and vinegar to break down tough grime and baked-on grease. The longer it sits, the less scrubbing you’ll need to do.

This waiting period offers a perfect opportunity to tackle other tasks or simply relax with a cold beverage. Think of it as letting your grill have its spa day. Consequently, the subsequent cleaning will be significantly easier.
Step 6: Rinse and Shine
After the solution has done its job, it’s time to rinse everything thoroughly. A hose works perfectly for this. Make sure to wash away all traces of the cleaning mixture. Following the rinse, dry the grill completely with a clean, dry towel.
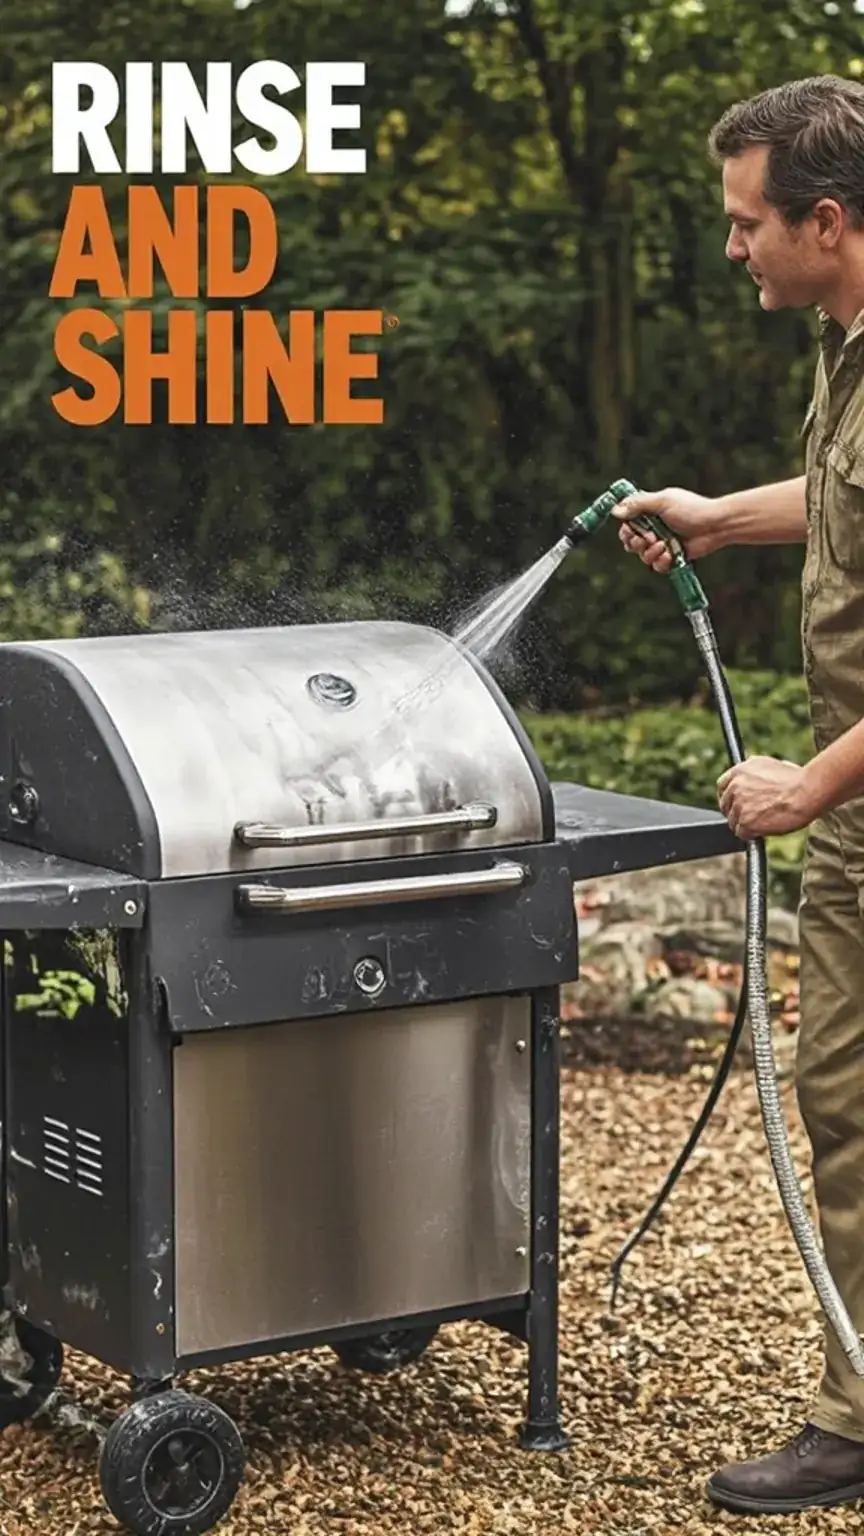
This drying step is vital for preventing water spots and, more importantly, for inhibiting rust. A dry grill is a happy grill. Furthermore, a thorough rinse ensures no residual cleaning agents affect the taste of your food.
Pro Tips for a Sparkling Grill
Beyond the basic steps, a few extra tricks can elevate your grill cleaning game. These small adjustments make a significant difference in maintaining your grill’s performance and appearance.
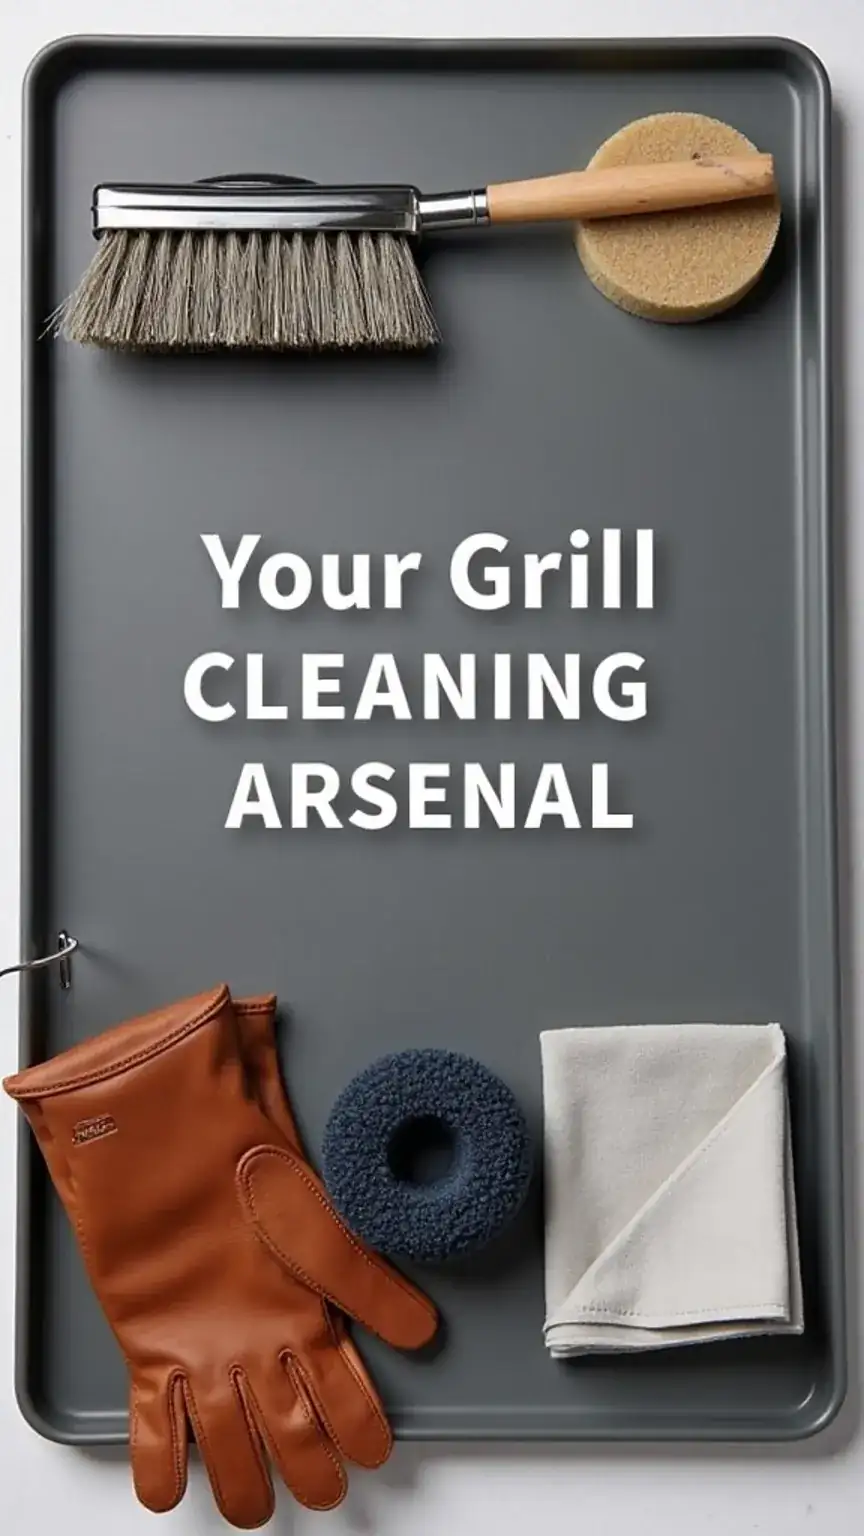
- Invest in a Quality Grill Brush: A good brush with sturdy bristles is your best friend. Look for one with a long handle for safety and reach.
- Consider Grill Scrapers: For really tough, baked-on debris, a dedicated grill scraper can be invaluable. Use it gently to avoid damaging your grates.
- Clean Grease Traps: Don’t forget the grease tray or drip pan. Empty and clean this regularly to prevent grease fires.
- Season Your Grates: After cleaning and drying, lightly oil your grates with a high-heat cooking oil like vegetable or canola oil. This helps prevent sticking and adds a layer of protection.
- Lodge Cast Iron Scrubber: For cast iron grates, a chainmail scrubber can be incredibly effective at removing residue without stripping the seasoning.
Why You Should Clean Your Grill Regularly
Cleaning your grill regularly is crucial for maintaining its performance and extending its lifespan. Here are a few reasons why:
- It prevents the buildup of bacteria and pests.
- It ensures your food tastes better.
- It prevents rust and corrosion.
- It makes cleaning easier in the long run.
- It helps identify potential issues, like worn-out parts, before they become major problems.
Maintaining Your Grill’s Longevity: Beyond the Basics
Keeping your grill in prime condition involves more than just post-cook cleanups. Regular, deeper maintenance ensures it remains a reliable centerpiece for your outdoor cooking for years to come. Think of it as nurturing a valuable asset.
Exterior Care
The exterior of your grill also deserves attention. For stainless steel grills, use a dedicated stainless steel cleaner and a microfiber cloth, always wiping with the grain. For painted or enamel finishes, a mild soap and water solution works well. Periodically check for any signs of rust or damage and address them promptly.
Internal Components
Beyond the grates, consider the internal components. Flavorizer bars or heat tents can accumulate residue. Remove and clean these as well. Check your burners for clogged ports; a small pin or needle can often clear them. This ensures even heat distribution and optimal performance.
Protecting from the Elements
When your grill isn’t in use, especially during off-seasons, a good grill cover is essential. This protects it from rain, snow, dust, and UV rays, all of which can accelerate wear and tear. Ensure the cover is breathable to prevent moisture buildup underneath.
Conclusion: Keep Your Grill Clean and Your Meals Delicious
In conclusion, cleaning and maintaining your grill is crucial for ensuring your food tastes better and your grill lasts longer. By following these simple steps and tips, you’ll be able to keep your grill in top shape and enjoy delicious meals with your friends and family. Remember, a clean grill is a happy grill, and a happy grill means better food and more memories.
Ready to elevate your grilling game? Start by committing to a post-cook clean. Then, schedule a deeper clean every few months. Share your own grill cleaning tips or favorite grilled recipes on Pinterest or your favorite socials! Tag a friend who needs a style intervention for their grill!