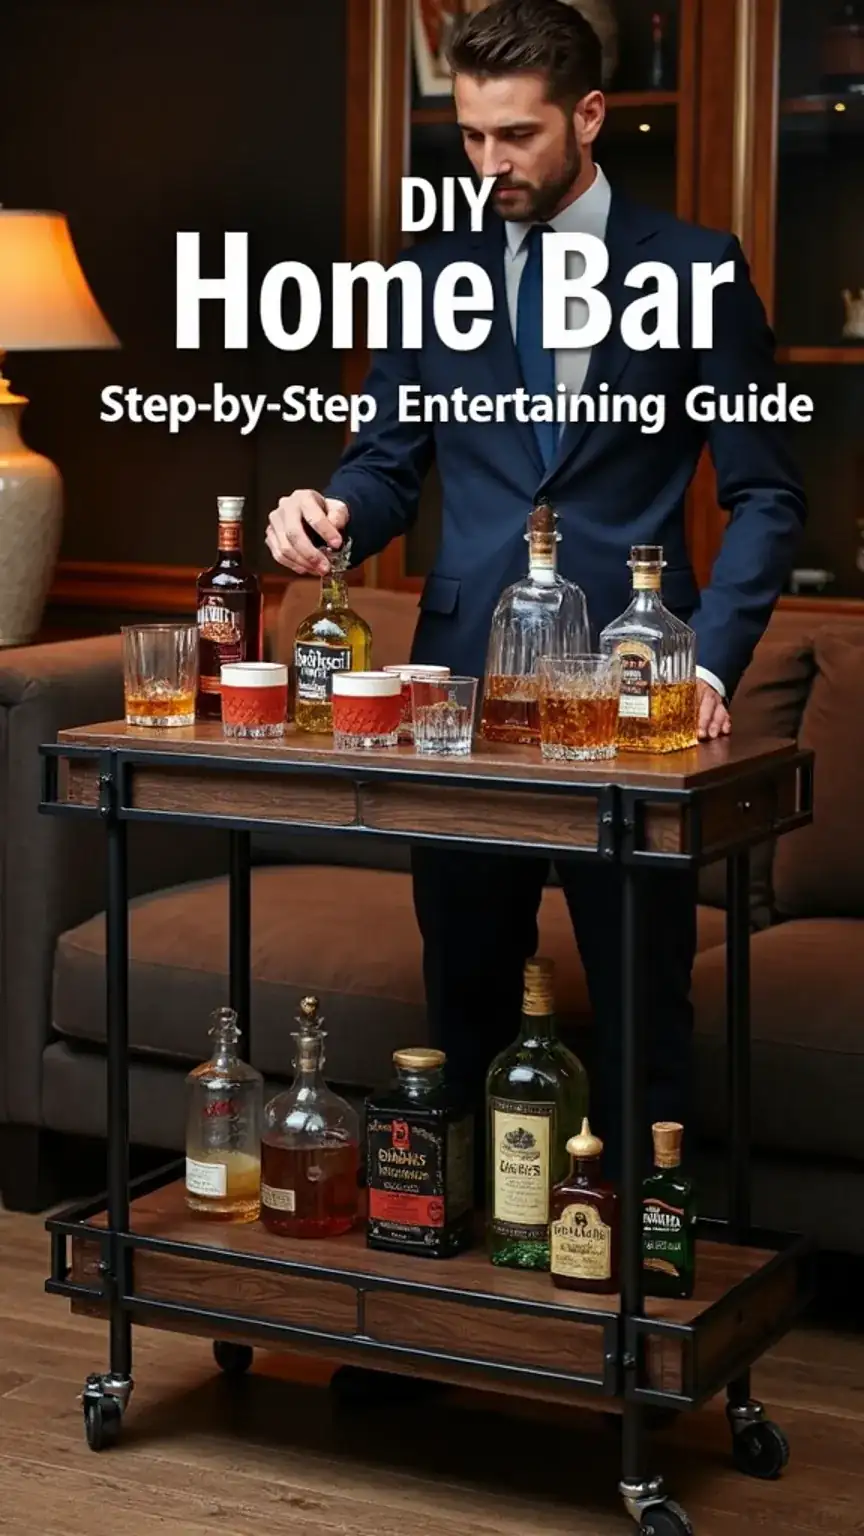
Setting up a home bar for entertaining might sound like a project reserved for elaborate man caves or dedicated spirits aficionados. However, as a guy who appreciates a well-crafted cocktail and the art of good hosting, I can tell you it’s more achievable – and rewarding – than you might think. Imagine the scene: your buddies are over, the game is on, or perhaps a special someone is gracing your home. Instead of fumbling through the kitchen cabinets for a half-empty bottle and a smudged glass, you can effortlessly craft a delicious drink, elevating the entire experience. It’s about creating an atmosphere, a hub of hospitality that says, “You’re welcome here, and I’ve got this.”
As a former marketing director, I learned the power of presentation and creating an experience. This extends to your home. A well-appointed home bar isn’t just about the booze; it’s a statement of your refined taste and your ability to create memorable moments. It’s about the confidence that comes from being prepared, from having the right tools and ingredients at your fingertips. And honestly, it’s a fantastic way to impress, whether it’s the guys or that special lady who appreciates a man who knows how to pour a decent drink. This guide will break down how to set up a DIY home bar that’s both functional and stylish, turning your humble abode into the go-to spot for a great time.
The Foundation: Essential Tools and Supplies for Your Home Bar
Before we even think about mixing, let’s get our arsenal in order. Having the right tools makes all the difference between a clumsy attempt at a cocktail and a smooth, professional pour. Think of it like a chef needing sharp knives – you need the right equipment to execute your craft. For your home bar setup, focus on quality pieces that are both practical and aesthetically pleasing.
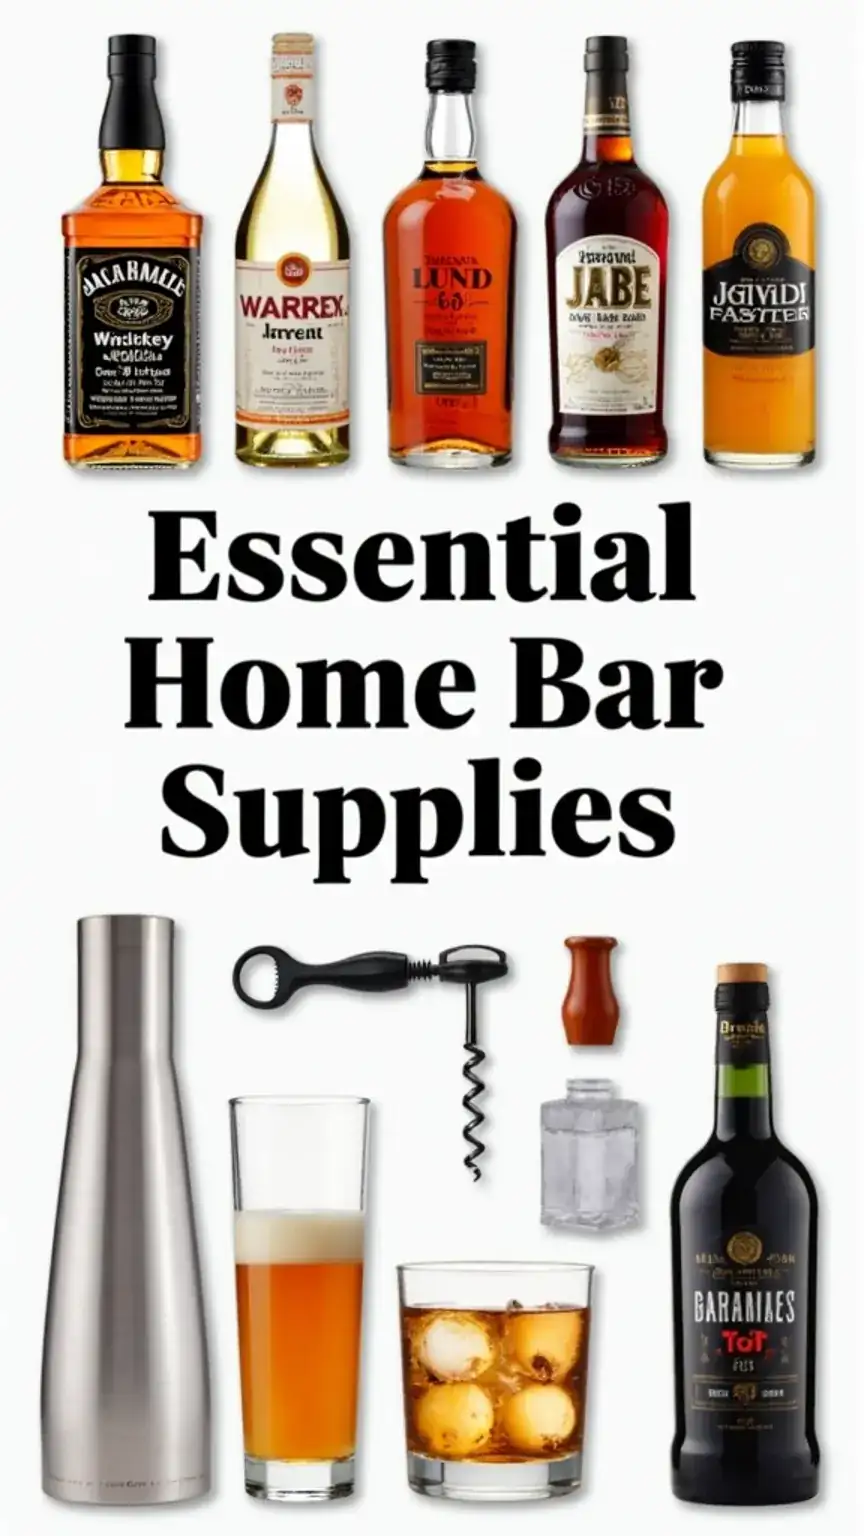
Here’s a breakdown of what you’ll need to gather:
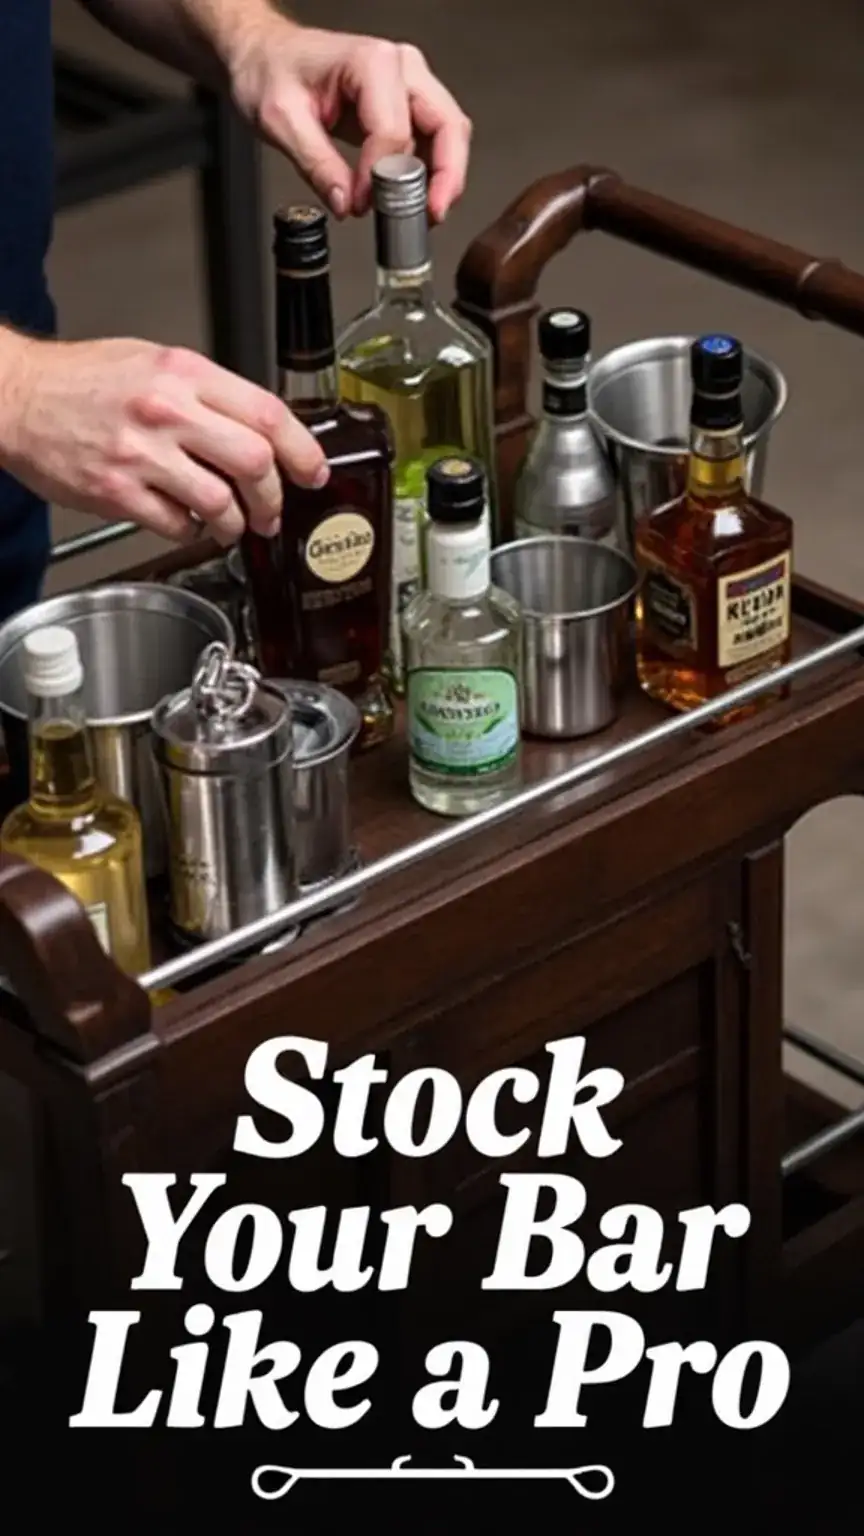
A Sturdy Bar Cart or Table
This is your command center. Whether it’s a sleek, modern cart, a vintage trolley, or even a dedicated sideboard, ensure it’s stable and has enough surface area. A cart offers mobility, allowing you to shift your bar setup depending on the gathering.
A Variety of Spirits
For a solid starting point, aim for versatility.
- Vodka: A neutral base for countless cocktails.
- Whiskey: Think bourbon or rye for classic Old Fashioneds and Manhattans.
- Rum: Essential for Mojitos and Daiquiris.
- Gin: The backbone of a good G&T or Martini.
- Tequila: For margaritas and Palomas. Naturally, you can expand based on your personal preferences and what your guests enjoy.
A Selection of Mixers and Juices
These are crucial for balancing flavors.
- Cola and Lemon-Lime Soda: Universally loved mixers.
- Club Soda/Sparkling Water: For lighter, effervescent drinks.
- Tonic Water: A must-have for gin and vodka.
- Fresh Juices: Cranberry, pineapple, and orange juice are excellent staples. Consider fresh lime and lemon for squeezing.
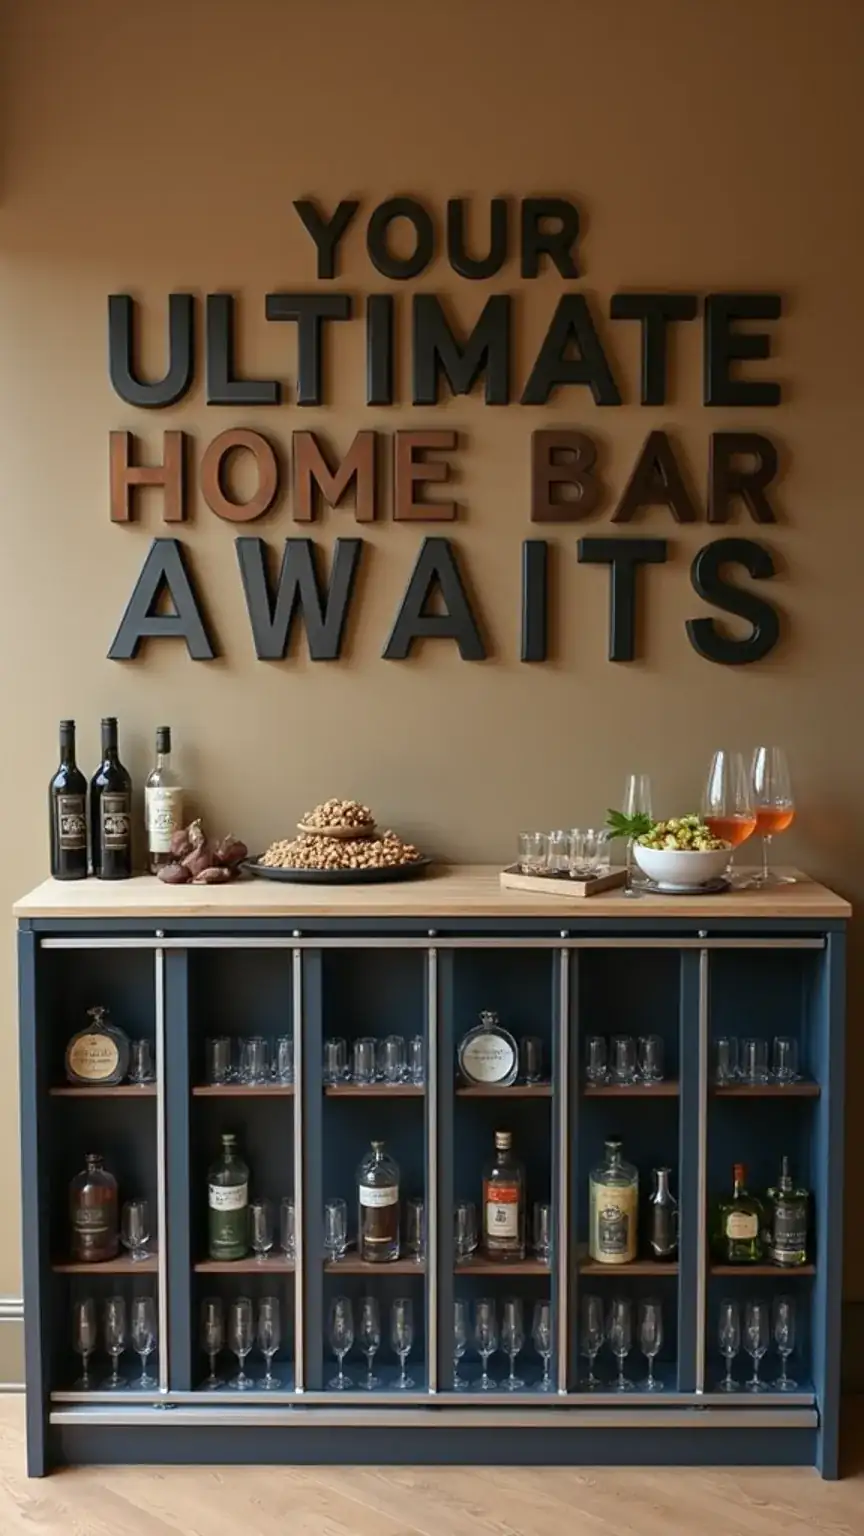
Essential Glassware
The right glass doesn’t just hold your drink — it shapes the experience. It’s about temperature, aroma, and, yes, a little style.
- Highball Glasses: Built for tall, refreshing classics like Gin & Tonics and Rum & Cokes.
- Old Fashioned Glasses (Rocks Glasses): Short, solid, perfect for whiskey — neat or on the rocks.
- Wine Glasses: Not just for vino — great for sangria, spritzes, even fancy soda.
- Martini or Coupe Glasses: Sleek, stemmed, and made for anything stirred, strained, and served up.
Want to dive deeper into what to use — and when? Don’t miss The Ultimate Guide to Glassware — it’s everything you need to serve with confidence and look like you’ve done this before.
Bar Tools
These are your secret weapons.
- Cocktail Shaker: For chilling and diluting drinks.
- Jigger: For precise spirit measurements – accuracy is key! – Muddler: To extract flavors from herbs and fruits.
- Strainer: To separate ice from your mixed drink.
- Bar Spoon: For stirring cocktails and layering drinks.
- Bottle Opener and Corkscrew: Obvious, but easily forgotten.
Ice and a Cooler
Never underestimate the importance of ice. Have plenty on hand, and a stylish cooler to keep backup ice chilled.
Want to take it further? The Essential Home Bar Equipment Every Man Needs breaks it down gear by gear — so you’re not just stocked, you’re ready.
Step 1: Strategic Planning – The Art of Bar Layout
Before you start arranging bottles, take a moment to think about the flow of your entertaining space. A well-planned layout ensures efficiency and enhances the guest experience. Where will your bar cart or station be located? Consider the primary gathering area – the living room, kitchen, or even an outdoor patio. You want your bar to be accessible but not a bottleneck.
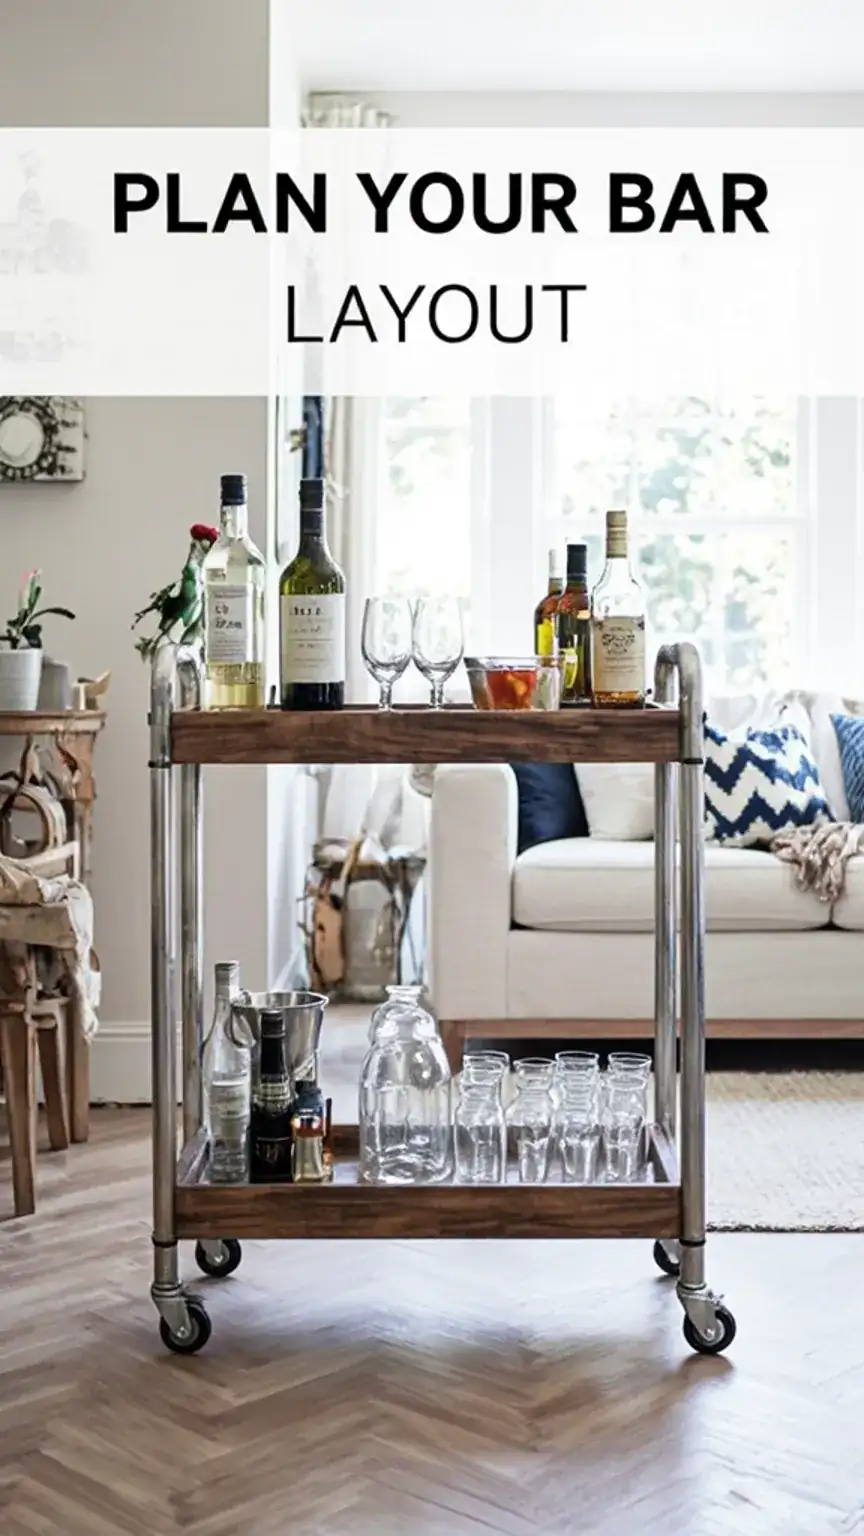
Think about how guests will interact with your bar. Will they approach from one side? Will they need space to set down their drinks? Creating distinct zones – one for mixing, one for serving, and perhaps a small area for garnishes – can make the process smoother. Furthermore, consider the ambiance. Good lighting is crucial, perhaps a soft accent light over the bar area. Leaving ample breathing room around the bar prevents a cluttered feel, making the space more inviting. A cozy and well-organized bar area instantly elevates the entire room.
Step 2: Positioning Your Bar Cart – The Hub of Hospitality
Now, let’s talk placement. Your bar cart or designated bar area should be a focal point, but also functional. Placing it in a central location, such as near the main living area or kitchen, makes it easily accessible for guests. However, avoid positioning it directly in a high-traffic pathway where it might get bumped. Ensure the cart is stable and level; a wobbly bar cart is a recipe for disaster.
Beyond stability, think about aesthetics. You can add decorative touches to personalize your bar. A small potted plant, a tasteful vase with fresh flowers, or even a framed print can add character. Consider the height of your bar cart relative to seating areas; you want guests to be able to comfortably rest their drinks. Ultimately, the placement should invite interaction and make it easy for you to serve your guests without feeling disconnected from the party.
Step 3: Stocking Your Bar – The Heart of the Operation
This is where your DIY home bar truly comes to life. Start with the foundational spirits I mentioned: vodka, whiskey, rum, gin, and tequila. These offer the broadest range for cocktail creation. Then, layer in your mixers – sodas, tonic, and juices. Don’t forget the garnishes! A bowl of olives, maraschino cherries, lemon wedges, and lime wheels can make a significant difference in presentation and flavor.
Consider having a few ready-to-go cocktail ingredients. A good quality simple syrup (equal parts sugar and water, heated until dissolved, then cooled) is a bartender’s best friend for sweetening drinks. Also, think about bitters; Angostura bitters are essential for many classic cocktails. For snacks, keep it simple but elegant: a bowl of mixed nuts, high-quality pretzels, or some artisanal jerky are great options that pair well with spirits.
Step 4: The Finishing Touches – Elevating the Experience
The difference between a functional bar and a truly impressive one often lies in the details. This is where you add those personal touches that make your home bar unique. Consider lighting: a small lamp on the bar or strategically placed string lights can create a warm, inviting ambiance.

Decorative elements can really tie the space together. A stylish ice bucket, a set of coasters, or even a small chalkboard for writing the night’s cocktail special adds personality. For an added touch of sophistication, consider a small decanter for your favorite whiskey or bourbon. Fresh herbs like mint or rosemary can be placed in small vases and used as garnishes, adding both visual appeal and aroma. If you’re feeling ambitious, you could even hang a small mirror behind the bar to reflect light and make the space feel larger. These details transform your bar from a mere utility to a curated experience.
Beyond the Basics: Expanding Your Home Bar Arsenal
Once you’ve mastered the essentials, you might want to consider expanding your home bar’s capabilities. This is where you can really tailor it to your taste and your guests’ preferences. Think about adding liqueurs like triple sec for margaritas, vermouth for martinis, or even a coffee liqueur for espresso-based drinks. For those who appreciate a good beer, a small selection of craft brews is always a welcome addition.
Don’t forget about the ice situation. Beyond standard ice cubes, consider larger ice spheres or cubes. These melt slower, diluting your spirit less and keeping your drink colder for longer. You can achieve these with specialized ice molds. Furthermore, a good set of muddlers, a fine-mesh strainer, and even a citrus juicer will elevate your cocktail game significantly. These tools allow for greater precision and creativity in your drink-making.
The Art of the Cocktail: Simple Recipes for Success
Having a well-stocked bar is one thing; knowing what to do with it is another. Here are a few simple, crowd-pleasing cocktails that are perfect for any home bar enthusiast:
1. The Classic Old Fashioned
- Muddle a sugar cube with a few dashes of Angostura bitters in an Old Fashioned glass.
- Add a large ice cube.
- Pour in 2 oz of your favorite bourbon or rye whiskey.
- Stir gently until well-chilled.
- Garnish with an orange peel.
2. The Refreshing Gin & Tonic
- Fill a highball glass with ice.
- Add 2 oz of gin.
- Top with 4-6 oz of tonic water.
- Garnish with a lime wedge or wheel.
3. The Versatile Vodka Soda
- Fill a highball glass with ice.
- Add 2 oz of vodka.
- Top with club soda.
- Garnish with a lemon or lime wedge.
These are just starting points. The beauty of a home bar is the freedom to experiment. Don’t be afraid to try new combinations and discover your own signature drinks. Remember, practice makes perfect, and your guests will appreciate your efforts.
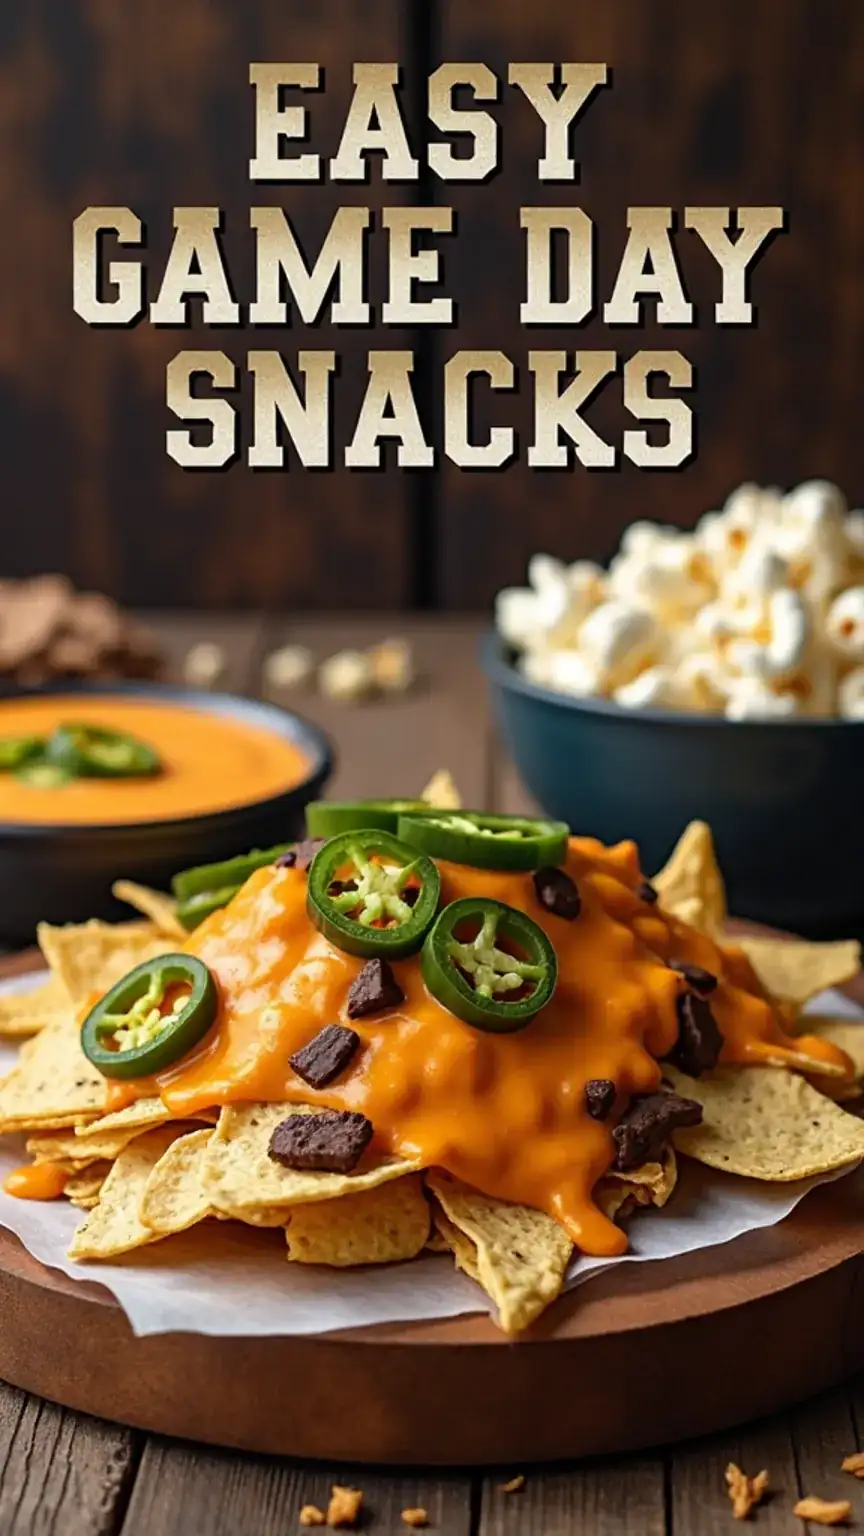
Bites That Match the Pour: Your Snack Game, Upgraded
A great drink deserves more than a sad bowl of peanuts. Think bold but refined — charcuterie with attitude, aged cheeses, spiced nuts, dark chocolate, even crisp crostini with olive tapenade. The goal? Pair flavors that don’t fight your drink, they enhance it. Low effort, high reward — just how we like it.
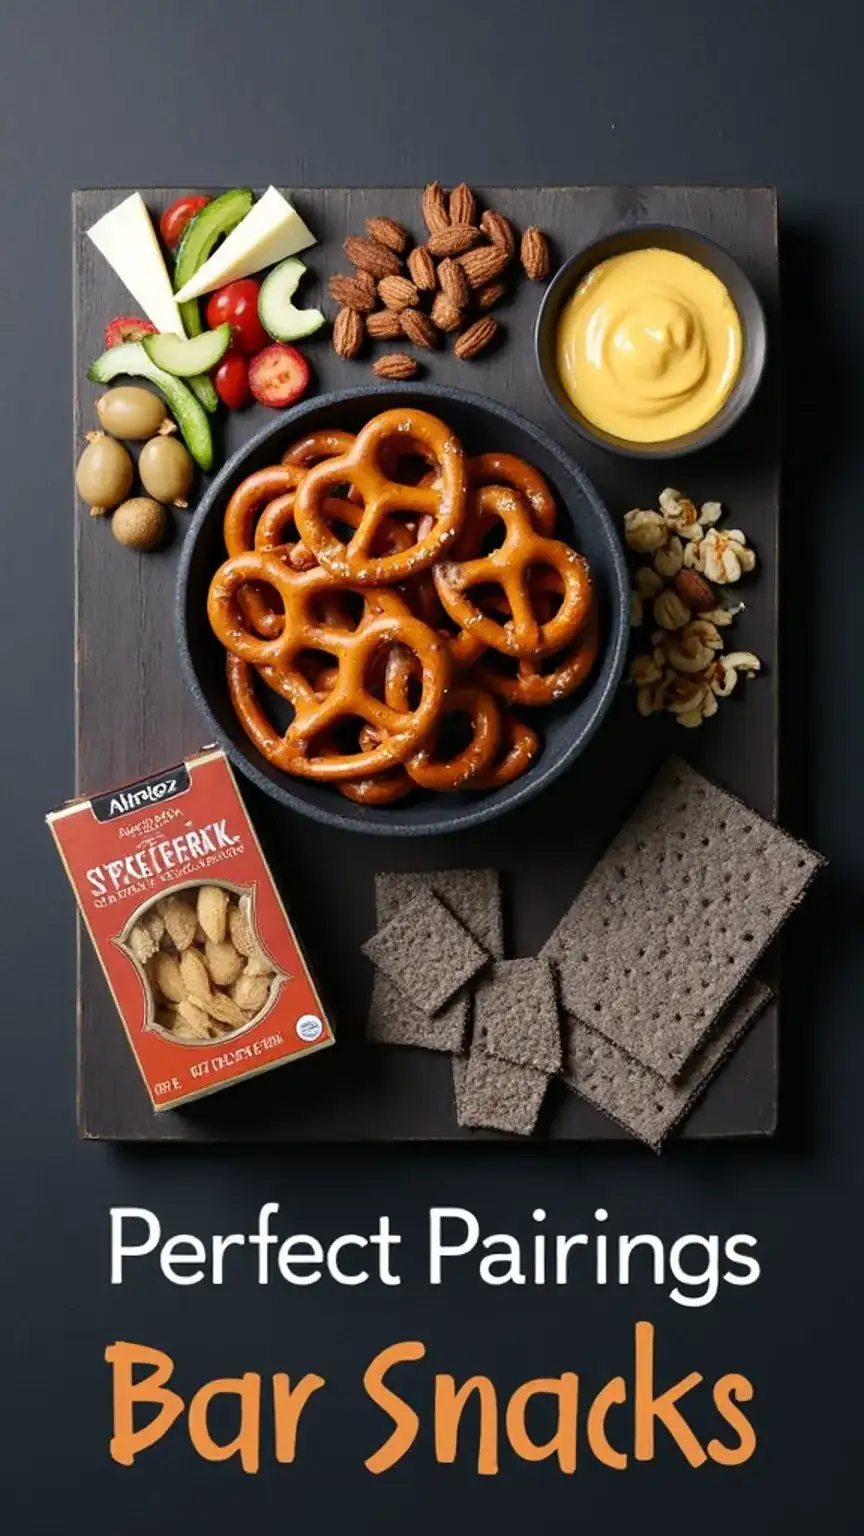
Don’t overthink it. Two or three well-chosen bites beat a full spread that feels like a potluck panic. Match salty with smoky, rich with bitter, crisp with clean. Keep the portions modest and the vibe intentional. Suddenly, your DIY bar feels less “man cave” and more private speakeasy — minus the velvet rope.
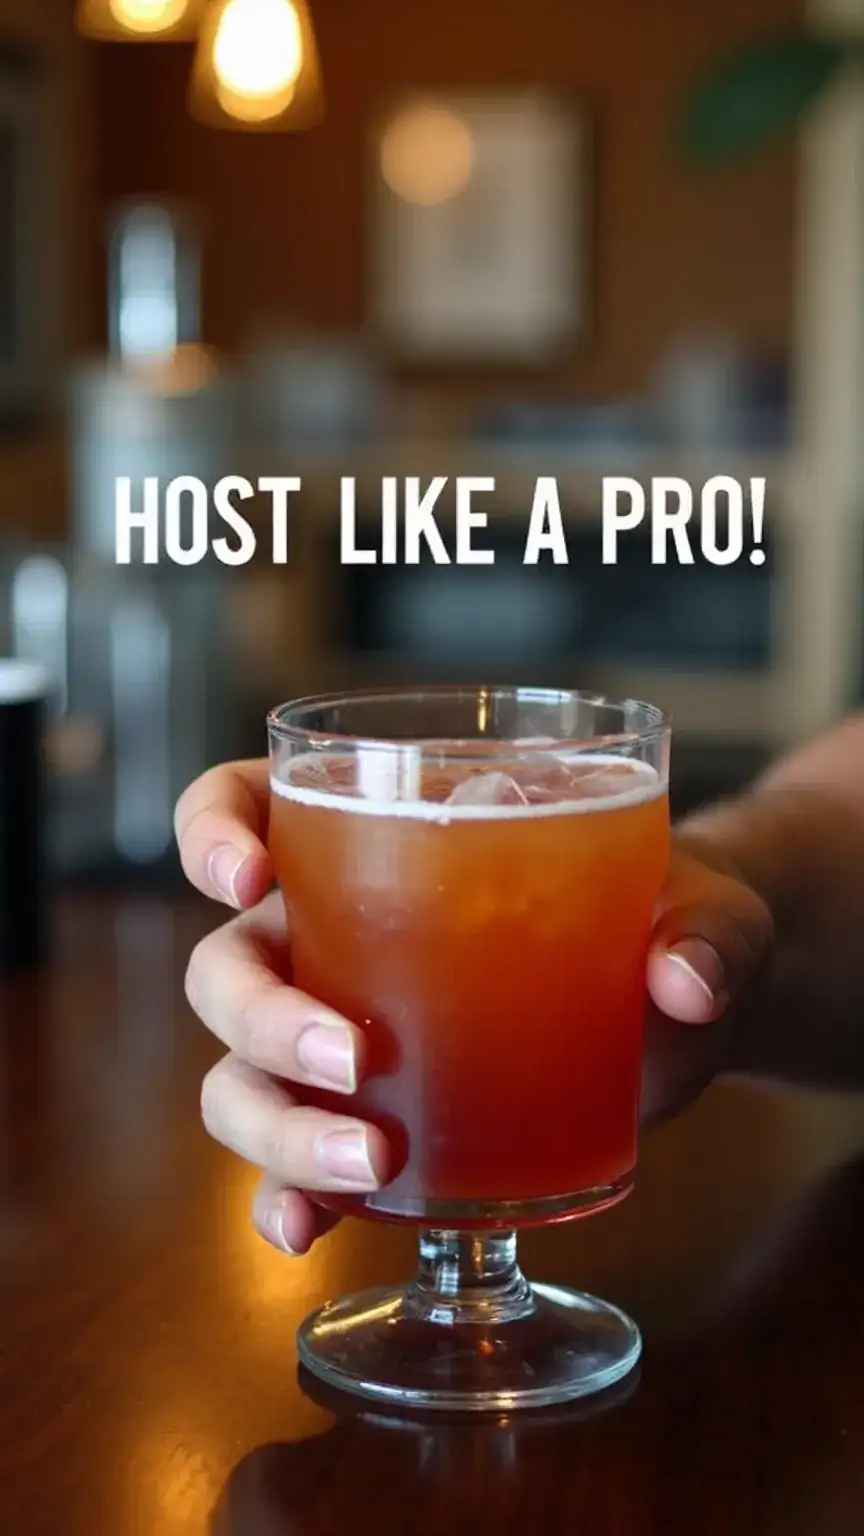
Hosting with Confidence: The Benefits of Your DIY Home Bar
Setting up a DIY home bar is more than just a project; it’s an investment in your social life and your ability to create memorable experiences. It fosters confidence, allowing you to host with ease and impress your guests. Think of the satisfaction you’ll feel expertly crafting a cocktail for a friend or a date. Furthermore, it’s a fantastic conversation starter and a way to showcase your personality and taste.
Ladies, if the man in your life is looking to up his hosting game, consider gifting him some key bar tools or a stylish bar cart. A well-equipped home bar signifies a man who enjoys good company and knows how to make people feel welcome. It’s a practical gift that keeps on giving, especially when you’re on the receiving end of a perfectly made cocktail. Tag a friend who needs a style intervention and a home bar upgrade!
Conclusion: Cheers to Your New Home Bar
So, there you have it. Setting up a DIY home bar for entertaining might have seemed daunting at first, but as you can see, it’s an achievable and incredibly rewarding endeavor. By focusing on the essentials, planning your layout strategically, stocking your bar thoughtfully, and adding those personal finishing touches, you’ll be well on your way to becoming the ultimate host. Remember to start with the basics: a solid foundation of spirits and mixers, the right tools, and a designated space. It’s about creating an inviting atmosphere where friends and family can gather and enjoy great company and even better drinks. Your future self, and your impressed guests, will thank you for it.
Ready to own your image as the ultimate host? Start by setting up your bar cart and stocking it with these essentials. Then, try crafting one of the simple cocktails above. Share your #HomeBarUpgrade and your go-to hosting tips on Pinterest or socials — someone in your circle is gonna need this.