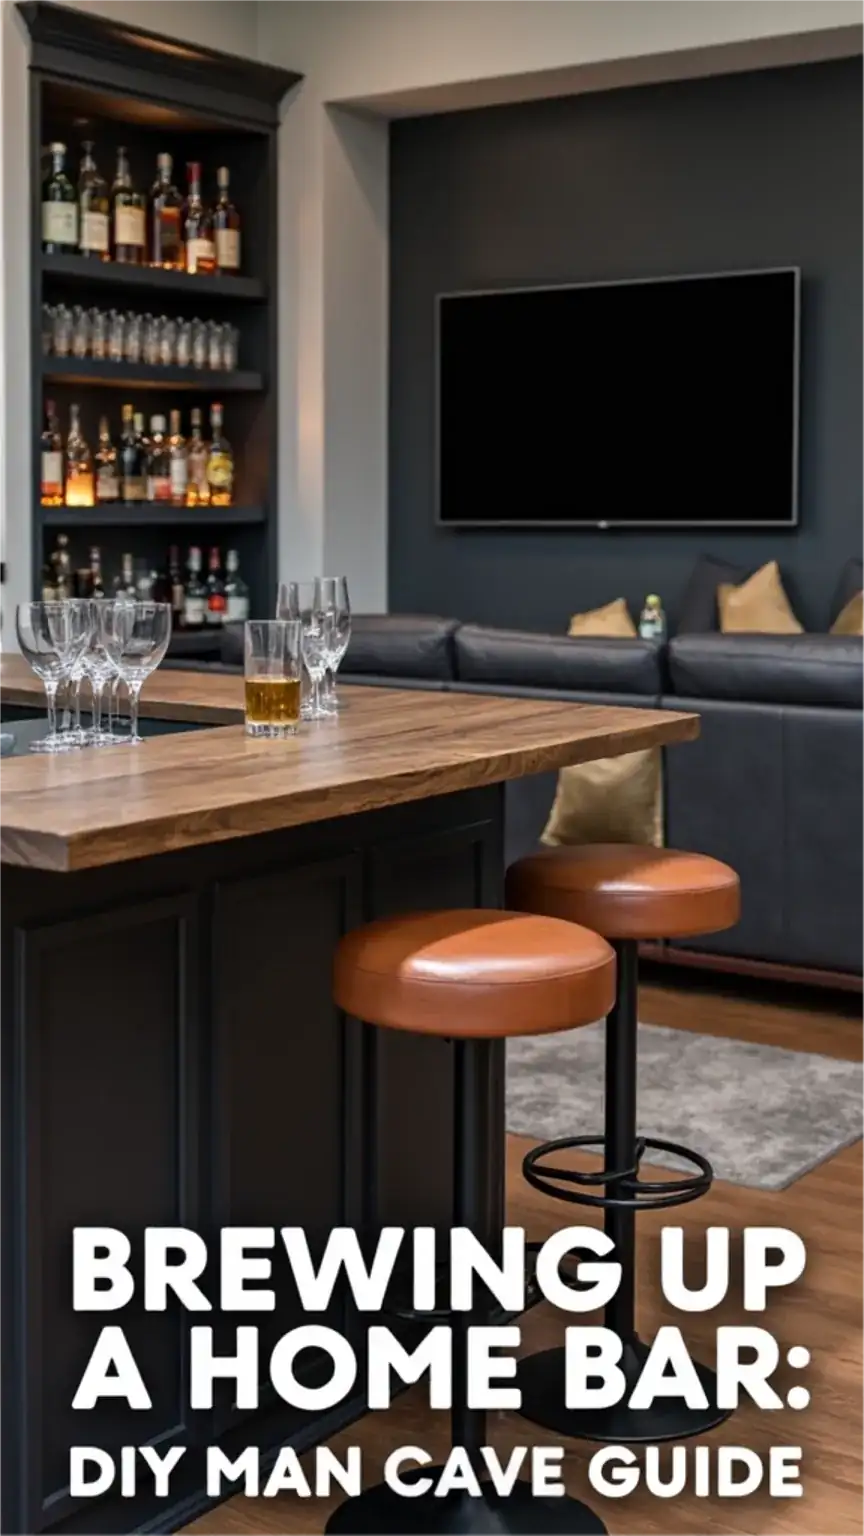
Elevate Your Sanctuary: The Ultimate Guide to Crafting a DIY Man Cave Bar
Hey there, fellow dudes! As a guy who’s been there, I know how tough it can be to create the perfect man cave. It’s more than just a room; it’s your personal sanctuary, a place to decompress, entertain, and truly own your space. But let me tell you, having a home bar is a game-changer. Not only will it elevate your entertaining game, but it’ll also become your go-to spot for unwinding after a long day. Imagine walking into a room where your confidence precedes you, a space that reflects your personality and serves as the ultimate hub for good times.

The allure of a well-stocked bar, bathed in the warm glow of ambient lighting, is undeniable. It’s the centerpiece of any serious man cave, a silent testament to your refined taste and your ability to host like a pro. However, the thought of building one from scratch can seem daunting. You might be picturing complex blueprints and a hefty price tag. But fear not, gentlemen. With a little planning and some elbow grease, you can create a functional and stylish DIY bar that will be the envy of your friends. This guide breaks down the process into manageable steps, ensuring you’ll be shaking up cocktails and pouring perfect pints in no time.
So, if you’re ready to level up your man cave, I’m here to guide you through the process of building a DIY bar that’ll make your friends green with envy. Let’s get started on transforming your space into the ultimate hangout.
DIY Bar Essentials: The Foundation of Your Frontier
Before we dive into the nitty-gritty of construction, it’s crucial to get your arsenal of essentials in order. Think of these as the foundational elements that will support your bar-building adventure. Having the right tools and materials from the outset will not only make the process smoother but also ensure a professional-looking finish.
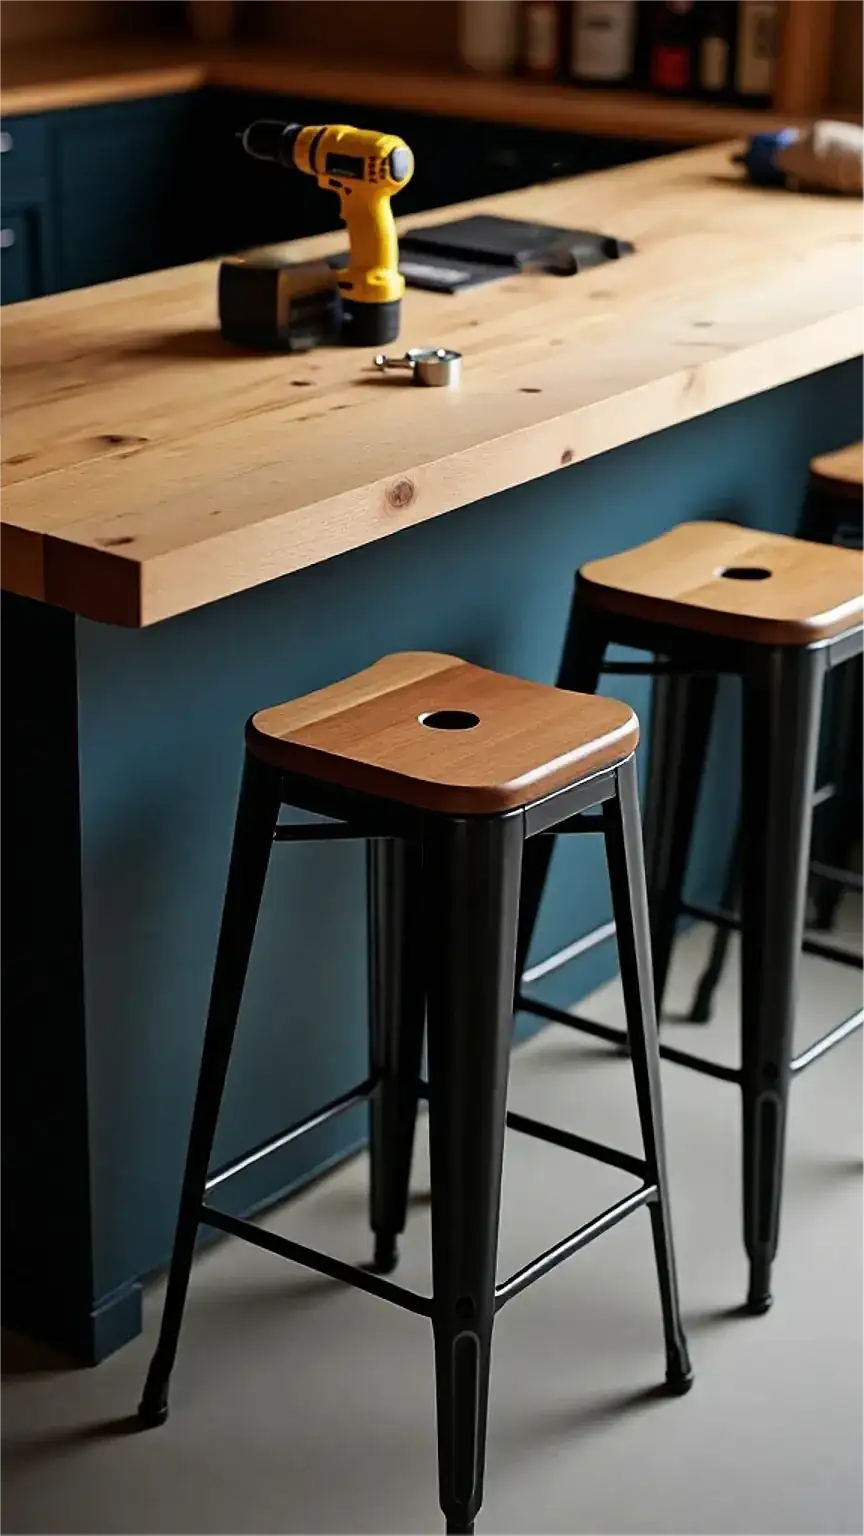
- A sturdy table or counter: This will form the backbone of your bar. Whether you opt for a reclaimed wood slab or a sleek butcher block, ensure it’s robust enough to handle glasses, bottles, and the occasional enthusiastic lean. You can find excellent options at places like IKEA, which offers a variety of affordable and durable surfaces.
- A set of bar stools: Comfort is key when you’re settling in for a long evening. Look for stools that complement your bar’s aesthetic and are at the correct height. Check out West Elm for stylish and comfortable choices that can elevate your man cave’s look.
- A few essential tools: You don’t need a full contractor’s toolkit, but some basics are indispensable. A good drill with various bits, a sturdy saw (a circular saw or jigsaw will work wonders), a tape measure, a level, and a set of screwdrivers are usually sufficient. Remember, safety first – always wear safety glasses when operating power tools.
- A basic understanding of DIY projects: Don’t worry if you’re not a master carpenter. This guide is designed to be accessible. We’ll break down each step, and with a little patience and willingness to learn, you’ll be surprised at what you can achieve. Think of this as an opportunity to develop a new skill.
Having these items ready will significantly streamline your DIY bar project. It’s about being prepared and setting yourself up for success from the very beginning.
Step 1: Blueprint Your Brews – Planning Your Bar’s Design
Before you even think about touching a piece of wood, the most critical step is meticulous planning. This phase is where your vision truly takes shape, dictating the success and functionality of your final product. Consider the layout of your man cave, ensuring your new bar integrates seamlessly into the existing space. Think about the flow of traffic – where will people gather? Where will the TV be positioned for optimal viewing angles? What’s the overall vibe you want to create?
For example, if your man cave is more of a cozy den, a compact, rustic bar might be ideal. Conversely, if it’s a larger entertainment hub, you might consider a more substantial, L-shaped design. Furthermore, think about the primary function: Will it be primarily for serving drinks, or will it also double as a gaming station or a casual dining area?
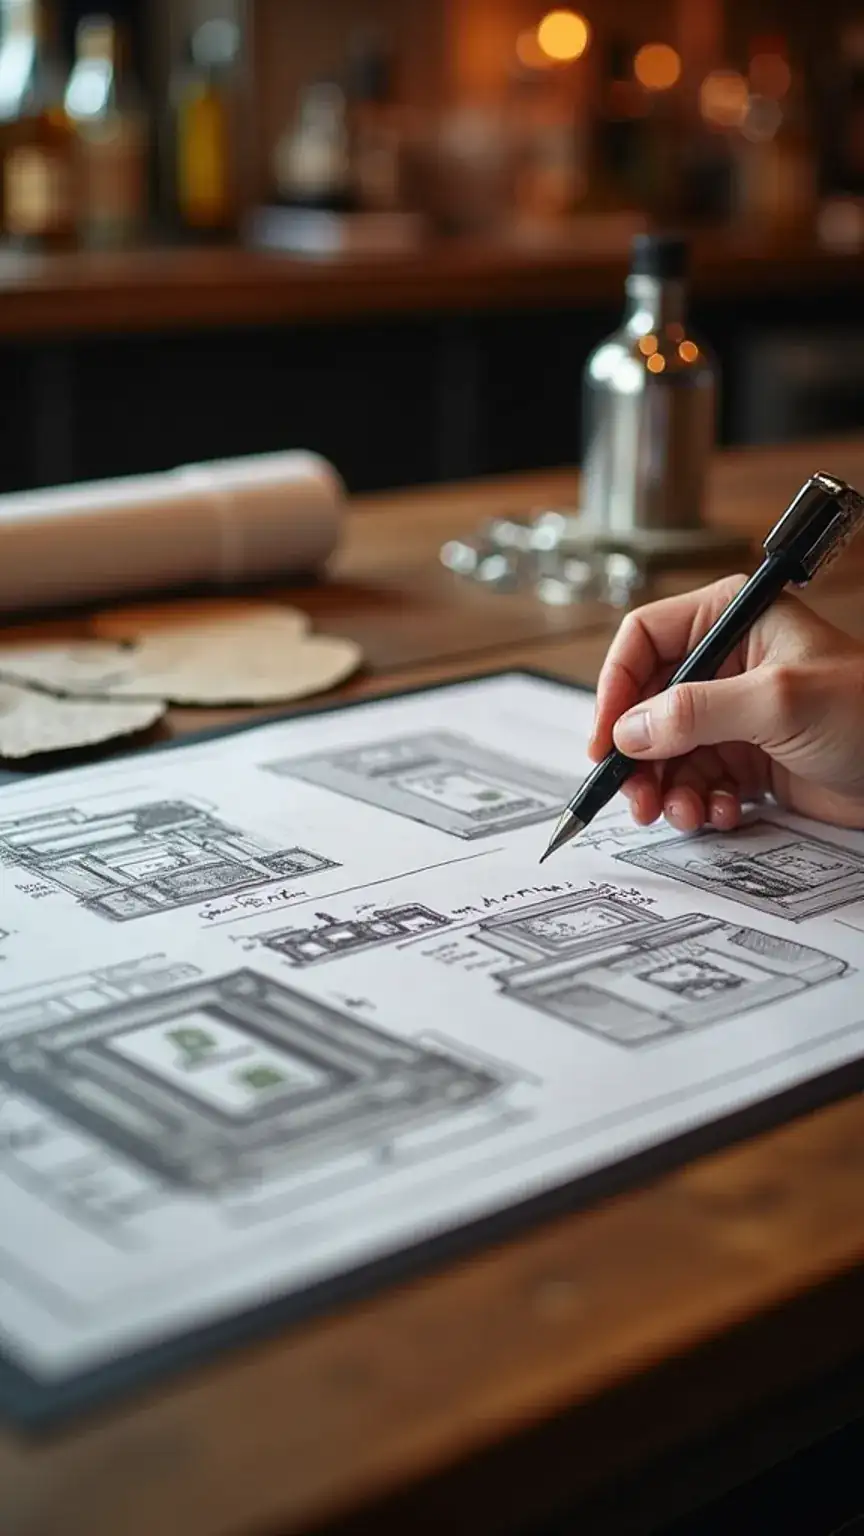
To help solidify your ideas, create a vision board. This isn’t just for Pinterest enthusiasts; it’s a powerful tool for visualization. You can use a simple piece of cardboard, pinning up inspiration photos, color swatches, and material samples. Alternatively, embrace digital tools like Canva to create a mood board that captures the essence of your desired bar. This process helps you refine your aesthetic and avoid costly mistakes down the line.
Consider the dimensions carefully. Measure your available space accurately and sketch out a rough plan. This includes the bar’s height, width, and depth, as well as the placement of stools and any accompanying shelving or cabinetry. A well-thought-out plan ensures that your DIY bar is not only stylish but also perfectly suited to your needs and your man cave’s layout.
Step 2: Construct Your Cocktails’ Command Center – Building the Frame
With your detailed plan in hand, it’s time to get your hands dirty and start building the foundation of your bar. This is where your vision begins to materialize into a tangible structure. You’ll need to create a sturdy frame for your bar. The materials you choose will significantly influence the final look and feel.
For a rugged, industrial aesthetic, a combination of wood and metal is an excellent choice. Think exposed metal pipes for legs or supports, paired with a rich, distressed wood countertop. Alternatively, if you’re aiming for a sleek, modern design, materials like high-quality plywood, finished with a smooth veneer, or even acrylic panels can offer a clean, sophisticated look.
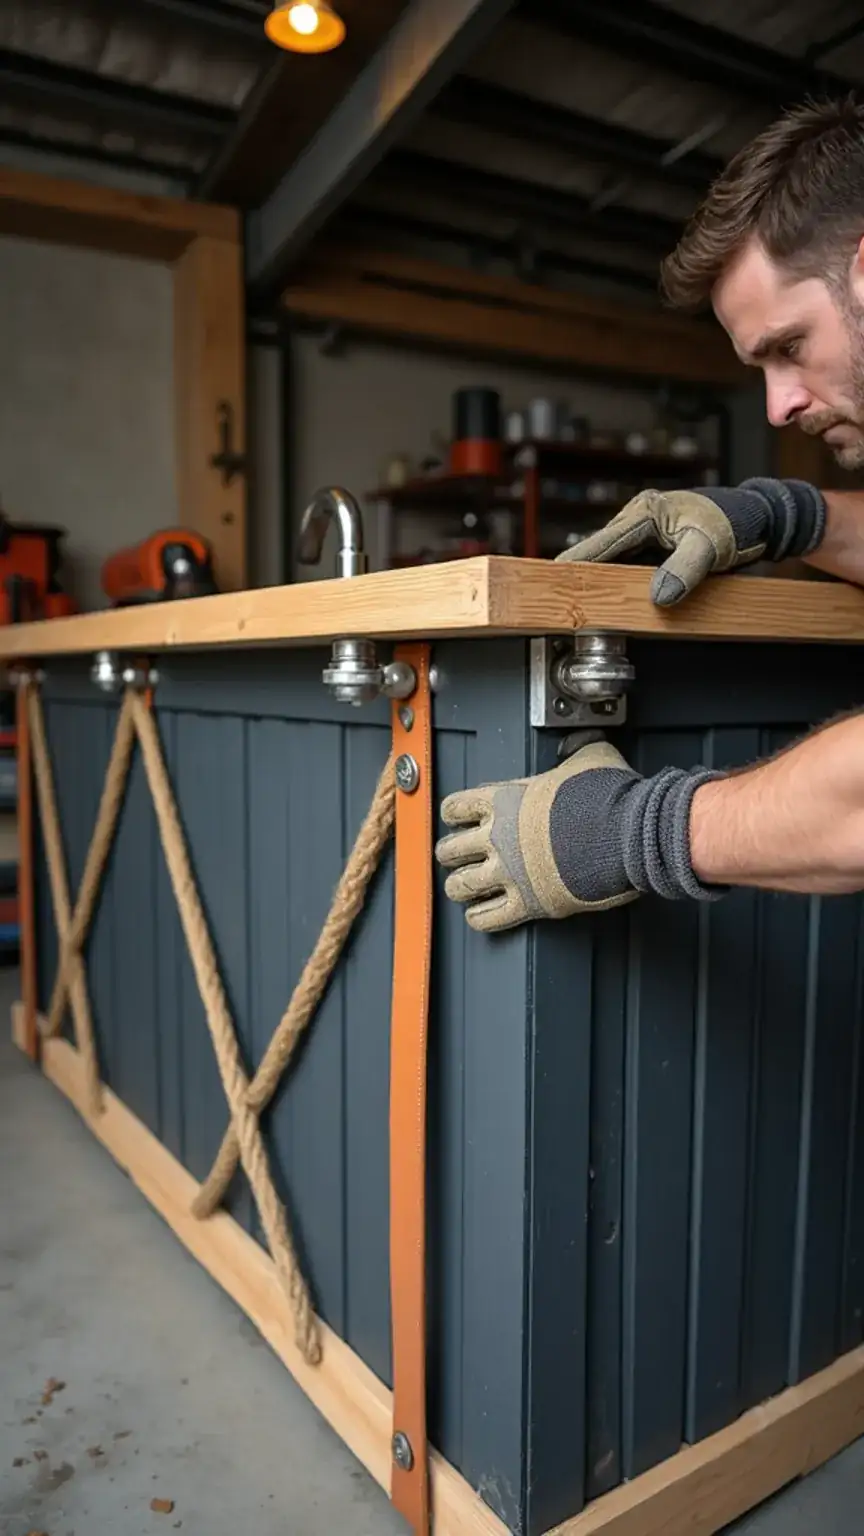
Get creative with your frame and make it your own. For instance, you could incorporate built-in coolers or wine racks into the frame itself. Perhaps you want a specific overhang for bar stools or a tiered design for serving. Remember to ensure all joints are secure and that the frame is level before proceeding. A strong, stable frame is paramount for the longevity and safety of your bar.
If you’re using wood, pre-drilling holes before screwing can prevent the wood from splitting, a common pitfall for DIYers. Similarly, consider the weight of your countertop material when designing the frame’s support structure. A granite or quartz top, for example, will require a much more robust frame than a simple pine plank. Don’t rush this stage; a solid frame is the bedrock of a successful DIY bar.
Step 3: Polish Your Pouring Post – Adding the Finishing Touches
Now that your frame is built and sturdy, it’s time to imbue your bar with personality and polish. This is the stage where creativity truly shines, allowing you to transform a functional structure into a statement piece. This is where you can really make it your own and have fun with the design.
Consider adding decorative trim along the edges of your countertop or frame for a more refined look. You could opt for classic molding, a rustic barn wood trim, or even sleek metal accents. Lighting is another crucial element that can dramatically enhance the ambiance. Install under-counter LED strips for a subtle glow, or hang pendant lights above the bar for a more dramatic effect. These lights not only provide task lighting but also create an inviting atmosphere for your guests.
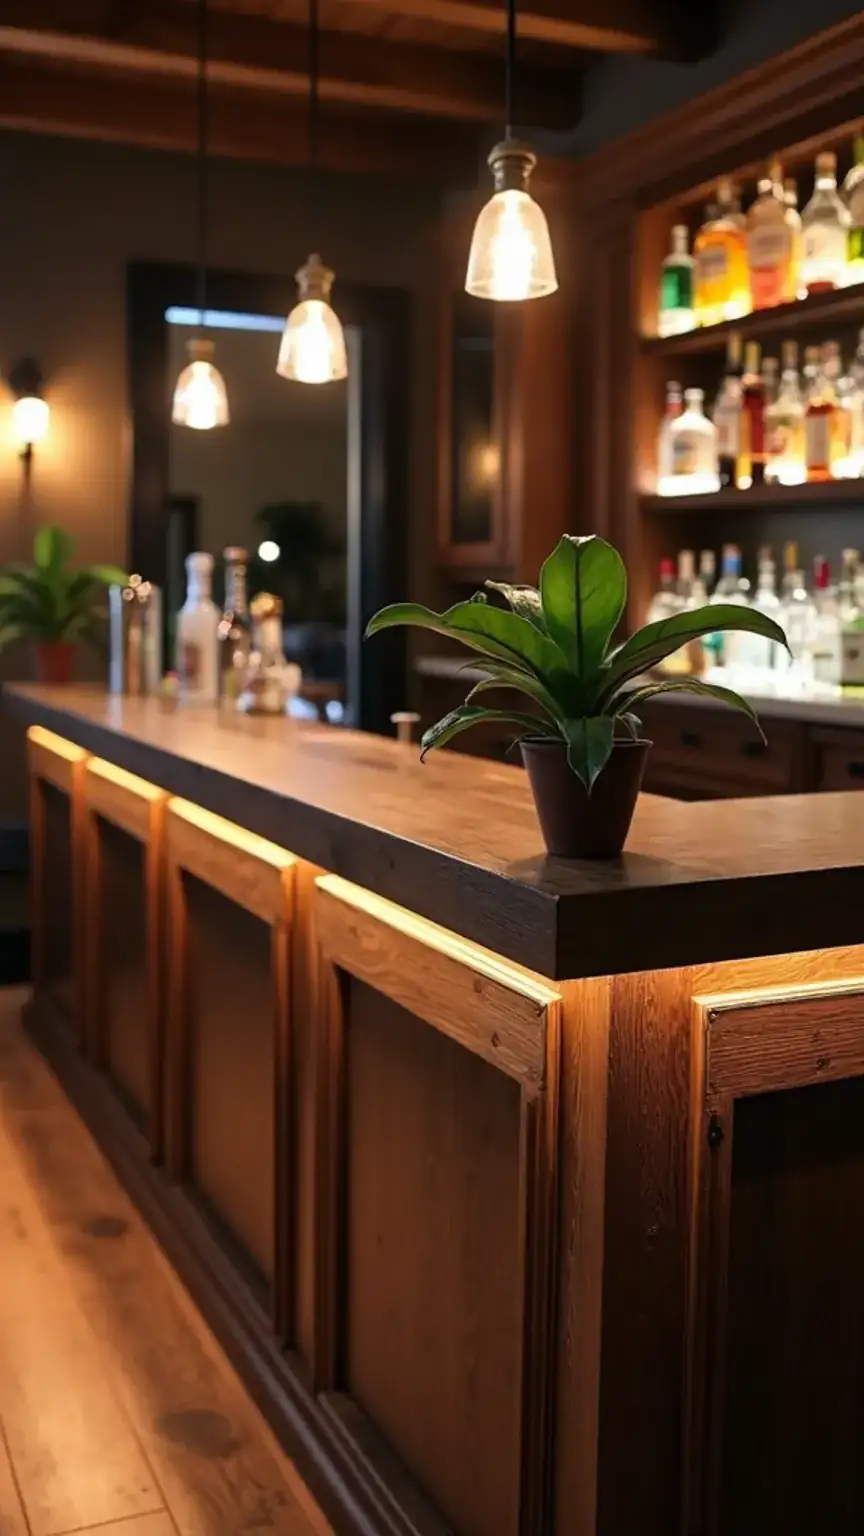
Furthermore, think about incorporating functional elements that enhance the bar experience. This could include installing a small sink, a built-in ice bucket, or even a custom-made bottle opener mounted on the side. For a touch of nature and vibrancy, add a few well-placed plants. A small succulent or a trailing ivy can bring life and color to your bar area. Don’t be afraid to experiment with different finishes, stains, or paints to achieve your desired aesthetic. A weathered look might suit a rustic theme, while a high-gloss finish could complement a modern design. The goal is to create a space that not only looks fantastic but also feels uniquely yours.
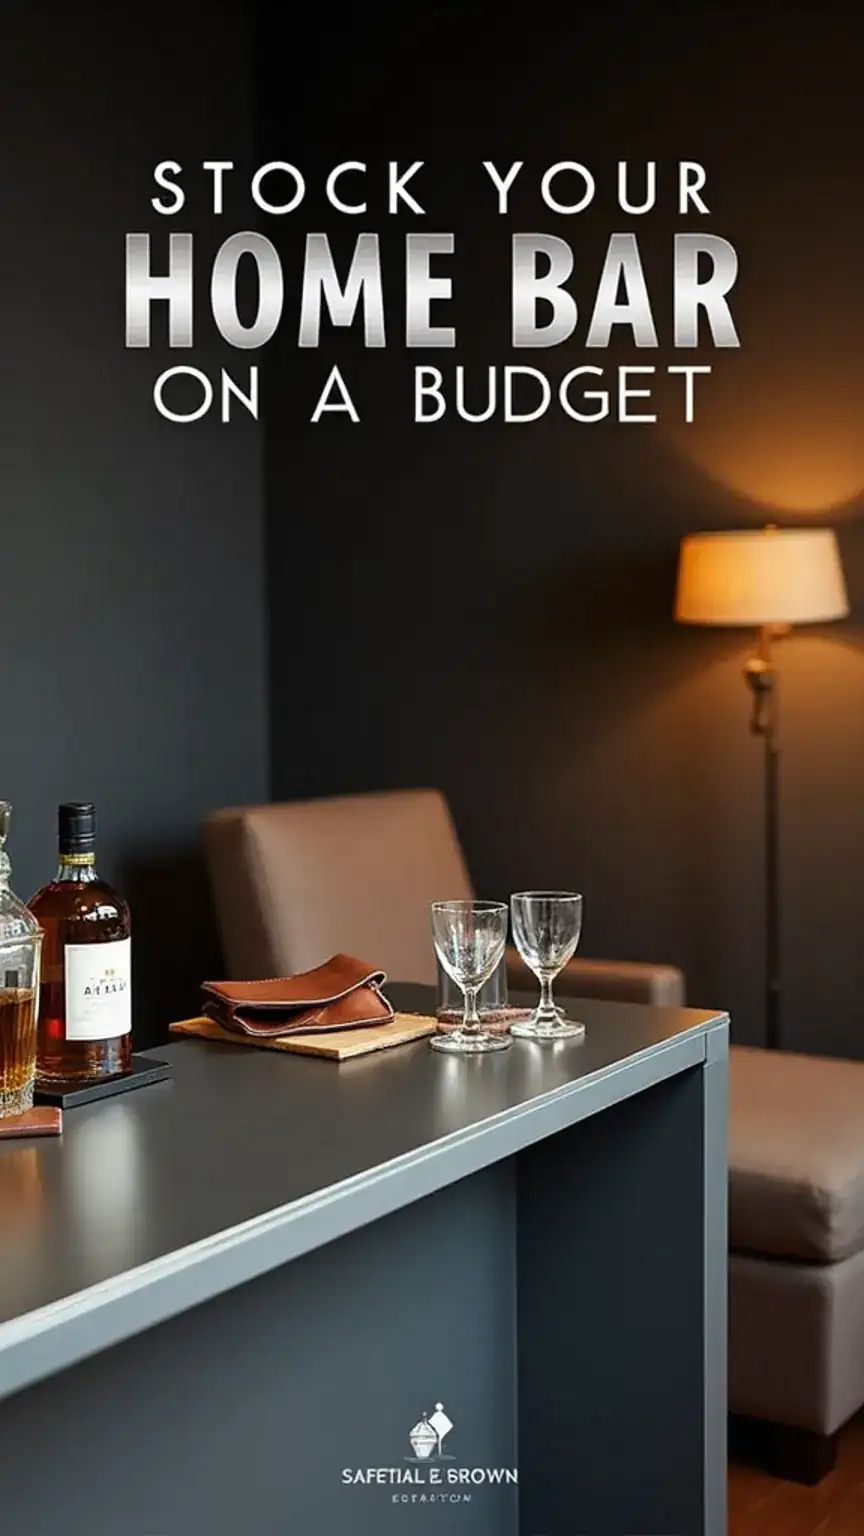
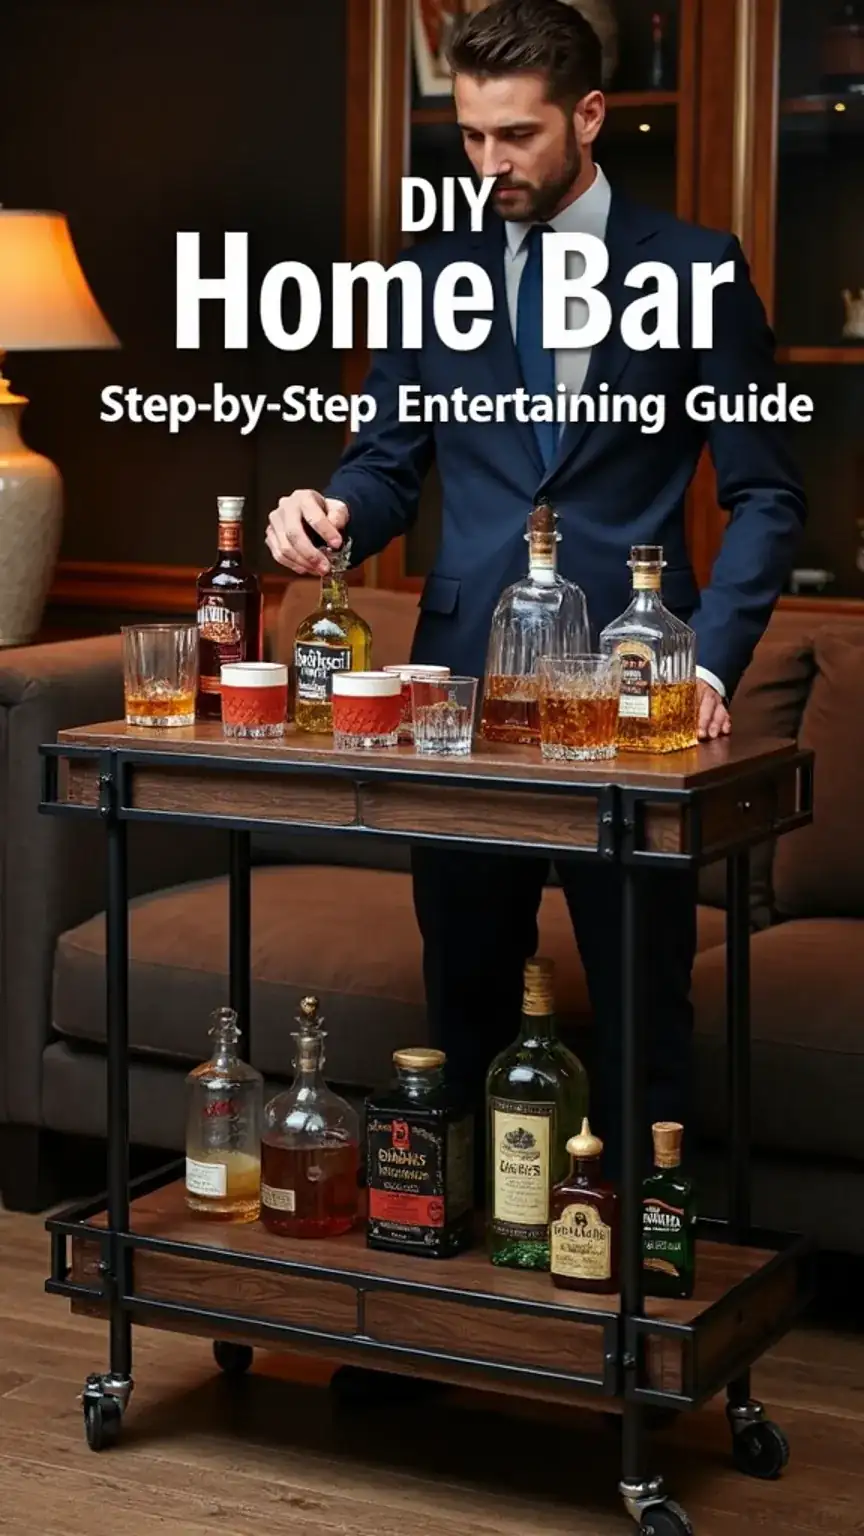
Step 4: Stock Your Spirits – Curating Your Bar Essentials
A beautiful bar is only as good as what’s on it. Once your DIY masterpiece is complete, it’s time to stock it with the essentials that will allow you to craft a variety of drinks. This is where the fun really begins, as you build your collection of spirits, mixers, and garnishes. Start with the basics, and gradually expand your offerings as your confidence and your guests’ preferences evolve.
Begin with a selection of core spirits: a good quality vodka, gin, rum, tequila, and a couple of whiskies—perhaps a bourbon and a Scotch. Not sure which one’s your vibe? This guide breaks it down without the snobbery: Bourbon vs. Scotch—The Ultimate Guide to Whiskey Wisdom. Worth a read before you stock the shelf. These will form the backbone of most classic cocktails. Additionally, consider stocking a few liqueurs, such as triple sec or an amaretto, which are key ingredients in many popular drinks. Don’t forget the mixers – soda water, tonic water, cola, and cranberry juice are staples.

Beyond the bottles, essential bar tools are a must. A cocktail shaker, jigger (for measuring spirits), muddler (for crushing ingredients), and a strainer are crucial for any aspiring mixologist. You’ll also want a good set of glassware – rocks glasses, highball glasses, and perhaps some martini or coupe glasses, depending on your preferred cocktails. Having a dedicated space for these tools, like a small drawer or shelf, keeps your bar organized and efficient.
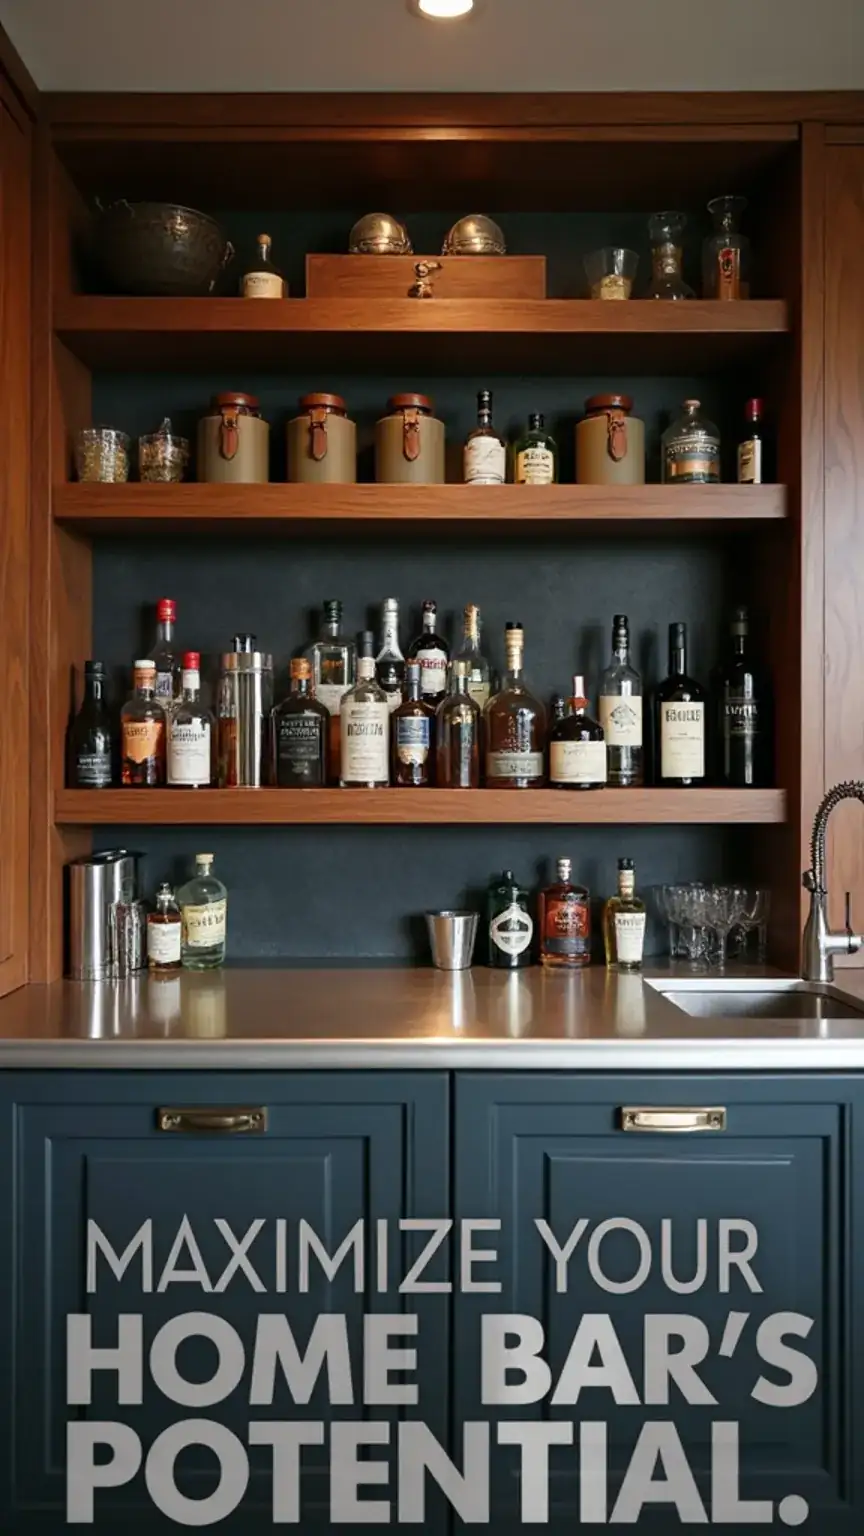
Step 5: Style Your Station – Decor and Ambiance
The final touches are what truly elevate your DIY bar from a functional piece of furniture to the heart of your man cave. This is where you inject your personality and create an atmosphere that invites relaxation and good times. Think about the overall ambiance you want to cultivate. Is it a sophisticated speakeasy vibe, a casual sports bar feel, or something entirely unique to you?
Consider the seating. Comfortable bar stools are non-negotiable. They should be at the right height for your bar and ergonomically designed for extended lounging. Look for materials that complement your bar’s style, whether it’s plush leather, sturdy metal, or natural wood. Furthermore, think about the lighting. Soft, ambient lighting is key to creating a welcoming atmosphere. You could install dimmable overhead lights, LED strip lights under the bar or shelves, or even accent lighting to highlight your favorite bottles.
Decorations can also play a significant role. This might include framed photos, vintage bar signs, or even a small display of your favorite whiskey bottles. Consider adding a small bar mat to catch drips and protect your countertop. A well-placed ice bucket and a set of coasters will not only be practical but also add to the overall polished look. Remember, the goal is to create a space that’s not just visually appealing but also comfortable and conducive to socializing.
Conclusion: Cheers to Your Creation!
Building a DIY bar is more achievable than you might imagine, and with these steps, you’ll be well on your way to creating a space that’s perfect for entertaining and relaxing. You’ve transformed a concept into a tangible reality, a testament to your vision and your hands-on approach. So, next time you’re hosting a gathering or simply craving a quiet evening with a perfectly mixed drink, you’ll have your own dedicated haven to enjoy. You’ll be the envy of all your friends, not just for the bar itself, but for the pride of creation.
Ready to own your image and elevate your entertaining game? Start by planning your bar’s layout with a vision board and share your #ManCaveBarBuild on Pinterest or your favorite socials! Tag a friend who needs a style intervention or a home upgrade – this guide is for them too!
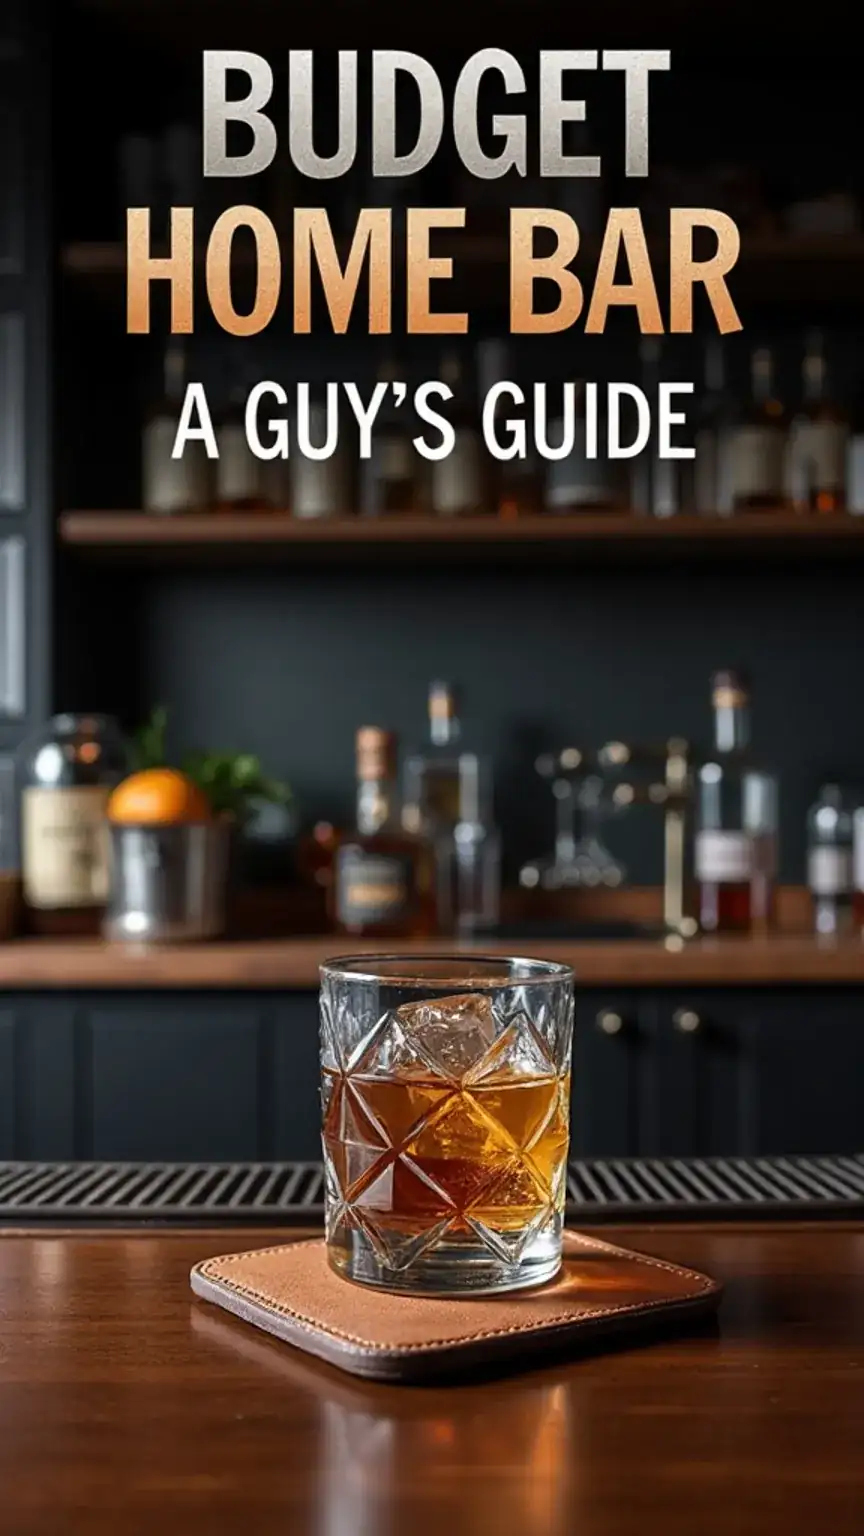
Want to take it further without draining your wallet? Head over to the Spirits & Cocktails section for more no-nonsense tips, gear recs, and pro-level tricks. Start with our reader-favorite: How to Build a Home Bar on a Budget: A Guy’s Guide. Because great style—and great drinks—don’t need to cost a fortune.