Let’s be honest, guys. We’re often the first to fix a leaky faucet or tackle that DIY project, but when it comes to the nitty-gritty of home safety devices, things can get a bit… fuzzy. You know, like that one sock that always goes missing in the laundry. But here’s a truth bomb: your home’s safety isn’t a place to wing it. It’s about proactive protection, and that starts with understanding the unsung heroes of your abode – smoke and carbon monoxide detectors.
As a guy who’s been there, I’ve learned that home safety is no joke. You never know when disaster can strike, which is why it’s crucial to have the right smoke and carbon monoxide detectors in place. But with so many options out there, how do you know what to choose? Think of it like picking the right tool for a job; the wrong one makes the task ten times harder. So, let’s cut through the noise and get you squared away with a guide that’s as straightforward as a well-made Old Fashioned.
Assessing Your Home’s Safety Needs: The Blueprint
Before you even think about heading to the hardware store or browsing online, you need to lay the groundwork. This means understanding your home’s unique layout and potential vulnerabilities. It’s like surveying the land before you build. What’s your square footage? How many levels are we talking about? Are there any areas with higher risks, like a garage that doubles as a workshop or a kitchen that sees its fair share of culinary experiments?
Furthermore, a quick inspection of any existing detectors is essential. When were they installed? Check those expiration dates – they’re typically printed right on the unit. Most detectors have a lifespan of about 10 years. If yours are older, it’s time for an upgrade, no question. Think of it as a critical maintenance check, like changing the oil in your car.
Decoding Detector Technology: Ionization vs. Photoelectric
Now, let’s dive into the nitty-gritty of what actually makes these devices tick. You’ll encounter two primary technologies: ionization and photoelectric. They sound technical, but understanding the difference is key to choosing the right protection.
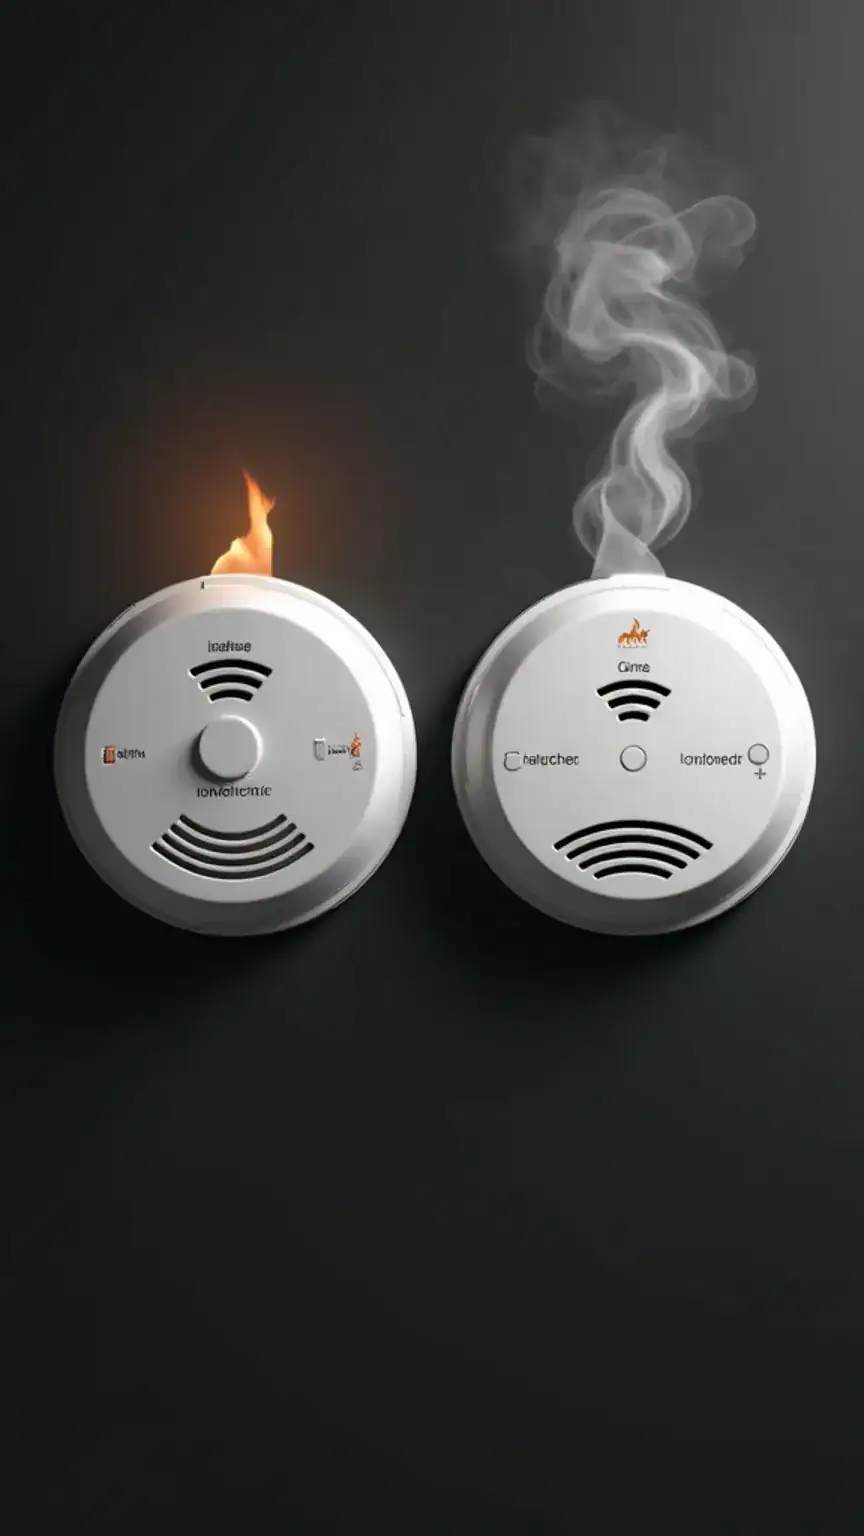
- Ionization Detectors: These are your go-to for fast-flaming fires. Think of a quick, intense blaze, like a grease fire erupting in the kitchen. They work by using a small amount of radioactive material to ionize the air between two electrically charged plates. When smoke particles enter the chamber, they disrupt this electrical current, triggering the alarm. They are generally less expensive and quicker to respond to flames that produce a lot of small smoke particles.
- Photoelectric Detectors: These excel at detecting smoldering fires. These fires start slowly, producing thick, black smoke over a longer period, often before flames become visible. Photoelectric detectors use a light beam. When smoke enters the chamber, it scatters the light beam onto a sensor, setting off the alarm. They are often better at detecting these slower, more insidious fires.
The Smart Move: Because most home fires can involve both types of combustion, the most comprehensive protection comes from using both ionization and photoelectric detectors, or opting for dual-sensor alarms that combine both technologies. This ensures you’re covered, no matter how a fire might start. It’s about layering your defenses, just like a solid defensive strategy in any sport.
Beyond the Basics: Features That Matter
Once you’ve got the core technology sorted, it’s time to look at the bells and whistles – the features that can significantly enhance your home safety. These aren’t just fancy add-ons; they can be critical in ensuring everyone in your household is alerted effectively.
Interconnected Systems
This is a game-changer. When one interconnected detector sounds the alarm, all of them do. Imagine a fire starting in the basement. If your bedroom detector is interconnected, you’ll be alerted instantly, even if you’re asleep. This significantly reduces response time, which is absolutely vital in a fire. This technology is often found in hardwired systems, but many newer wireless models offer this capability too.
Battery Life and Power Sources
Detectors are powered either by batteries or by being hardwired into your home’s electrical system. Hardwired units often have a battery backup, which is crucial during power outages. For battery-powered units, consider the lifespan. Some models boast 10-year sealed batteries, meaning you won’t have to worry about replacing them for a decade. However, always keep spare batteries on hand for any unit that requires them.
Smart Home Integration
This is where technology truly shines. Many modern detectors offer smart features, including Wi-Fi connectivity. This means they can send alerts directly to your smartphone or tablet, wherever you are. You might get a notification if the alarm triggers, or even if the battery is low. Some smart detectors can even tell you the specific location of the danger, such as “Smoke detected in the kitchen.” This offers an unparalleled level of awareness and peace of mind.
Pro Tip: For a truly seamless smart home experience, look for detectors compatible with your existing smart home ecosystem (like Amazon Alexa or Google Assistant). This allows for voice control and integration with other smart devices, like smart lights that can flash to alert you visually.
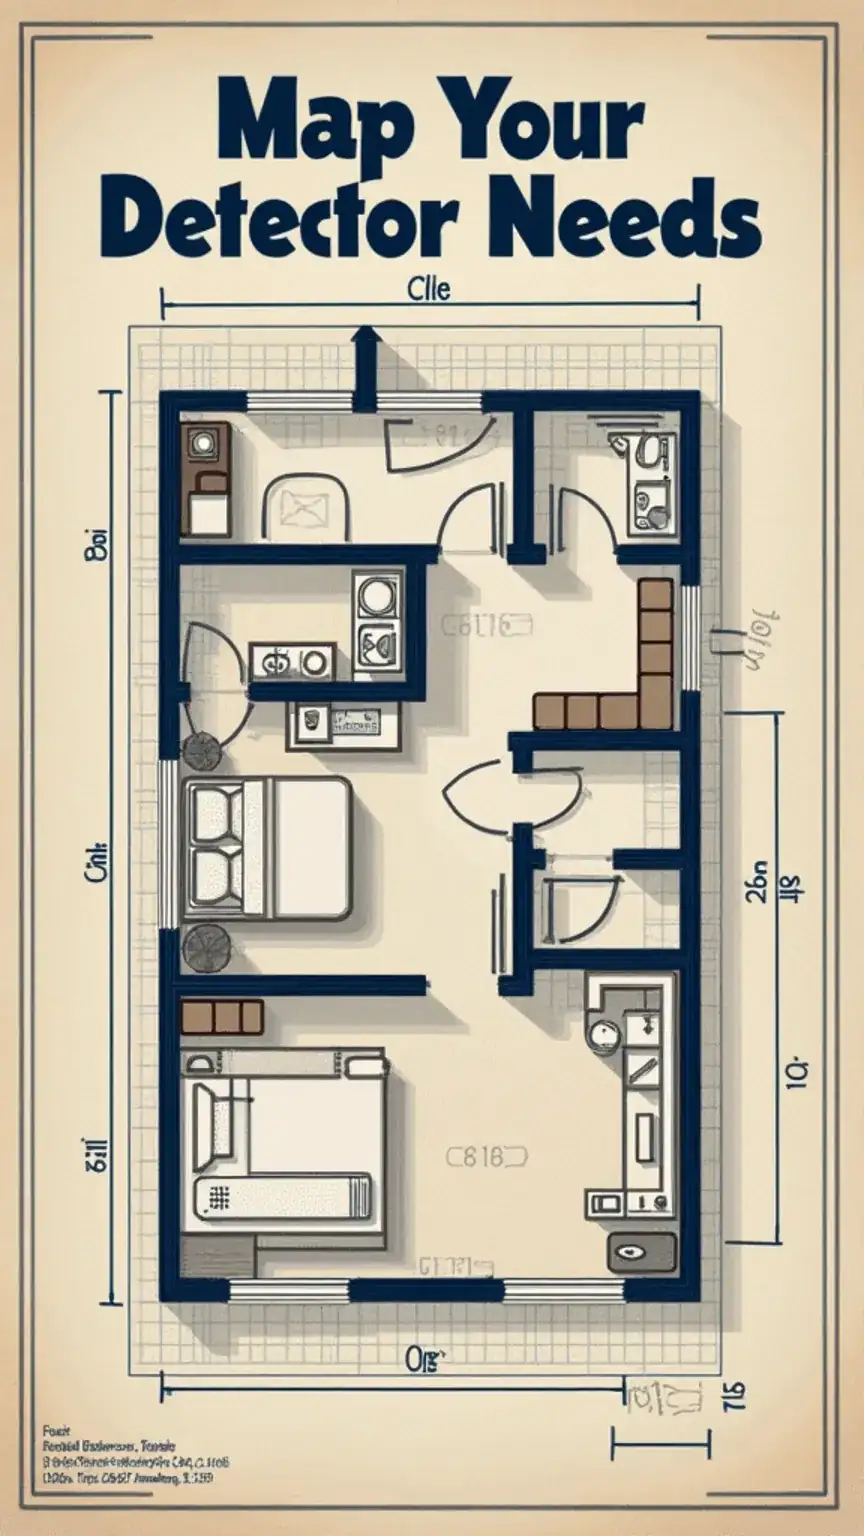
Strategizing the Placement: Where to Install for Maximum Effect
You’ve got the right detectors; now, where do they go? Proper placement is just as critical as the technology itself. Think of it as setting up your perimeter for maximum coverage. You want these devices where they can do their job most effectively, without being overly sensitive to normal household activities like cooking steam.
The Golden Rule
Install detectors on every level of your home. This includes the basement, the main living areas, and any upper floors. Each sleeping area needs its own detector too. If you have a large home or a multi-story layout, you might need more than the minimum recommended.
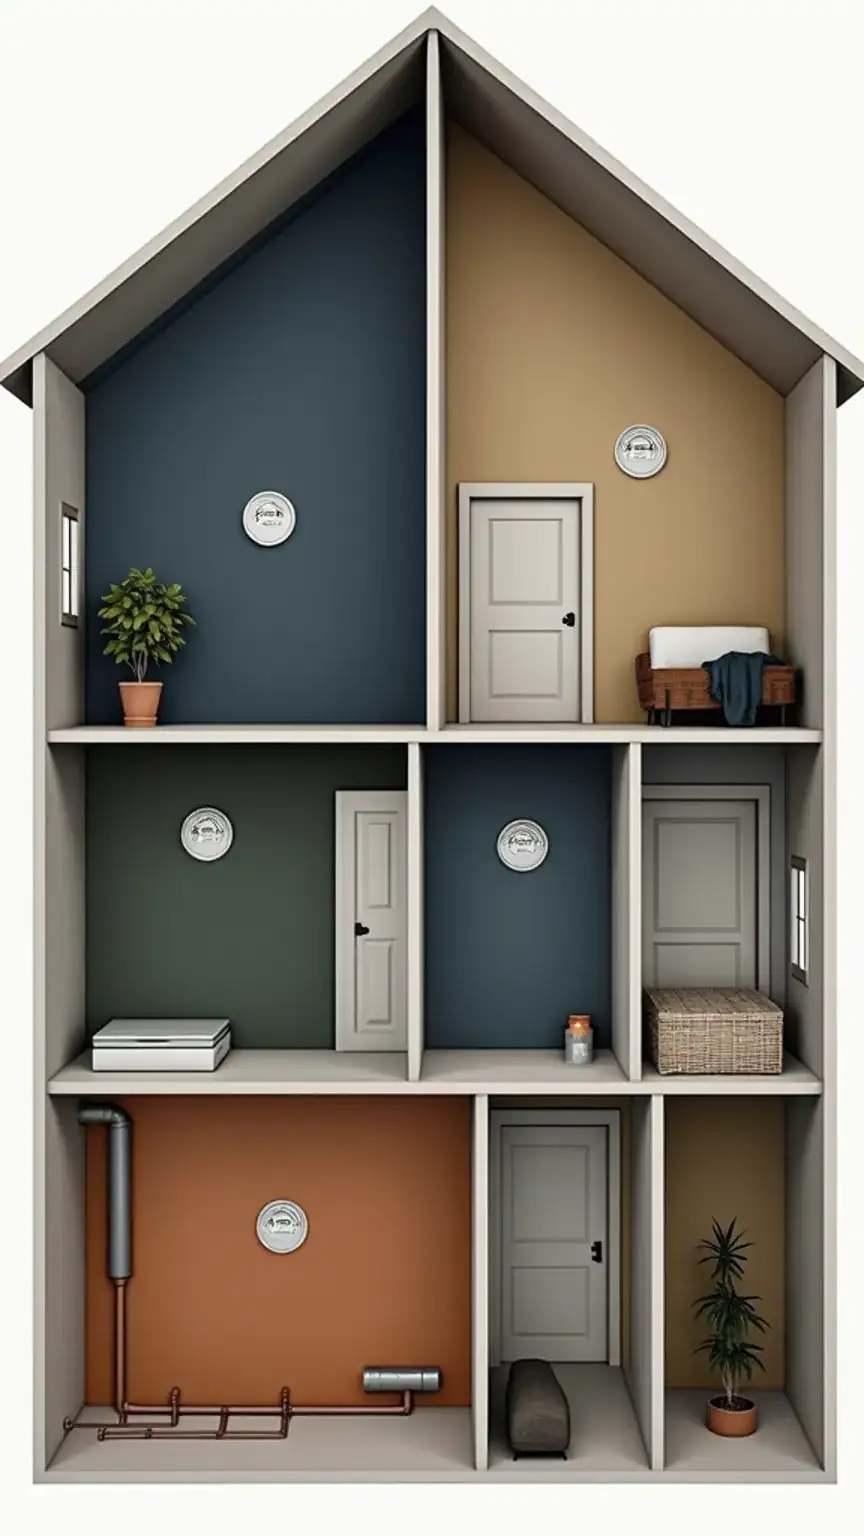
Key Installation Zones
- Inside Each Sleeping Area: Place detectors within the immediate vicinity of bedrooms. This ensures that occupants are alerted quickly if a fire or CO leak occurs while they are sleeping. However, avoid placing them directly above or below beds, as this can lead to false alarms from minor smoke or steam.
- Outside Each Sleeping Area: Install detectors in the hallway or common area adjacent to bedrooms. This provides an additional layer of early warning.
- On Every Level of the Home: This includes basements and attics. In homes with multiple levels, ensure there’s a detector on each floor. For homes with split levels, place a detector on each split landing.
- In High-Risk Areas: Consider placing detectors in or near areas with potential fire hazards. This might include: * The kitchen (but not too close to the stove or oven to avoid nuisance alarms). * The garage, especially if it’s attached and contains a vehicle or flammable materials. * Any workshop or area where you store chemicals or operate machinery.
Important Note on CO Detectors
Carbon monoxide is a colorless, odorless gas. CO detectors should be placed on each level of your home, and ideally near sleeping areas. Crucially, they should not be placed in kitchens or garages, as normal combustion processes in these areas can trigger false alarms. Also, avoid placing them near vents or sources of moisture, as this can affect their performance.
The Power of Testing and Maintenance: Keeping Your Sentinels Ready
So, you’ve installed your detectors. Great job! But your work isn’t done. These devices are only effective if they are functioning correctly. Think of it like maintaining a high-performance vehicle; regular checks are non-negotiable.
Test Regularly: Most experts recommend testing your smoke and carbon monoxide detectors at least once a month. Press and hold the test button on each unit. You should hear a loud, piercing alarm. If you don’t, it’s time to troubleshoot or replace the unit.
Clean Them: Dust and debris can accumulate inside the detector’s sensing chamber, potentially hindering its performance. Gently vacuum the exterior of your detectors using a soft brush attachment once a year to keep them clean.
Replace Batteries: If your detectors are battery-powered (and not sealed 10-year units), make it a habit to replace the batteries at least once a year. A good reminder is when you change your clocks for daylight saving time.
Know When to Replace the Unit: As mentioned earlier, detectors have a limited lifespan, typically around 10 years. Mark the installation date on each detector with a marker and replace them accordingly. Don’t gamble with their age; their effectiveness diminishes over time.
Ladies, bookmark this for the man in your life who ‘has nothing to wear’ to your anniversary dinner. Seriously, this is about keeping the whole household safe. A properly functioning detector is the ultimate accessory for any home.
Understanding the Threat: Why Carbon Monoxide is a Silent Killer
Now, let’s talk specifically about carbon monoxide (CO). It’s often called the “silent killer” for a very good reason. You can’t see it, smell it, or taste it. CO is produced by the incomplete burning of fuels like natural gas, propane, oil, wood, and even charcoal. Common sources in a home include furnaces, water heaters, gas stoves, fireplaces, and attached garages where cars are left running.
When inhaled, CO replaces oxygen in your bloodstream, and even low levels can cause symptoms like headaches, dizziness, nausea, and fatigue. At higher concentrations, it can lead to confusion, loss of consciousness, and even death. This is precisely why having dedicated carbon monoxide detectors, separate from or combined with smoke detectors, is non-negotiable. They are your eyes and ears for a danger you cannot perceive.
Choosing the Right Combination: Smoke AND CO
Many homeowners opt for combination smoke and carbon monoxide detectors. This is a practical and space-saving solution that provides dual protection. When selecting these units, ensure they meet current safety standards and offer the features you deem important, such as interconnectedness and smart capabilities.
Consider Your Specific Needs:
- Home Size and Layout: As we’ve discussed, larger or multi-level homes will require more units.
- Fuel-Burning Appliances: Homes with gas furnaces, fireplaces, or gas stoves should prioritize CO detection.
- Occupants: If you have children, elderly family members, or individuals with respiratory issues, robust detection is even more critical.
The goal is to create a comprehensive safety net. Don’t skimp on this; it’s about safeguarding your most valuable assets – your family and your home. Think of it as an investment in peace of mind that pays dividends every single day.
Conclusion: Your Home’s Guardian Angels
So, there you have it – a no-nonsense guide to smoke and carbon monoxide detectors. It’s not the most glamorous topic, but it’s undeniably one of the most important for any homeowner. By understanding the different types of detectors, their technologies, and the best placement strategies, you’re taking a significant step towards ensuring the safety of your loved ones and your property.
Remember, these devices are your home’s guardian angels, silently watching over you. Regular testing, cleaning, and timely replacement are crucial to ensure they’re always ready to sound the alarm when needed. Don’t wait for a tragedy to realize the importance of these essential safety devices. Your future self, and more importantly, your family, will thank you for taking these proactive steps today.
Ready to own your image and your safety? Start by assessing your home’s needs and choosing the right combination of smoke and carbon monoxide detectors. Share your #HomeSafetyUpgrade on Pinterest or your favorite socials to inspire your friends to do the same!