Hey there, fellow guys! Let’s be honest. The thrill of owning your own place can quickly turn into a headache when that faucet starts a relentless drip, a floorboard decides to sing a mournful creak with every step, or your front door develops a stubborn attitude. These aren’t just minor annoyances; they’re subtle assaults on your sanctuary.
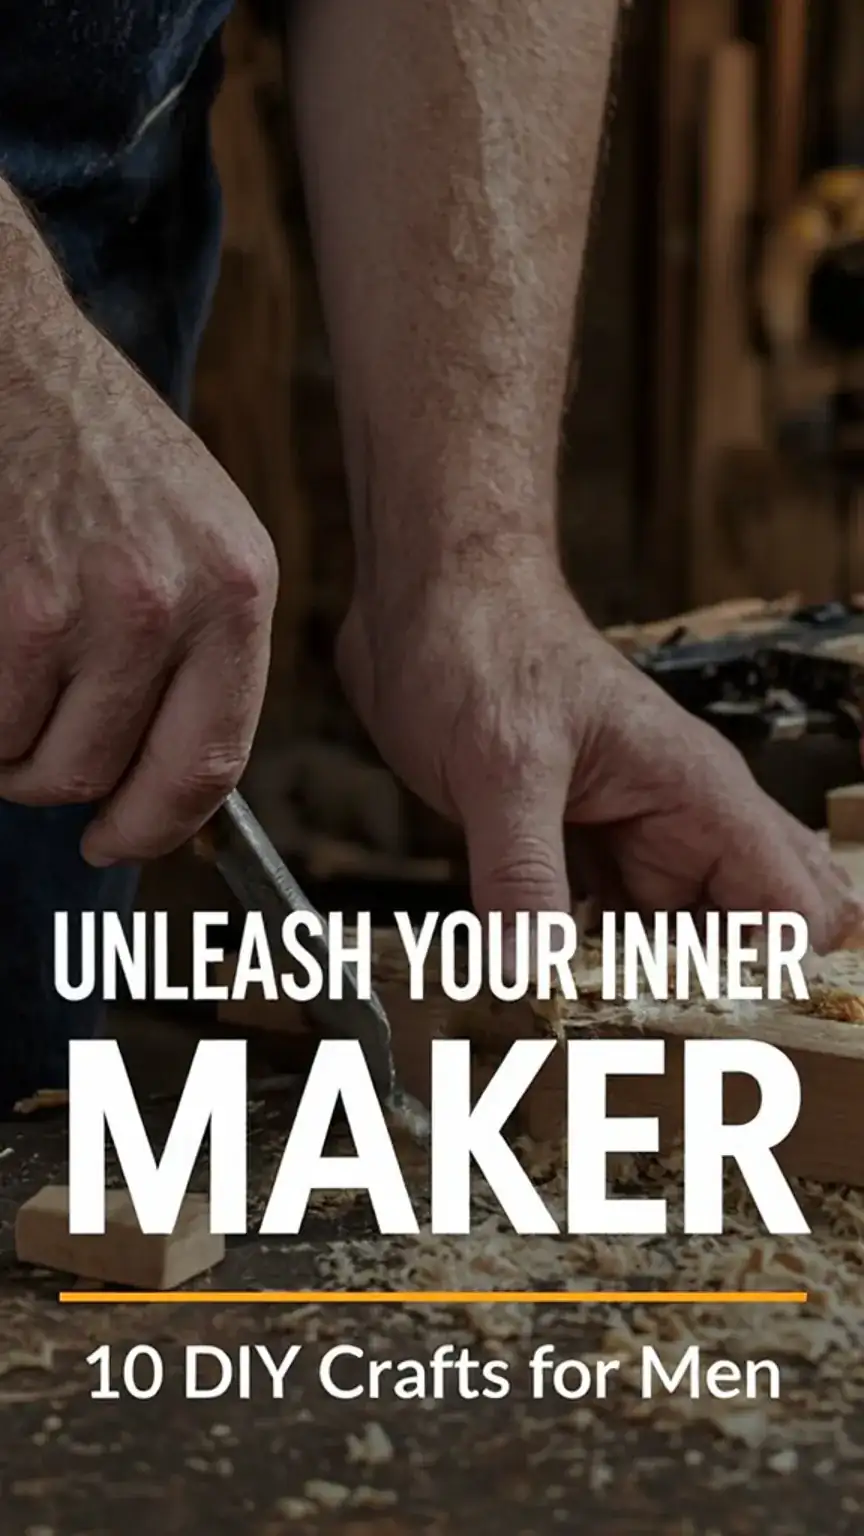
Conquer Your Castle: Essential DIY Fixes Every Man Should Know
However, before you resign yourself to endless calls to expensive repair services, consider this: you possess the innate ability to conquer these common household problems. You don’t need a contractor’s license to be a capable homeowner. With a few fundamental tools and a dash of practical knowledge, you can transform these frustrating issues into satisfying victories. Consequently, you’ll not only save a significant chunk of change but also gain a satisfying sense of accomplishment.
This guide is your roadmap. We’ll break down some of the most frequent household woes and equip you with the straightforward solutions to tackle them yourself. Because, let’s face it, a well-maintained home reflects a well-ordered life.
Taming the Dripping Menace: Fixing Leaky Faucets
A persistent drip isn’t just annoying; it wastes water and can drive up your utility bills. Fortunately, most faucet leaks stem from simple, replaceable components.

- Pinpoint the Leak’s Origin: First, become a detective. Is the water seeping from the handle itself, the aerator (the part where water exits), or perhaps the valve stem buried within? Observing the leak’s precise location is crucial for the next steps.
- Silence the Flow: Before any tinkering, locate the shut-off valves beneath your sink. Typically, these are small handles or knobs. Turn them clockwise firmly until the water supply to that faucet is completely cut off. Crucially, if you can’t find these or they don’t work, you’ll need to shut off the main water supply to your house.
- Disassemble with Care: Now, gently take the faucet apart. This usually involves removing the handle (often secured by a decorative cap or a small screw) and then unscrewing any other visible components. Keep track of the order and place removed parts in a small container to avoid losing them.
- Replace Worn-Out Warriors: The likely culprits are worn O-rings, rubber gaskets, or the internal cartridge. Examine the parts you’ve removed. If they appear cracked, brittle, or flattened, it’s time for replacements. Take the old parts to your local hardware store to ensure you get exact matches.
- Reassemble Your Triumph: Put everything back together, reversing the disassembly process. Once reassembled, slowly turn the water supply back on and check for leaks. You’ve likely just silenced that annoying drip!
Quieting the Symphony of Squeaks: Fixing Creaky Floorboards
That random creak every time you walk across a room can be maddening. It’s often just a sign of wood settling or a loose fastener, not a structural catastrophe.
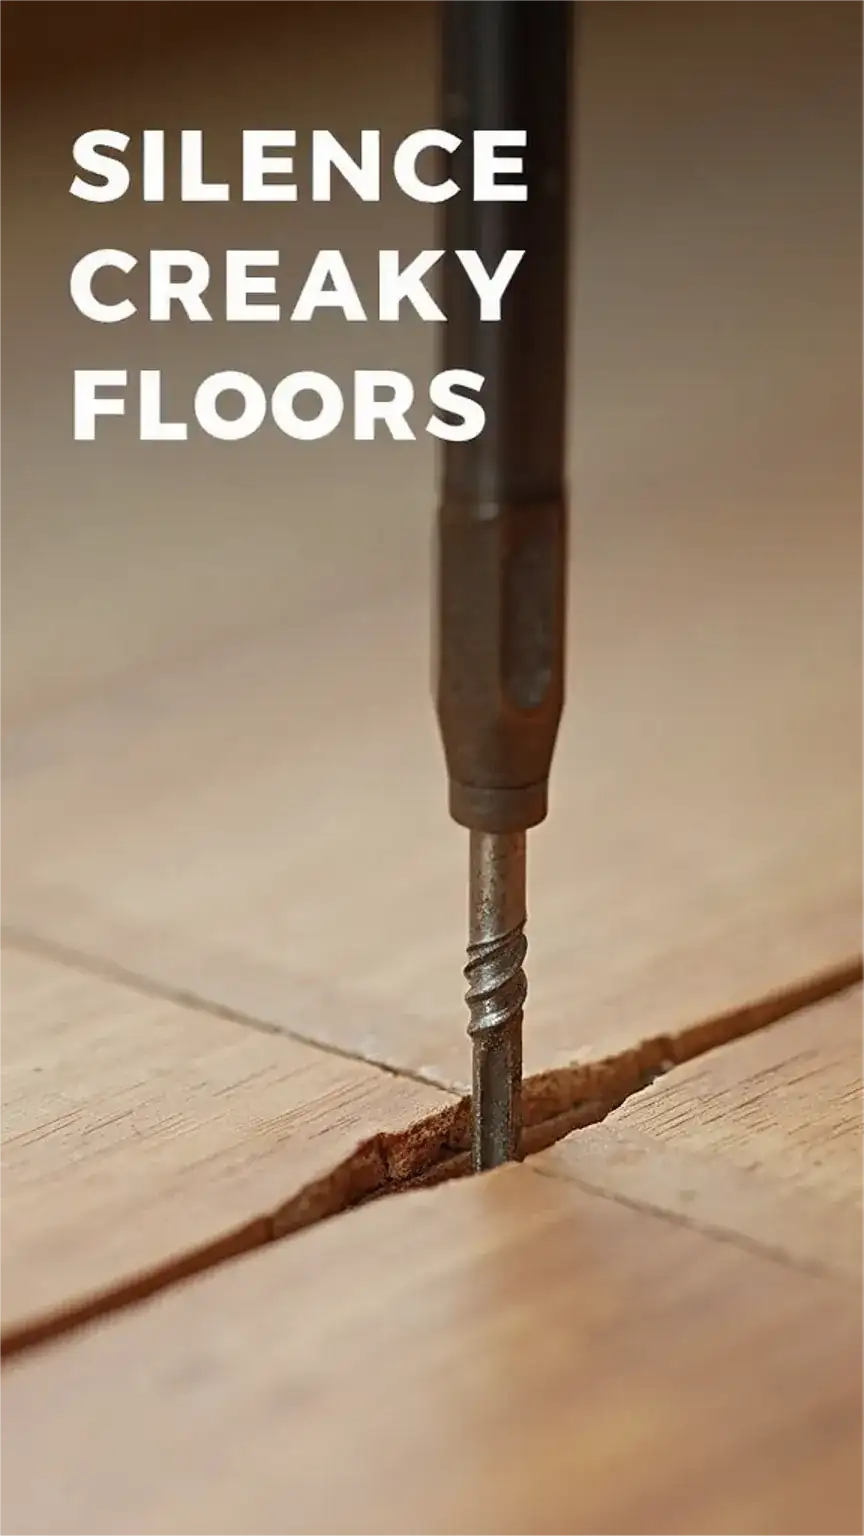
- Locate the Source of the Sound: Walk across the floor, paying close attention to where the creaking originates. Sometimes, the problem is a loose floorboard rubbing against another. Other times, it might be a nail or screw that has worked its way loose.
- Address Loose Boards: If a specific board is the culprit, try to lift it gently. Remove any dust or debris trapped underneath. Sometimes, simply re-securing the board with a longer screw or a few nails can solve the issue. For a cleaner look, you can drive the screws slightly below the surface and fill the holes with wood putty.
- Inspect for Damage: While the board is lifted, give it a good once-over. Look for any signs of rot, insect damage, or cracks. If damage is present, you might need to replace the affected board entirely.
- Replace the Troublemaker: If replacement is necessary, carefully remove the old board. You might need to score along the edges with a utility knife to break any old adhesive or caulk. Fit the new board, ensuring it’s flush with the surrounding floor.
- Secure Your Victory: Fasten the new or re-secured board firmly with appropriate screws or nails. If you’re not using a carpenter’s nail gun, pre-drilling pilot holes can prevent the wood from splitting.
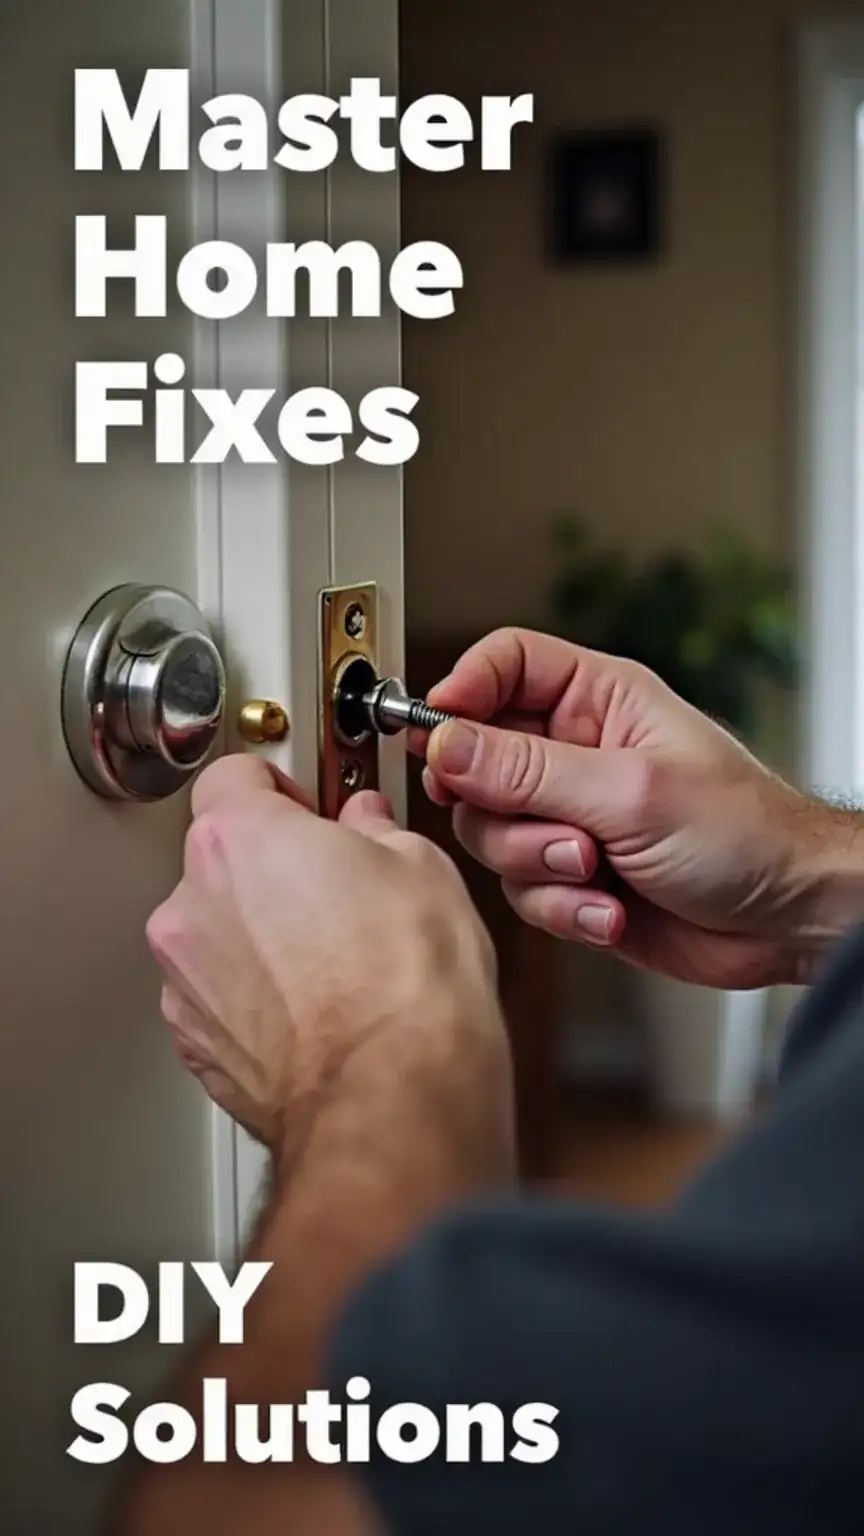
Straightening Out a Stubborn Hinge: Fixing Wonky Doors
A door that sticks, sags, or doesn’t close properly can be a real nuisance. Thankfully, most door alignment issues are fixable by adjusting the hinges.

- Diagnose the Door’s Dilemma: Observe the door closely. Does it scrape the frame when opening or closing? Does it hang unevenly? The problem often lies with loose or misaligned hinges. Sometimes, the issue can be with the door frame itself, but start with the hinges.
- Access the Hinges: For significant adjustments, you might need to remove the door. Carefully unscrew the hinges from the door frame. Support the door’s weight to prevent it from falling unexpectedly.
- Inspect the Hinges and Frame: Check if the hinges are bent or if the screws are loose. Also, examine the door frame for any signs of warping or damage. If the screw holes in the frame are stripped, you can insert wooden matchsticks or toothpicks coated in wood glue into the holes before reinserting the screws. This provides a tighter grip.
- Adjust for Perfect Alignment: If the door sags, you can sometimes fix it by slightly loosening the screws on the hinge side of the door frame, gently pushing the door upwards into alignment, and then retightening the screws. Alternatively, placing a shim behind a hinge leaf can push the door out.
- Rehang and Test: Once you’ve made adjustments, reattach the hinges to the door and then to the frame. Open and close the door several times to ensure it operates smoothly and without sticking.
Essential Safety and Smart DIY Practices
As you embark on these home improvement adventures, remember that safety and preparation are paramount. These aren’t just suggestions; they’re critical for a successful outcome and your well-being.
While tackling home repairs, it’s also important to consider the overall safety of your living space. For a comprehensive understanding, consult Home Safety 101: The Essential Guide for Guys.
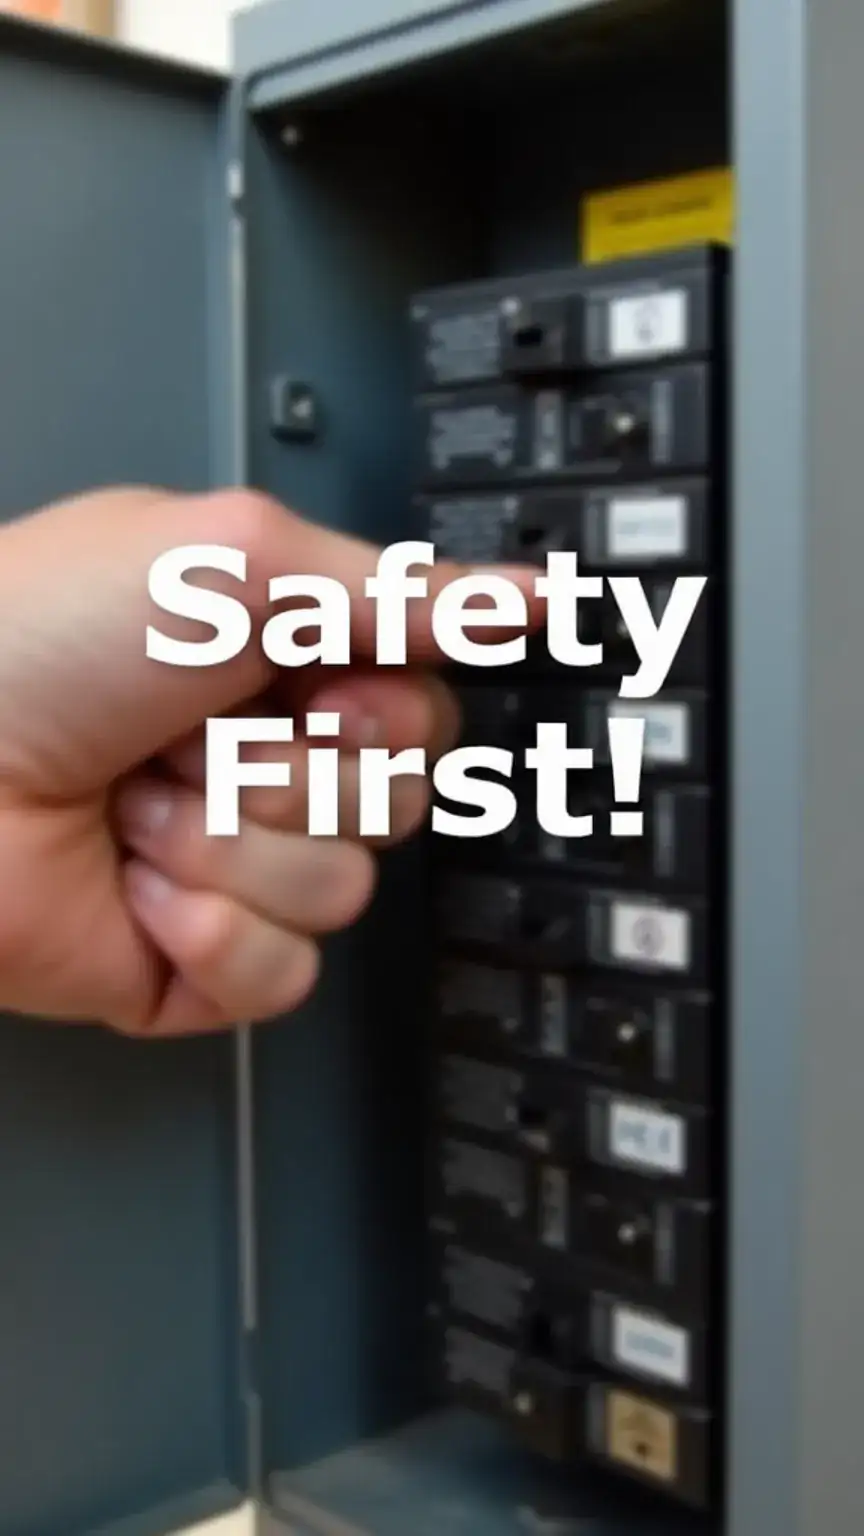
- Power Down Before Proceeding: When dealing with anything electrical, from a faulty outlet to a light fixture, always, always turn off the power at the circuit breaker or fuse box first. Double-check with a voltage tester if you’re unsure. This is non-negotiable.
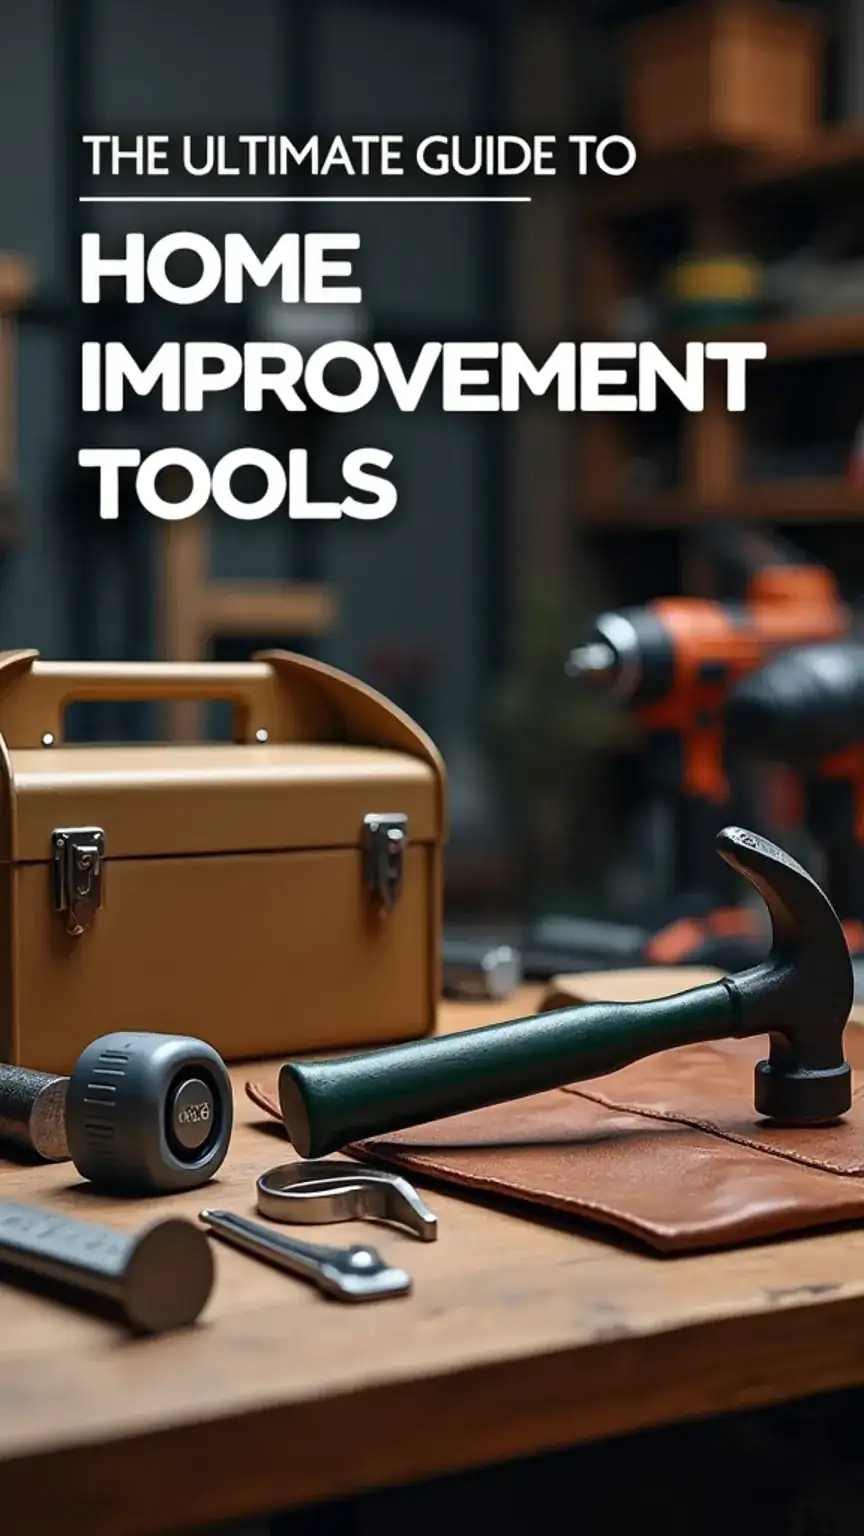
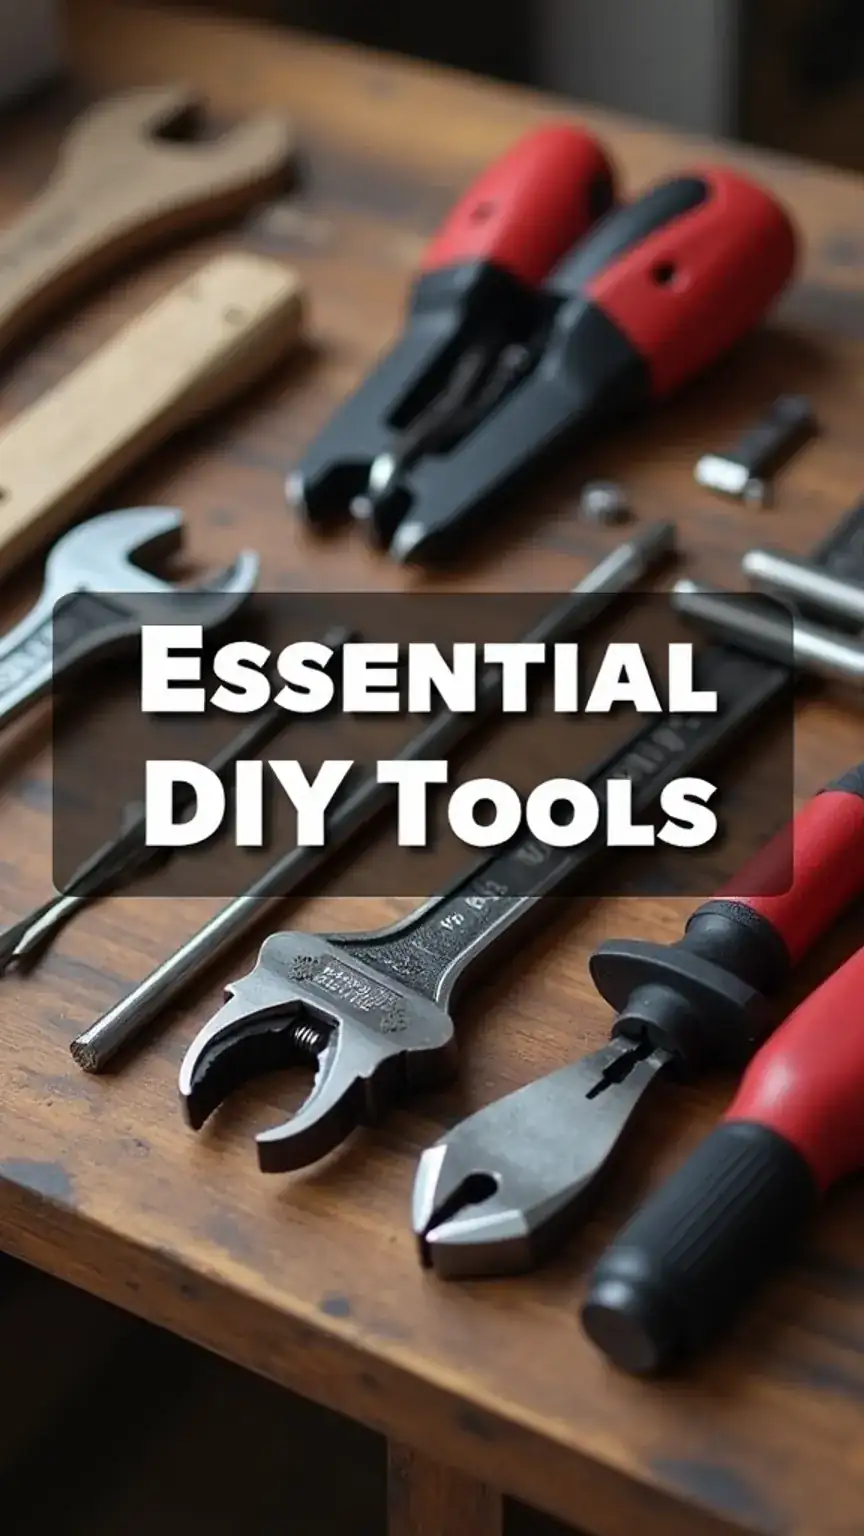
- Arm Yourself with the Right Tools: While you don’t need a professional arsenal, a basic toolkit is essential. This should include a reliable screwdriver set (with various head types), a good pair of pliers, an adjustable wrench, a hammer, a tape measure, and a utility knife. Investing in quality tools makes the job easier and safer. For more on this, check out The Ultimate Guide to Home Improvement: My Top-Picks for Every Project.
- Don’t Hesitate to Seek Assistance: If a task feels beyond your comfort level, or if you’ve hit a wall, there’s no shame in asking for help. A knowledgeable friend, family member, or even a quick online tutorial can provide the insight you need. Remember, learning is part of the process.
Embracing the DIY Lifestyle: Confidence Through Competence
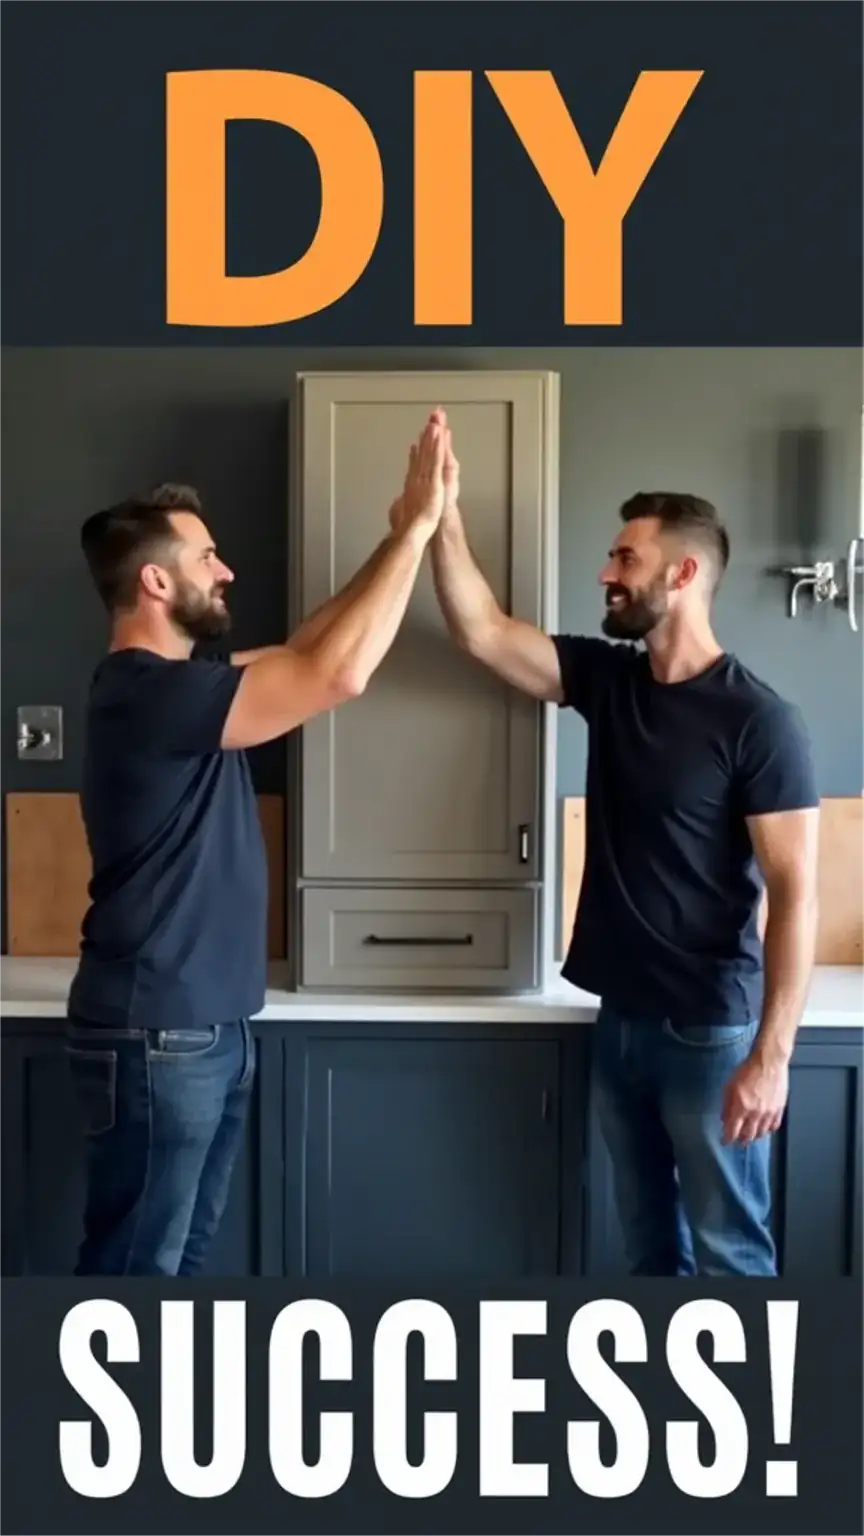
Tackling these common household problems yourself is more than just about saving money; it’s about cultivating self-reliance and gaining a deeper connection with your living space. Imagine the satisfaction of knowing you fixed that leaky faucet or silenced that creaky floorboard yourself. It’s a tangible representation of your capability.
Furthermore, by mastering these basic home maintenance skills, you’re not just fixing things; you’re building confidence. This confidence can spill over into other areas of your life, from your career to your personal relationships. It’s about proving to yourself that you can handle challenges and emerge victorious, much like with Budget-Friendly Renovations: A Guy’s Guide to Home Updates.
For the ladies reading this, consider this your secret weapon. Knowing how to handle these common household issues can be incredibly attractive to a partner, or it can simply empower you to manage your own domain.
Gentlemen, take note: a woman who can fix her own leaky faucet is a force to be reckoned with.
Moreover, this DIY approach aligns perfectly with a mindful, capable lifestyle. It’s about taking control, understanding your environment, and appreciating the tangible results of your efforts. Think of it as a form of active meditation – focused, practical, and deeply rewarding.
Your Home, Your Domain: The DIY Advantage
We’ve covered leaky faucets, creaky floors, and wonky doors – common culprits that can undermine your peace of mind. By equipping yourself with basic tools and this straightforward guidance, you’re now better prepared to tackle these issues head-on.
Remember, every seasoned DIYer started somewhere. Your journey to becoming a more capable homeowner begins with the first fix. Don’t be intimidated; embrace the learning process, celebrate your successes, and view every challenge as an opportunity to grow. You’ve got this.
Ready to reclaim your home’s comfort and your own confidence? Start by tackling one of these fixes this weekend! Share your #DIYHomeHero moments and tag a friend who needs a little home repair inspiration on Pinterest or your favorite socials!